Leister Technologies AG
Operating Manual
Welding Machine SEAMTEK 36
Revision: A
QM
Page
42 / 62
Created
04.04.2014 TEX
Released
Modified
42
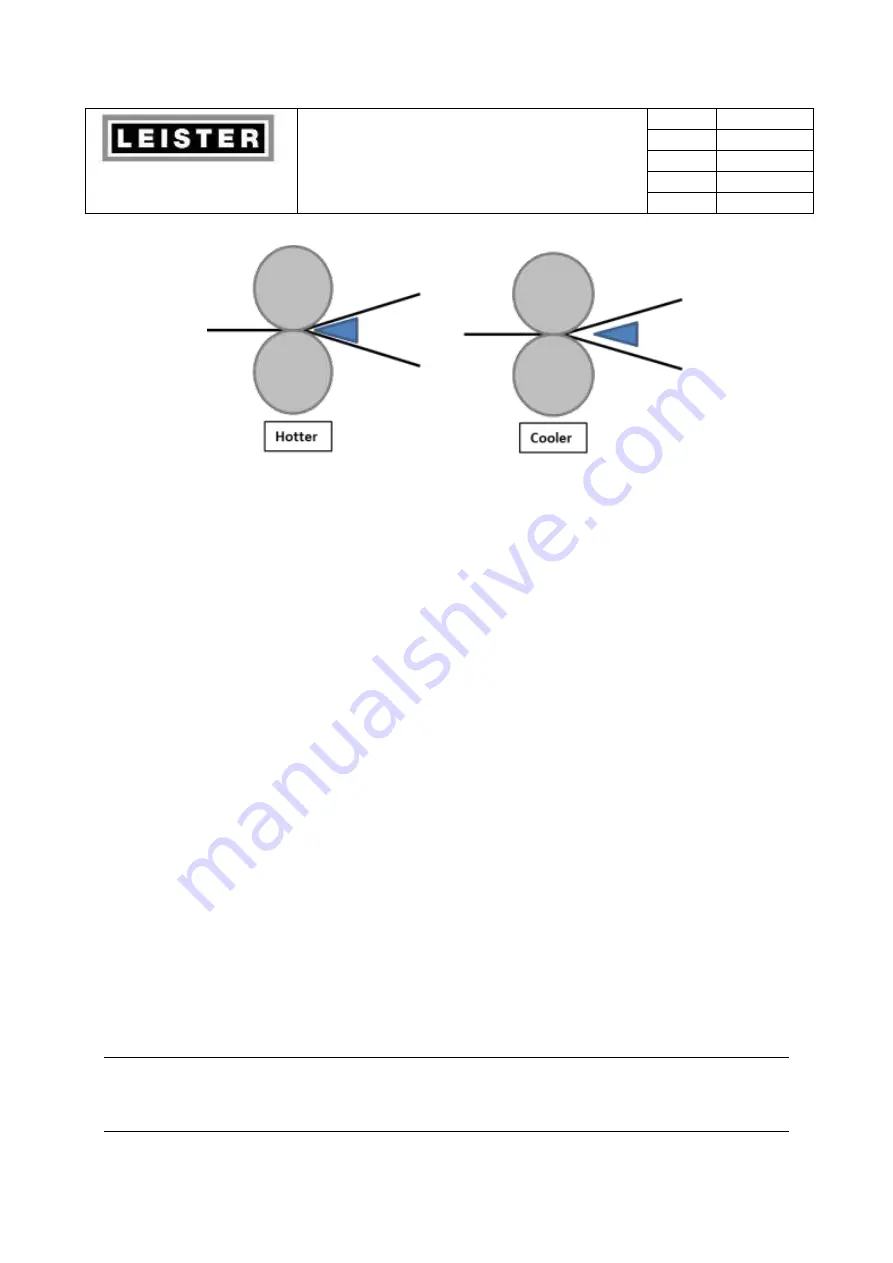
Figure 24 Fabric angle
7.4 Welding a Typical Seam
Using one or both of the two test strip modes, you have determined the correct temperature
and wheel speed combination. You are now ready to weld a seam.
Follow these steps:
1.
To weld a typical seam, make sure the Status Screen is being displayed.
2.
Next, align the two fabric pattern pieces between the wheels as described in Placing Fabric
in the Weld Head (Section 7.1). Hold the two fabric pieces apart so the nozzle can easily
slide between them.
If pre-heat is set at 0, the drive wheels begin rotating at the preset base speed, pulling the
fabric pieces past the weld nozzle and through the wheels where pressure is applied.
3.
Now press the lower-right WELD START/STOP foot pedal switch
.
This brings the nozzle into position between and in front of the two wheels and applies
weld pressure.
4.
Wait a short period of time for the fabric surface to heat sufficiently before you start
welding, typically about 1/2 second or less, then release your foot from the lower-right
WELD START/STOP foot pedal switch.
Set pre-heat
allowing the computer to control this
delay time.
Note
: Set pre-heat. The half-second delay is OK to heat most fabric surfaces; however, very
lightly coated fabrics will require that the wheels start almost as soon as the nozzle is in position


