Leica CM1510 – Cryostat
27
10.
Cleaning and disinfection
Before taking the microtome out of the
cryochamber, place the handle of the hand-
wheel in the lowest position. When removing
the microtome, the specimen head will rap-
idly fall down and might injure the operator‘s
hands!
•
Place the handle of the handwheel in the lowest
position so that the specimen clamping head is at
its lowest position.
Wear appropriate protective gloves to remove
the cold microtome from the cryochamber!
Risk of frost bite!
Or wait until the microtome has reached room
temperature.
•
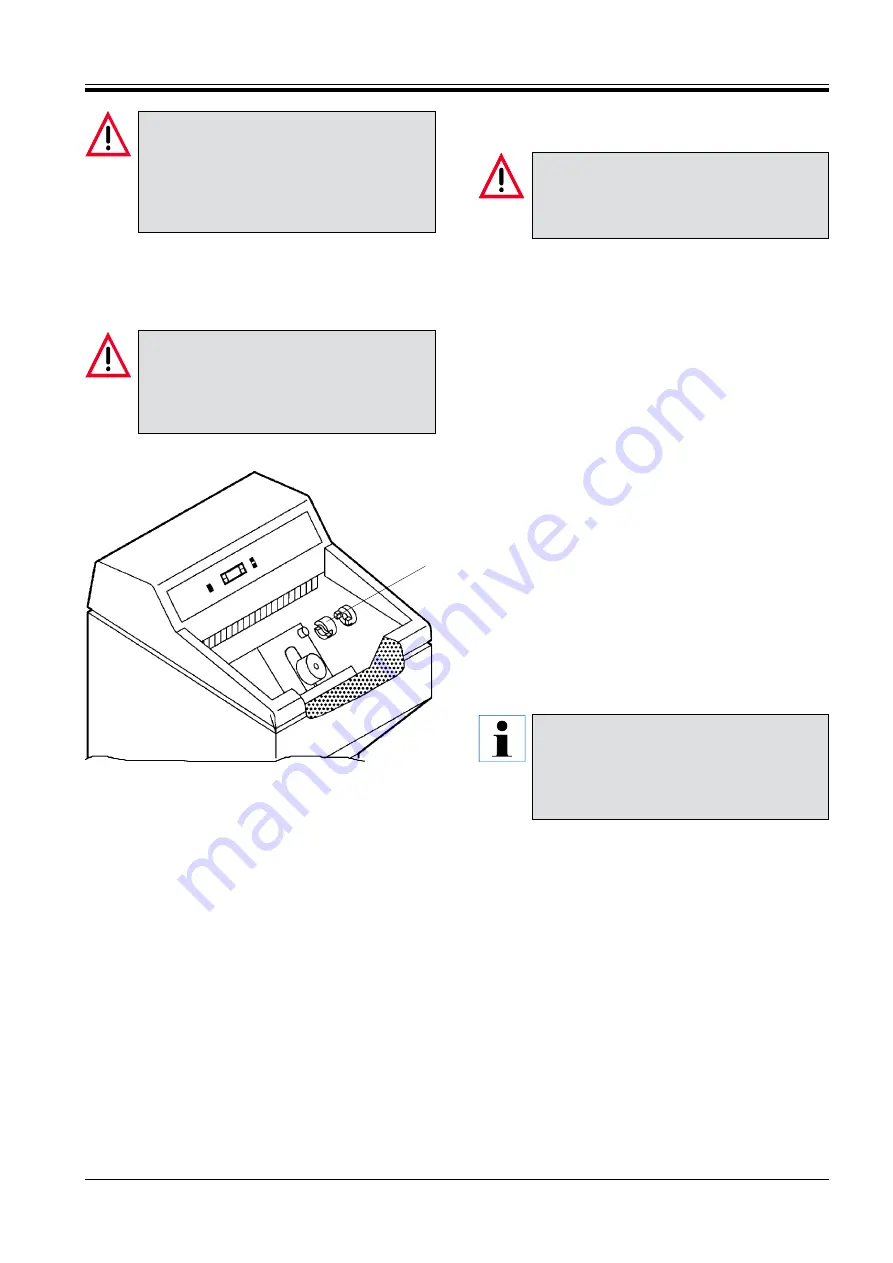
Slightly lift the microtome, pull it to the left.
Thus the plastic coupling
(5)
connecting the two axles
will disengage and the handle of the handwheel will
swing to the top.
•
Take the microtome out of the cryochamber.
10.4 Reassembly of the microtome
The microtome must be completely dry before
reinstallation. Humidity inside will condense
and freeze in the cold cryostat and thus may
cause malfunctions or damage.
•
Replace the microtome in the cryochamber.
•
Mount the plastic coupling
(5)
on the handwheel
shaft.
•
Rotate the handle of the handwheel to the lowest
position and hold it (specimen clamping head is at
its lowest position).
•
Slightly push the microtome to the right until the
shaft
(3)
engages in the coupling.
•
Slightly move the handwheel forwards and back-
wards to ensure proper alignment of the parts.
•
Tighten the screws
(4)
.
•
Reconnect the coarse feed motor plug
(2)
and tem-
perature sensor
(1)
.
•
Replace the storage shelves, waste tray, brush
shelf, knife holder and cover of the quick-freeze
shelf.
The cryochamber and all accessories must be
completely dry when turning on the instru-
ment.
Remaining humidity will cause frost formation
during cooling.
Fig. 27.2
5
Summary of Contents for CM1510
Page 2: ......


