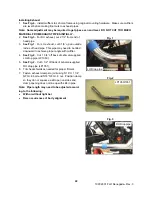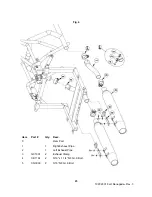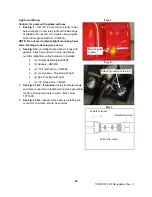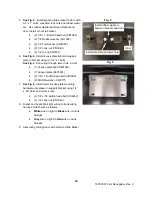
1997-2001 FLH Renegade– Rev. 3
29
Trunk Door Installation
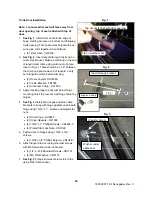
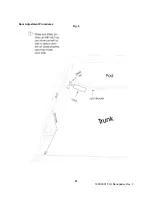
Note: Lip on weather seal will face away from
door opening; top of seal is flush with top of
door.
1.
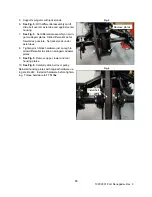
See Fig. 1
. Install door seal around edge of
body, starting at center on bottom and following
trunk opening. Trim seal ends straight with scis-
sors; glue ends together when finished.
•
(6’) Door Seal– CW2536
2.
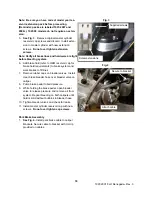
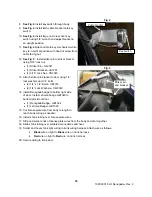
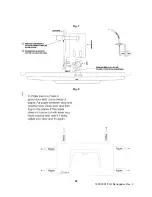
See Fig. 2
. Insert lanyard through top bend on
cable stop bracket. Make a small loop in the end
of lanyard and crimp using aluminum clip (see
inset in Fig. 2). There should be 7-1/2” between
the crimp and pre-made end of lanyard. Verify
both lanyards match before crimping.
•
(2) Door Lanyard– S001686
•
(2) Cable Bracket– FB1036
•
(2) Aluminum Crimp– CC1900
3. Apply masking tape to body just below hinge
mounting holes to prevent scratching of paint by
hinges.
4.
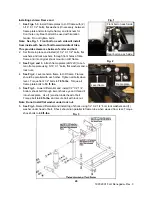
See Fig. 3.
Install door hinges and stop cable
brackets to body with hinge gaskets underneath
hinge using 10/32” x 1” screws and plated star
nuts.
•
(2) Door Hinge– GH0903
•
(2) Hinge Gaskets– FG1003
•
(4) 10/32” x 1” Phillips Screws– CS4024-0
•
(4) Plated Star Lock Nuts– CN1898
5. Fasten door to hinges using 10/32” x 3/8”
screws.
•
(4) 10/32 x 3/8” Phillips Screws– CS4024-1
6. Attach lanyard to door using shoulder screws
with M6 flat washer under cable end.
•
(2) 1/4” x .438 Shoulder Screws– CB1151
•
(2) M6 Flat Washer– CW2172
7.
See Fig. 3.
Torque shoulder screws to 6 ft-lbs
using 5/32” Allen socket.
Fig. 1
Fig. 2
Lip on weather seal
Top of seal is flush with door opening
7 1/2”
Insert through bracket
Loop and crimp
Fig. 3
Shoulder Screw
Washer under
cable end

