


Manuale di istruzioni
User manual
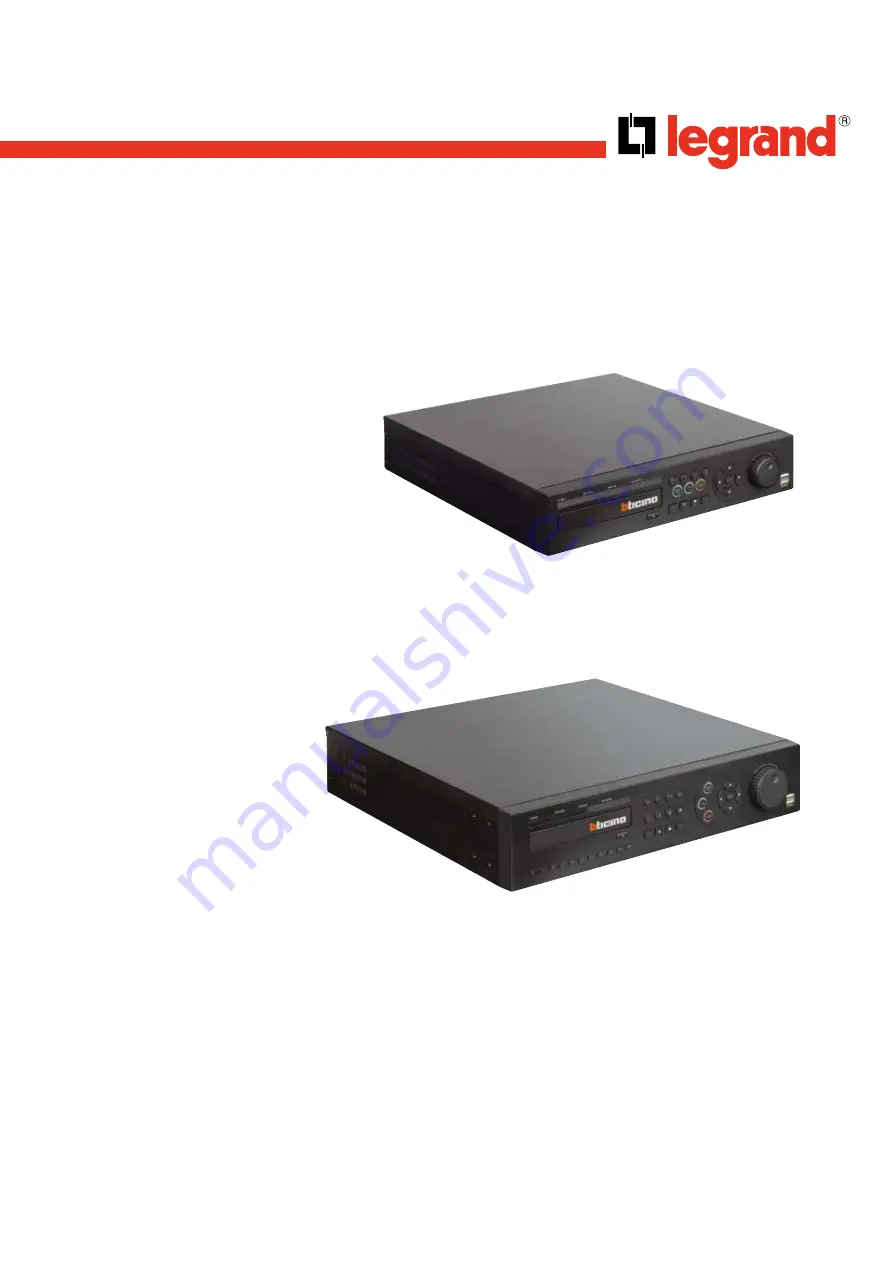
430 558 - 430 559
MANUEL D’UTILISATION
USER MANUAL
430 557
LE03716AA
•
Enregistreur LAN 500 Gb 4/8/16 caméras avec gestion centralisée sur PC
•
4/8/16-camera 500 GB LAN recorder with centralized management on PC
•
Grabador LAN 500 Gb 4/8/16 cámaras con gestión centralizada en PC
•
Gravador LAN 500 Gb 4 câmaras com gestão centralizada por PC
•
Rejestrator LAN 500 GB, 4 kamery, z zarządzaniem scentralizowanym na PC
430 557/558/559
Summary of Contents for 430 557
Page 4: ...Chapter 2 Display Mode 4...
Page 16: ...Chapter 3 CMS Setup Mode To enter in this menu Click on start Click on Setup 16...
Page 23: ...PTZ info check the information of PTZ SETUP OF EACH DVR 23...
Page 43: ...2 Select the date and click on Data Backup button 43...
Page 46: ...5 Chose the file and open it Refer to the DVR Manual to use the Backup Viewer 46...
Page 58: ...The map is shown Click on one camera The video will be displayed for this camera 58...


