LAUNCH X-431IV English User’s Manual
40
3)
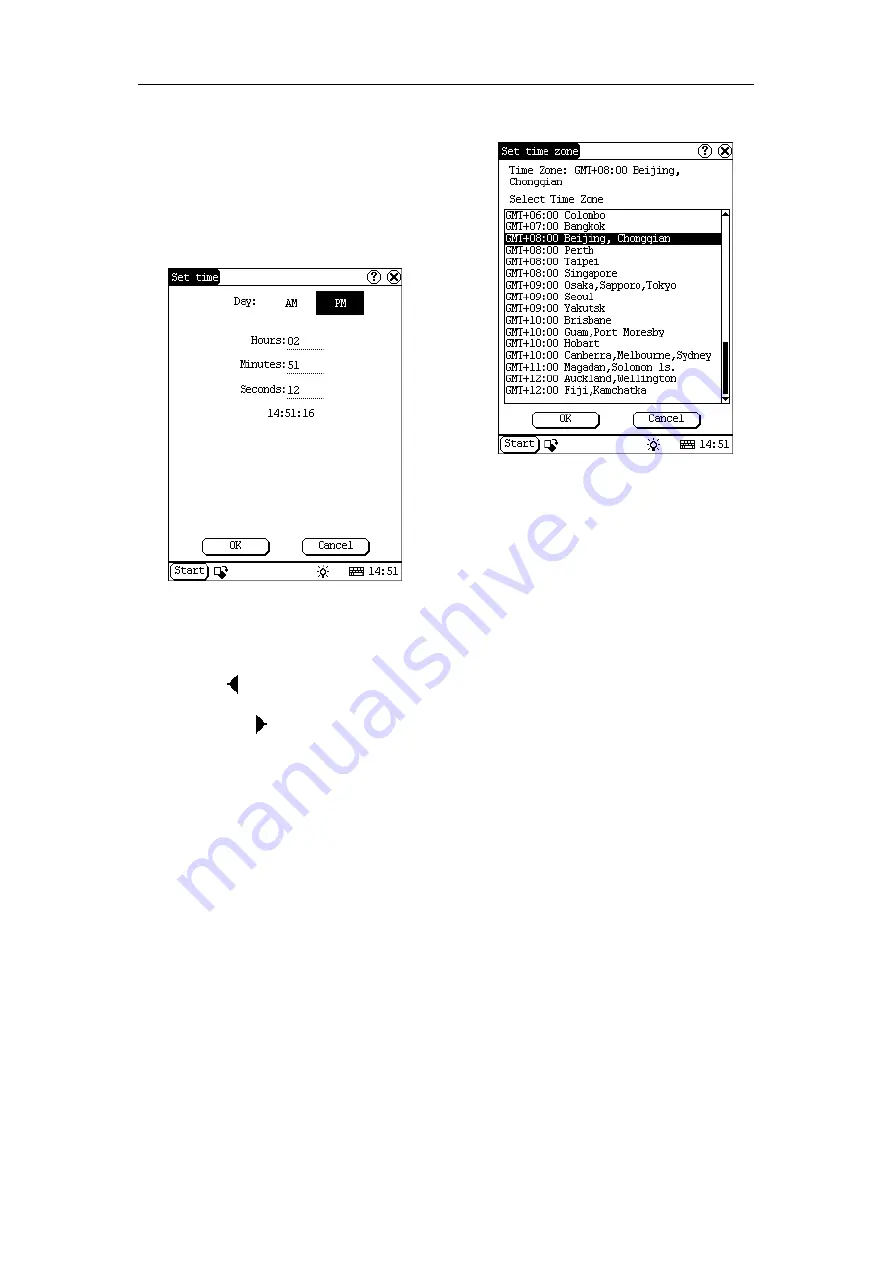
Click the characters to the right of ‘Day’ to
set AM and PM, the selected one will be
highlighted.
4)
Activate Soft Keyboard, and then you can
set ‘Hours’, ‘Minutes’ and ‘Seconds’
directly.
5)
Click [OK] button to save and close the
Set Time interface.
Figure 5-38
Set Date:
1)
In the Date/Time interface, you can set
date directly.
2)
Click [
] icon to the left of the month or
year to select the previous month or year.
3)
Click the [
] icon to the right of the
month or year to select the next month or
year. (See Figure 5-37)
4)
Click the date in the current month. It will
be highlighted when it is selected.
5)
Click [Set Time] button to save the setting.
6)
Click [Quit] button to exit.
Set Time Zone
1)
In the Date/Time interface, click [Set Time
zone] button to open the Set Zone
interface as shown in Figure 5-39.
2)
Click Scrolling Bar to turn to next page of
the list, and select your zone. It will be
highlighted when it is selected.
3)
Click [OK] button to save and close the
Set Zone interface.
Figure 5-39
After finishing all settings, click [OK] button in
the Date/Time interface to exit and close the
interface.
5.4.1.4 Contrast
It is for adjusting the contrast of the screen to
make the interface clearer.
1)
In the Control Panel interface, click
‘Contrast’ icon to open the Contrast
interface. See Figure 5-40.
2)
In the Contrast interface, click the position
you want, and then you can set it.


