


HTCA-E400 User Manual
27
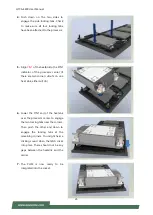
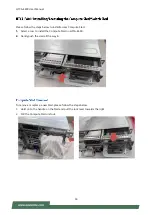
5.
Then turn the PHM right side up. Line
up the
PIN1
corner of the PHM to the
bolster plate
PIN1
corner. Lower the
PHM vertically down over the bolster
plate studs.
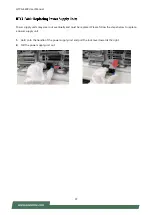
6.
Move each anti-tilt wire to outward
or locked position.
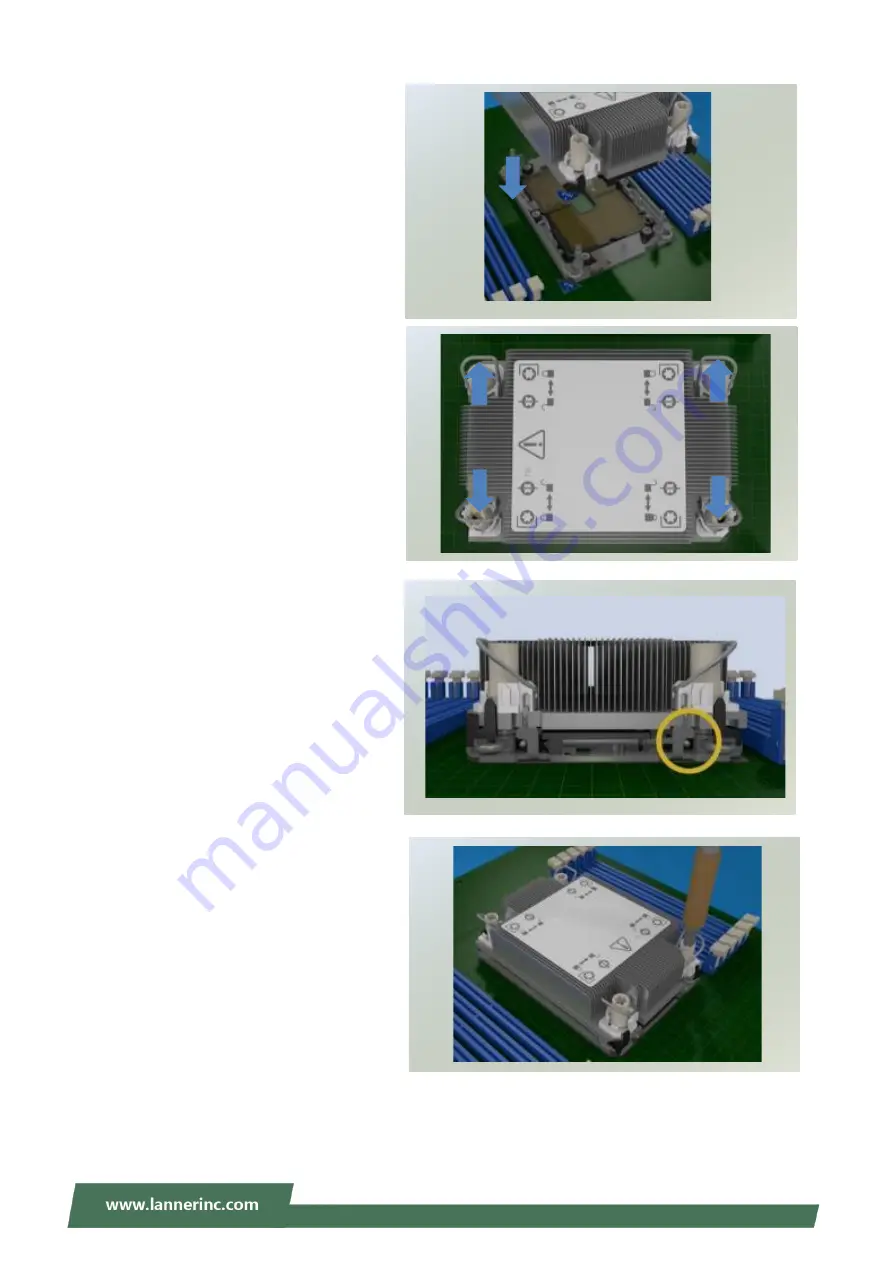
7.
Check the anti-tilt wires are in locked
position and have engaged the anti-
tilt flanges on the bolster plate.
8.
Use a torque driver with a T-30 Torx
bit to tighten the four nuts to 8 in/lb
in the bolster plate.
9.
Installation is now completed.