


Fusion F3 Table Saw - Setup - Right Extension Table
35
© 2020 Laguna Tools
Hardware
H
Lock Washers (8mm)
2 of 8
Socket Head Cap Screw
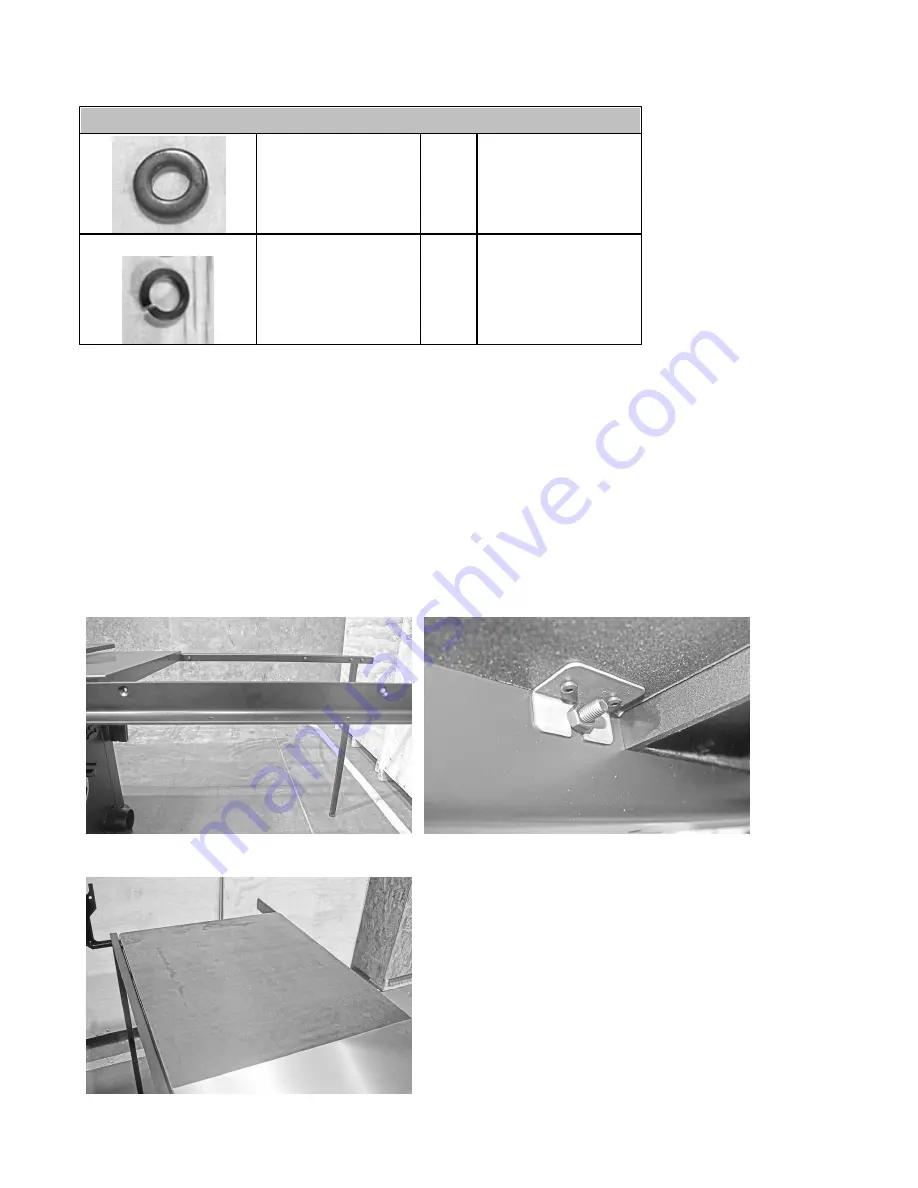
Mounting the Table Extension:
1. Thread two counter sunk bolts through the two empty through holes on the front rail bracket.
2. Thread two socket head cap screws through the empty bolt holes on the right ear rail bracket.
3. Place the right extension table’s grooves on top of the socket head and counter-sunk screws respectively. Ensure that
each of the four the grooves are securely rested on the threads of each of the exposed screws.
4. Thread flat washers and hex nuts on the backs of each of the screws. Use the wrench to tighten the bolts and secure
the extension table to the front and rear rails.
Pre-Installation:
Underside Bracket (the picture does not show a flat
washer used, please use one)
Completed installation:
Summary of Contents for Fusion F3
Page 1: ...PRECISION WOODWORKING MANUAL Fusion F3 Table Saw MTSF3362203 0130 36 MTSF3362203 0130 52...
Page 21: ...Fusion F3 Table Saw Setup 21 2020 Laguna Tools Setup...
Page 54: ...Fusion F3 Table Saw Wiring Diagram 54 2020 Laguna Tools Wiring Diagram...
Page 56: ...Fusion F3 Table Saw Replacement Parts Diagram 56 2020 Laguna Tools Internal...
Page 57: ...Fusion F3 Table Saw Replacement Parts Diagram 57 2020 Laguna Tools Blade Guard Mitre Gauge...
Page 58: ...Fusion F3 Table Saw Replacement Parts Diagram 58 2020 Laguna Tools 36 Rails Fence...
Page 59: ...Fusion F3 Table Saw Replacement Parts Diagram 59 2020 Laguna Tools 52 Rails Fence...


