Main Display
The main display screen shows the current status and offers
shortcuts for modifying some parameters using the quick
execution buttons.
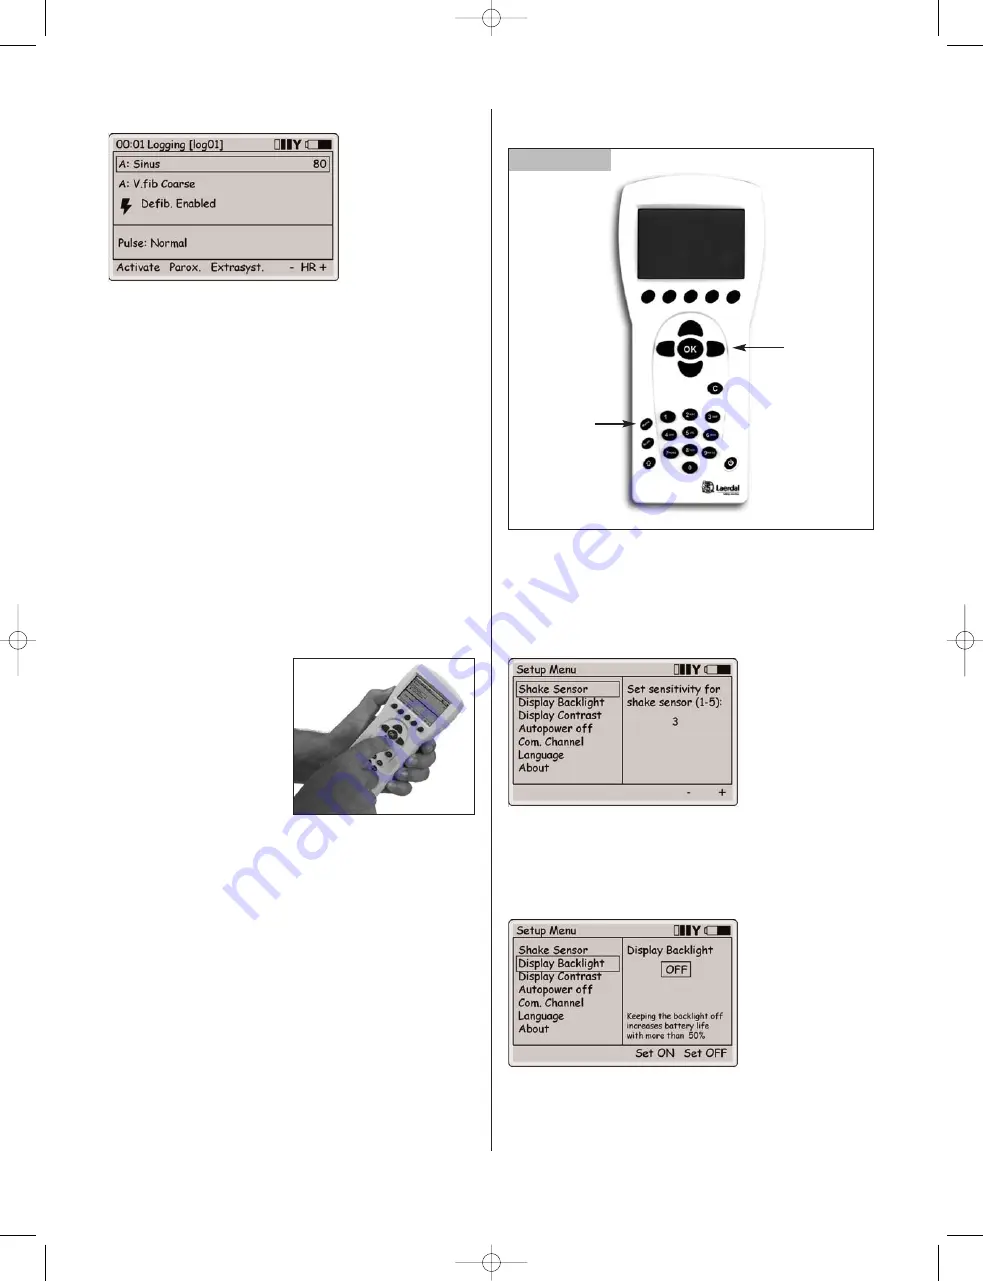
The main display is divided into three functional areas and a
quick execution area as shown in figure 6:
1
.
The upper area is the Log section. The log status and clock are
presented here together with the remote control battery status
and a radio reception indicator.
2.
The ECG section is indicating Running Rhythm on the first line
and Waiting Rhythm on the second line. ”Defib. Enabled” allows
change to Waiting Rhythm when a defibrillator shock is given.
3.
The “Pulse” area allows changes to the carotid pulse strength
and can be set to Weak, Normal or Strong.
4.
The quick execution menus are shown at the bottom of each
display window. Quick execution button functions will change as
the selected function area changes.
Operation
1
.
Using left/right navigation
buttons (located to the left
and right side of the
OK
button) tab to the desired
functional area of
the display. Once the desired
area is highlighted, use the
up/down navigation buttons
to scroll through to the
desired selection.
2.
When the desired functional area is highlighted, press
OK
to edit
the settings. (For example, to set the rhythm, highlight the ECG
functional area and push the OK button).
Note:
While in the edit mode (point 2 above) the user may
press the shift key together with the
OK
key in order to stay in
the editing screen. This allows the user to make multiple changes
before returning to the main screen again.
3.
When the selection is complete, press
OK
to implement
the new selection and return to the main display.
Note:
To cancel the selection press C. This action returns to
the main display with the previous setting unchanged.
Setup: Remote Control Settings
1
. Setup Menu:
To activate the Setup Menu, press the Menu
button as shown in figure 7. Use the navigation buttons to select
the desired function as shown in figure 7. Use quick execution
buttons or the navigation buttons to make a selection as shown
in figure 8. Press
OK
to save.
2. Display backlight
can be turned on or off as shown in
figure 9. Unless used in a dark room, it is recommended to have
the backlight off to preserve batteries.
Note:
The default setting is “off”.
6
Figure 7
Menu setup
Navigation
buttons
– Figure 6
– Figure 8
– Figure 9
RA Adv skilltrainer_Multi:RA Advanced skilltrainer_Multi.qxd 02.09.2008 07:55 Page 6


