39
3.
Prepare the microfluidic channel. Fill it out with the buffer and introduce a sample of
polystyrene fluorescent particles.
4.
Adjust focus, illumination and flow characteristics.
Alternately, you can also open an existing flow movie by choosing
Video > Process Saved Video
Creating velocity probes.
6.1.2
Creating a PIV probe
To create a probe:
1.
Click the
Velocity Probe
toolbar button
to highlight the button.
2.
With your mouse curser over the image, right click on the mouse and select New Probe.
Bring the mouse to the center point for the new probe and left click the mouse to place
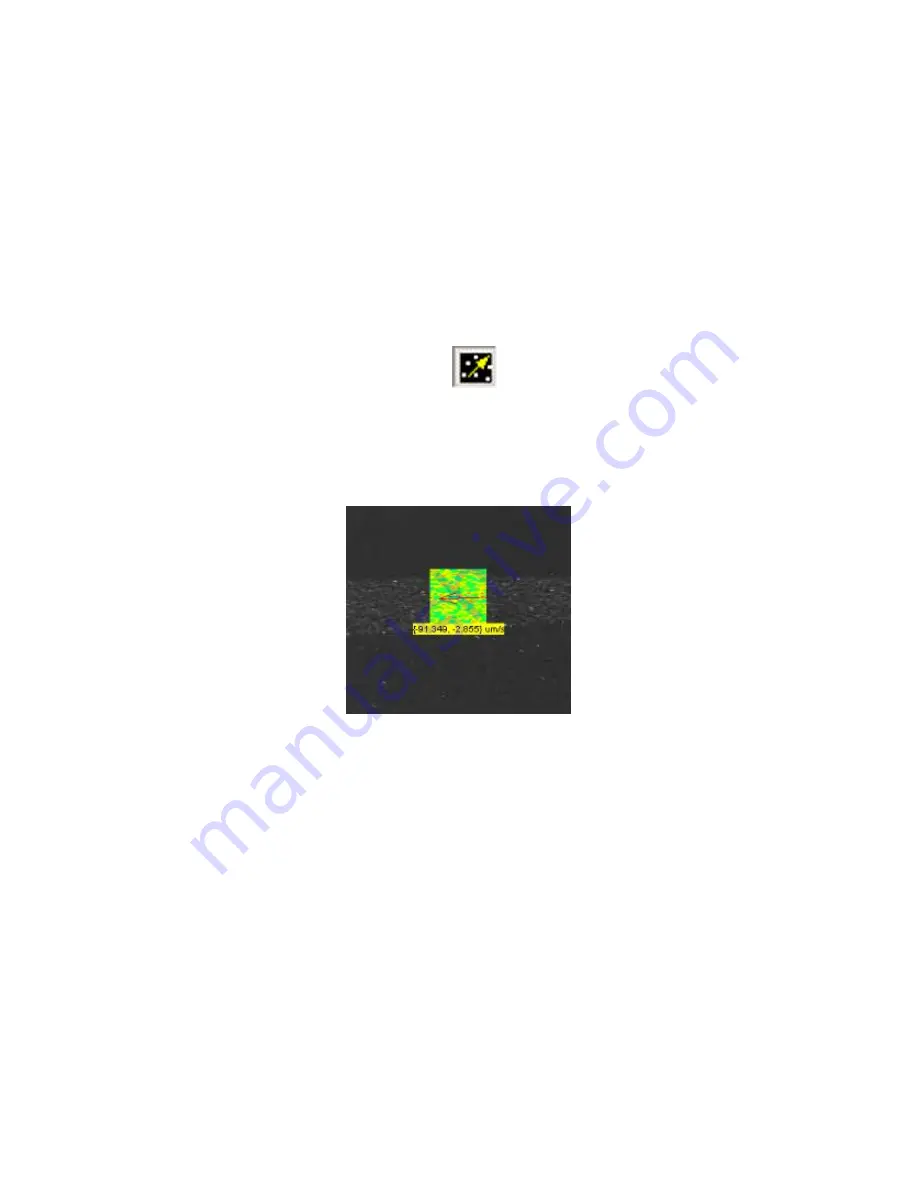
the probe. A probe such as the one below will appear.
New probe showing correlation field, vector arrow and real time velocity
as text
3.
Repeat step 2 to create as many probes as desired.
4.
Once created, the probes can be moved by clicking and holding the mouse button over
the probe and dragging it to the desired location.
5.
Click the + and
–
toolbar buttons to make the probes more or less transparent. The software will
continue to calculate velocity at these locations even if you make the probes completely
invisible.
6.
To remove a probe, right click on it and choose Delete.
When you first create a probe uScope will experimentally determine the fastest FFT algorithm
to use. This process may take up to 60 seconds to complete, at which point the software will
begin calculating velocity at the location.


