19
3.3.7.3 Contrast
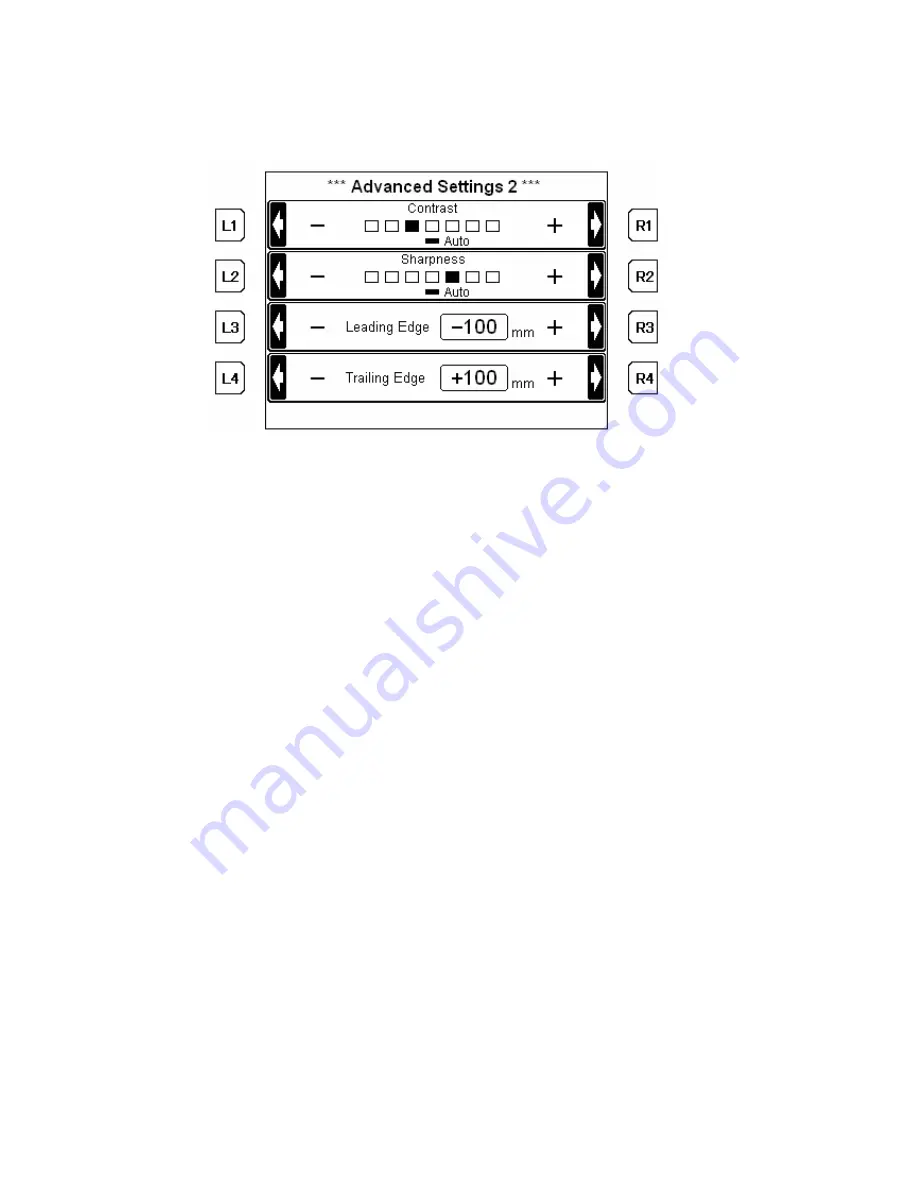
Images are printed at the appropriate contrast on “Auto”.
To adjust the contrast manually, press the
R2
Key or
L2
Key to enter Advanced Settings
(2).
Press the
L1
Key for lower contrast or
R1
Key for higher.
Press the
Enter
Key to apply the setting.
3.3.7.4 Sharpness
Images are printed at the appropriate sharpness on “Auto”.
To adjust the sharpness manually, press the
R2
Key or
L2
Key to enter Advanced Settings
(2).
Press the
L2
Key to decrease in sharpness or
R2
Key to increase.
Press the
Enter
Key to apply the setting.
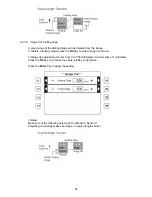
3.3.7.5 Margin-Leading edge
A margin can be provided to the leading edge of a copy, or part of the image can be
deleted from a copy.
To specify the leading edge, press the
R2
Key or
L2
Key to enter Advanced Settings (2).
Leading edge adjustment covers from - 100 to + 100 millimeters in increments of 1
millimeter.
To provide a margin, input a positive value.
To delete the leading image, input a negative value.
Press the
R3
Key to increase the value,
L3
Key to decrease.
Press the
Enter
Key to apply the setting.
<Notes>
When providing a margin, a given length of the margin is added to the upper of the copy.
When deleting a leading image, a given length of the image can be reduced or enlarged
depending on the zoom setting.
Make sure of the following notes when Cut Mode is “Synchro”
A copy length is equal to the sum of the original and a given length.
Reducing a lead edge makes a copy shorter in a given length.


