


5-1
CHAPTER 5
MANAGEMENT AND
SETTING
1. Machine Default
The */Menu key on the operation panel can be used to configure settings such as the paper width and media type for each of the paper trays, the
printer’s IP address, etc.
Based on their content, settings are divided into “Machine settings” that configure the printer’s operation and “Printer settings” that configure the
printer’s IP address and related network information. In addition they are divided according access privilege: there is a subset that offers limited
control to any “User”, while full access to all settings is reserved for the “Manager”. Input of the pin code is required for the manager to configure
settings.
For a description of each setting, see “(1) List of Machine Settings” and “(1) List of Printer Settings” (Page 5-11).
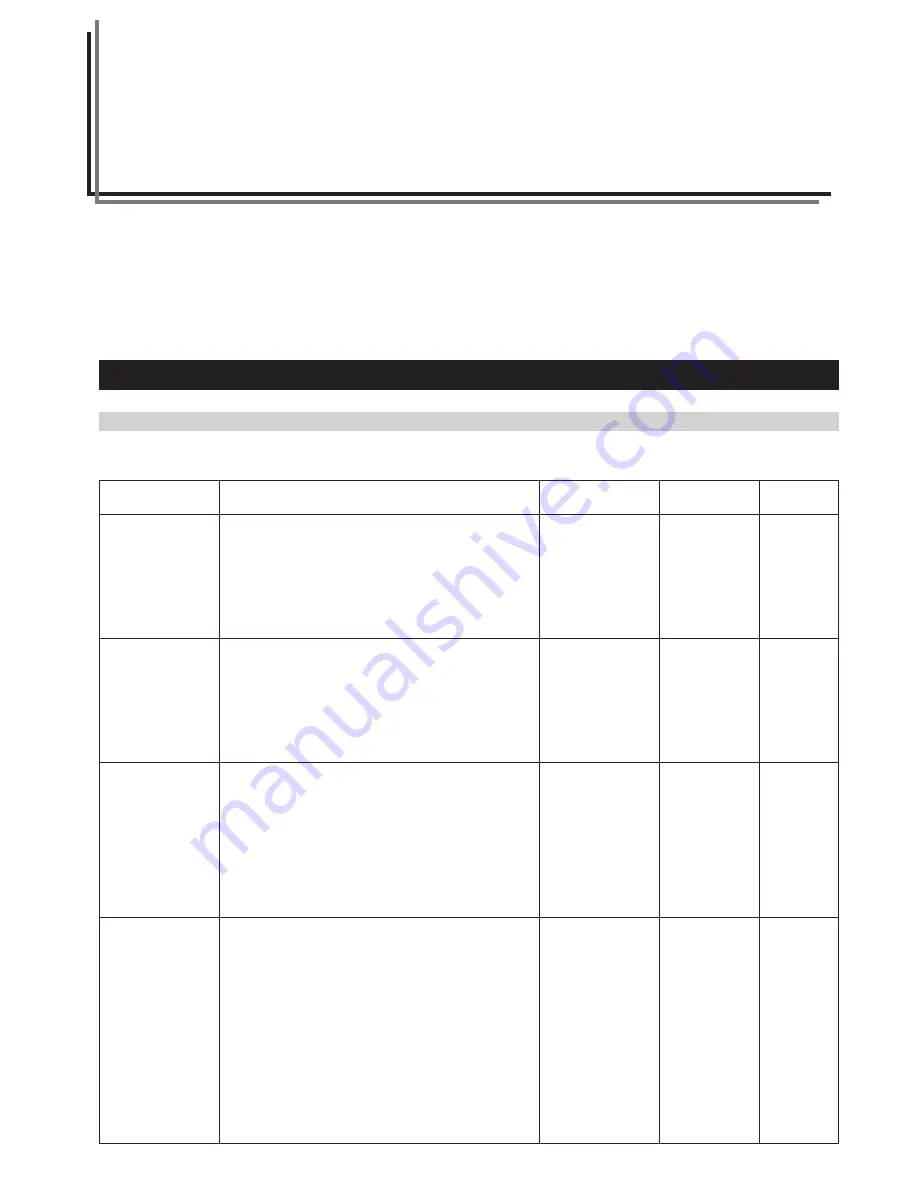
Setting
1.
Paper width
2.
Media Type
[Pre-set Temp.]
3.
Paper type
[Paper
material]
4.
Roll end
Description
If this item is set to “Input size”, a non-standard paper width
can be set. Use the
N
or
M
key to enter the paper width for
each paper source.
If this item is set to “ON”, a media type can be registered for
each paper source. Fixing temperature, print size, and fix/
unfix of roll end will be set based on the registered paper
material.
If “2. Media Type [Pre-set Temp.]” is set to “ON”, a media
type can be set for each paper source including the bypass
table.
If “Custom” is selected, fixing temperature, print size, etc. will
be set based on “8. Custom paper”.
This item sets whether or not paper roll end is fixed to the
core of the roll. If “Fixed” is selected, paper will be
automatically cut when paper runs out.
Selectable values
For each paper
source:
Auto size/
Input size (17"~36"
[210mm~920mm])
ON/OFF
For each paper
source:
Plain/Vellum/
Film/Custom
For each paper
material:
Unfix [Unfixed]/
Fixed
Default
Auto size
OFF
Plain
Unfix [Unfixed]
(Film: Fixed)
Page
5-6
5-6
5-6
5-7
(1) List of Machine Settings
●
Settings common to user/manager
Summary of Contents for KM-P4845w
Page 15: ...CHAPTER 2 PRIOR TO SET UP 2 3...
Page 28: ...CHAPTER 3 GETTING READY FOR PRINTING 3 10...
Page 34: ...CHAPTER 4 PRINTER OPERATION 4 6...
Page 60: ...CHAPTER 6 TROUBLESHOOTING 6 14...
Page 63: ...CHAPTER 7 SPECIFICATIONS 7 3...


