


CHAPTER 3 GETTING READY FOR PRINTING
3-3
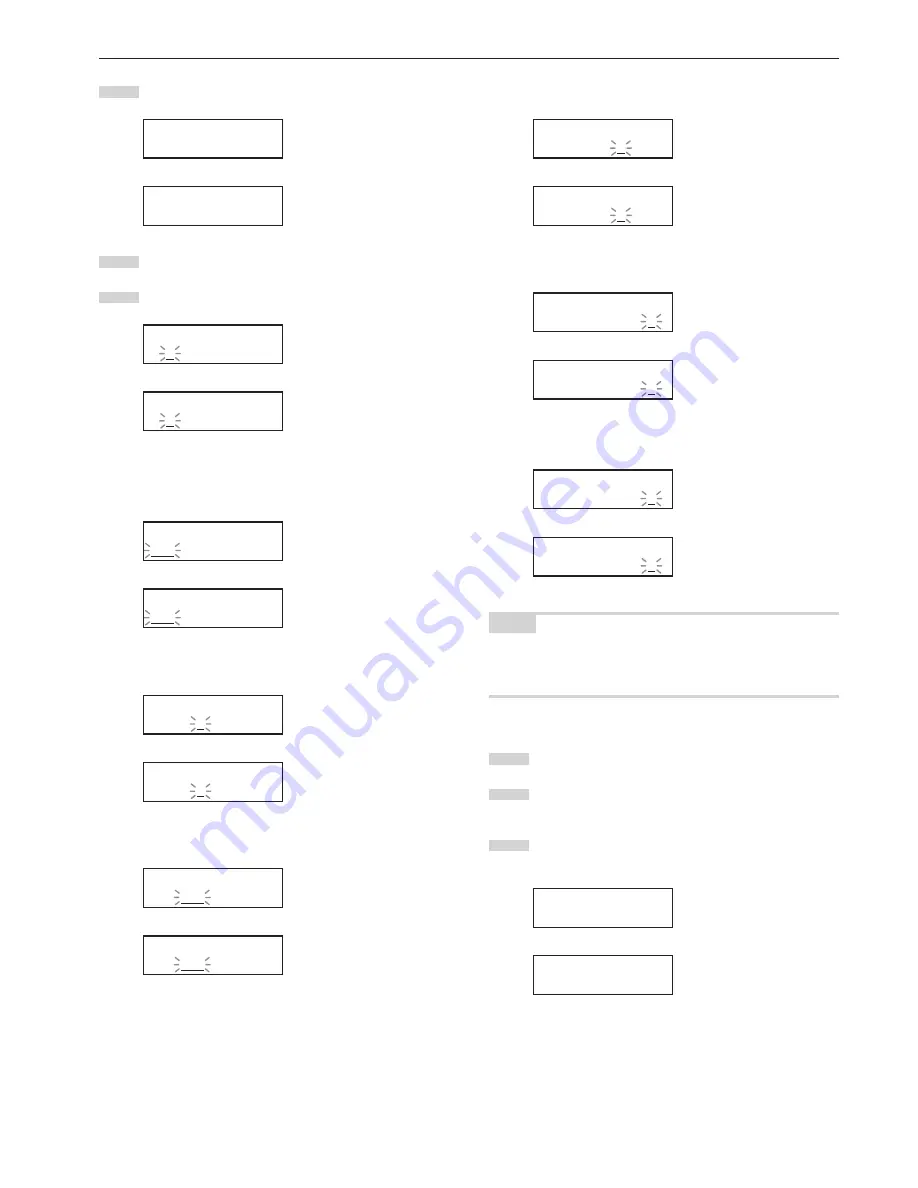
7
Press the
N
or
M
key to select “4. IP address”.
Inch specifications
Set printer:
4.IP address
Metric specifications
Set printer:
4.IP address
8
Press the Enter key.
9
Use the
MNOP
cursor keys to input the IP address.
Inch specifications
IP address:
0. 0. 0. 0
Metric specifications
IP address:
0. 0. 0. 0
In order to set the IP address to “192.168.0.1”, perform the
following procedure.
1
Press the
N
or
M
key to display “192”.
Inch specifications
IP address:
192. 0. 0. 0
Metric specifications
IP address:
192. 0. 0. 0
2
Press the
P
key. The next value will flash.
Inch specifications
IP address:
192. 0. 0. 0
Metric specifications
IP address:
192. 0. 0. 0
3
Press the
N
or
M
key to display “168”.
Inch specifications
IP address:
192.168. 0. 0
Metric specifications
IP address:
192.168. 0. 0
4
Press the
P
key. The next value will flash.
Inch specifications
IP address:
192.168. 0. 0
Metric specifications
IP address:
192.168. 0. 0
5
Press the
P
key. The next value will flash.
Inch specifications
IP address:
192.168. 0. 0
Metric specifications
IP address:
192.168. 0. 0
6
Press the
N
or
M
key to display “1”.
Inch specifications
IP address:
192.168. 0. 1
Metric specifications
IP address:
192.168. 0. 1
NOTE
Press the Stop key if you want to enter the address once again from
the beginning. The displayed IP address will return to its previous
value.
10
Press the Enter key.
11
Use the same procedure in order to set the “5. Subnet
mask”, “6. Gateway”, and “7. DNS server” information.
12
Once you have completed all of the required settings, press
the
N
or
M
key to select “End” and then press the Enter key.
Inch specifications
Set printer:
End
Metric specifications
Set printer:
End
Summary of Contents for KM-P4845w
Page 15: ...CHAPTER 2 PRIOR TO SET UP 2 3...
Page 28: ...CHAPTER 3 GETTING READY FOR PRINTING 3 10...
Page 34: ...CHAPTER 4 PRINTER OPERATION 4 6...
Page 60: ...CHAPTER 6 TROUBLESHOOTING 6 14...
Page 63: ...CHAPTER 7 SPECIFICATIONS 7 3...


