


68
Operation of Test Print
Density Check
Check the density value according to the items to be checked shown below.
Category
Item
Number
Item to be Checked
Density
When Checking from the Message Display Window on the Operation Panel
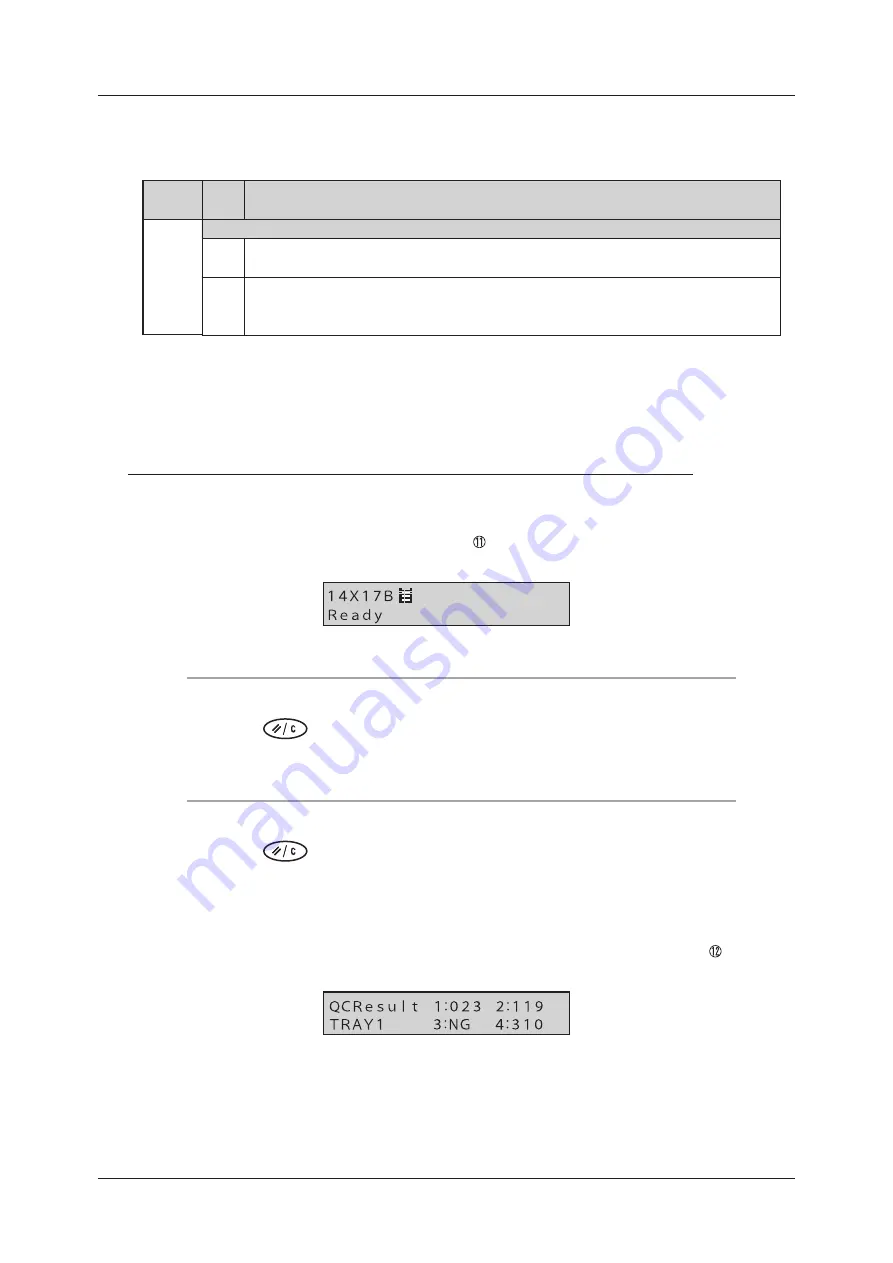
(11) After printing the QC patterns, “Dens. Error <Tray No.>” is not displayed on the DRYPRO 832
operation panel
(12) After printing the QC pattern, “NG” is not displayed in “1” to “4” of the “QC Result” in the QC
Results View on the DRYPRO 832 operation panel, but the correct density value (three digits)
is displayed
Check the readout given by the densitometer built into the main unit from the operation panel of the
main unit.
When Checking from the Message Display Window on the Operation Panel
1
Check that “Dens� Error <Tray No�>” is not displayed on the DRYPRO 832
operation panel� (Item to be checked: )
When QC patterns are printed from the standard supply tray (tray 1)
2
Press the
[Reset/Cancel] button twice�
The QC Results View of the standard supply tray (tray 1) is displayed.
When QC patterns are printed from Lispl-832 (tray2)
2
Press the
[Reset/Cancel] button three times�
The QC Results View of the Lispl-832 (tray 2) is displayed.
3
Check that “NG” is not displayed in “1” to “4” of the “QC Result” and the
correct density value (three digits) is displayed� (Item to be checked: )
After the expiration of 30 seconds without external input, the screen is restored to
the Current Status View.
Summary of Contents for Drypro 832
Page 1: ...LASER IMAGER 01 ET EN ...
Page 2: ......
Page 4: ...4 Sisukord Appendix 75 A Specifications 76 B Test Print Check List 78 ...
Page 9: ...9 Peatükk 1 Hoiatused ja ettevaatusabinõud ...
Page 25: ...25 Chapter 2 Product Outline ...
Page 33: ...33 Chapter 3 Operation from Main Unit ...
Page 53: ...53 Chapter 4 Troubleshooting ...
Page 63: ...63 Chapter 5 Maintenance ...
Page 75: ...75 Appendix ...
Page 80: ...80 ...
Page 81: ...81 ...
Page 82: ...82 ...
Page 83: ......


