A-61916 August 2019
17
Getting your scanner ready
1. Be sure the scanner is on and ready to scan (the perimeter of the power
button will flash several times and then stay illuminated).
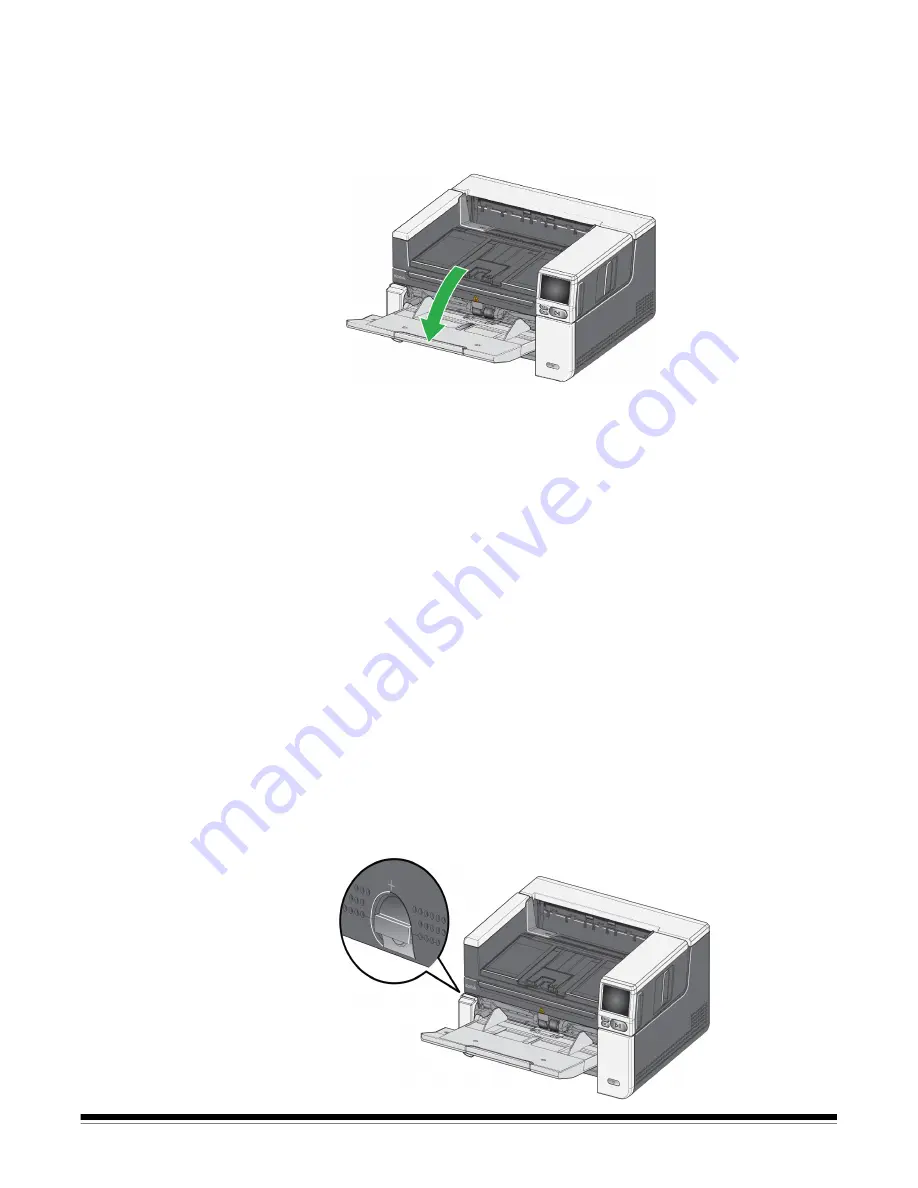
2. When the scanner is not is use, the input tray can be folded up against the
scanner. Be sure that the input tray is lowered when scanning.
3. Adjust the side guides on the input tray to meet your scanning needs. (See
“Adjusting the input tray for document length” on page 19.)
4. Select your scanning application. The scanner comes with Smart Touch
functionality and
Kodak
Capture Pro LE. For more information, see
“Available Alaris Scanning Software” on page 16.
Getting your documents ready to scan
• Standard paper size documents feed easily through the scanner. When
organizing your documents for scanning, stack the documents so the lead
edges are aligned and centered in the input tray. This allows the feeder to
introduce documents into the scanner one at a time.
• Remove all staples and paper clips before scanning. Staples and paper clips
on documents may damage the scanner and documents.
• All inks and correction fluids on the paper must be dry before scanning is
started.
• Torn, damaged or crushed pages can be transported successfully through
the scanner. However, no scanner can transport every possible type of
damaged paper. If in doubt about whether a specific damaged document
can be transported through the scanner, you can use the flatbed or place the
document in a clear protective sleeve and use the rear document exit.
Sleeves should be manually fed, one at a time, folded edge first, when using
the gap release or the rear document exit. (For more information, see “2
Gap Release” on page 3 and “7 Rear document exit” on page 7.)
Summary of Contents for S2000f Series
Page 6: ...iv A 61916 August 2019...
Page 83: ......


