1
30
7. Operation
7.7 Grinding mincing plates
Switch on the grinding machine (see Chapter
3.4.1) and activate the control using the “Control
ON” (3-5/1) button.
Put the grinding unit in its working position as
described in Chapter 7.4.
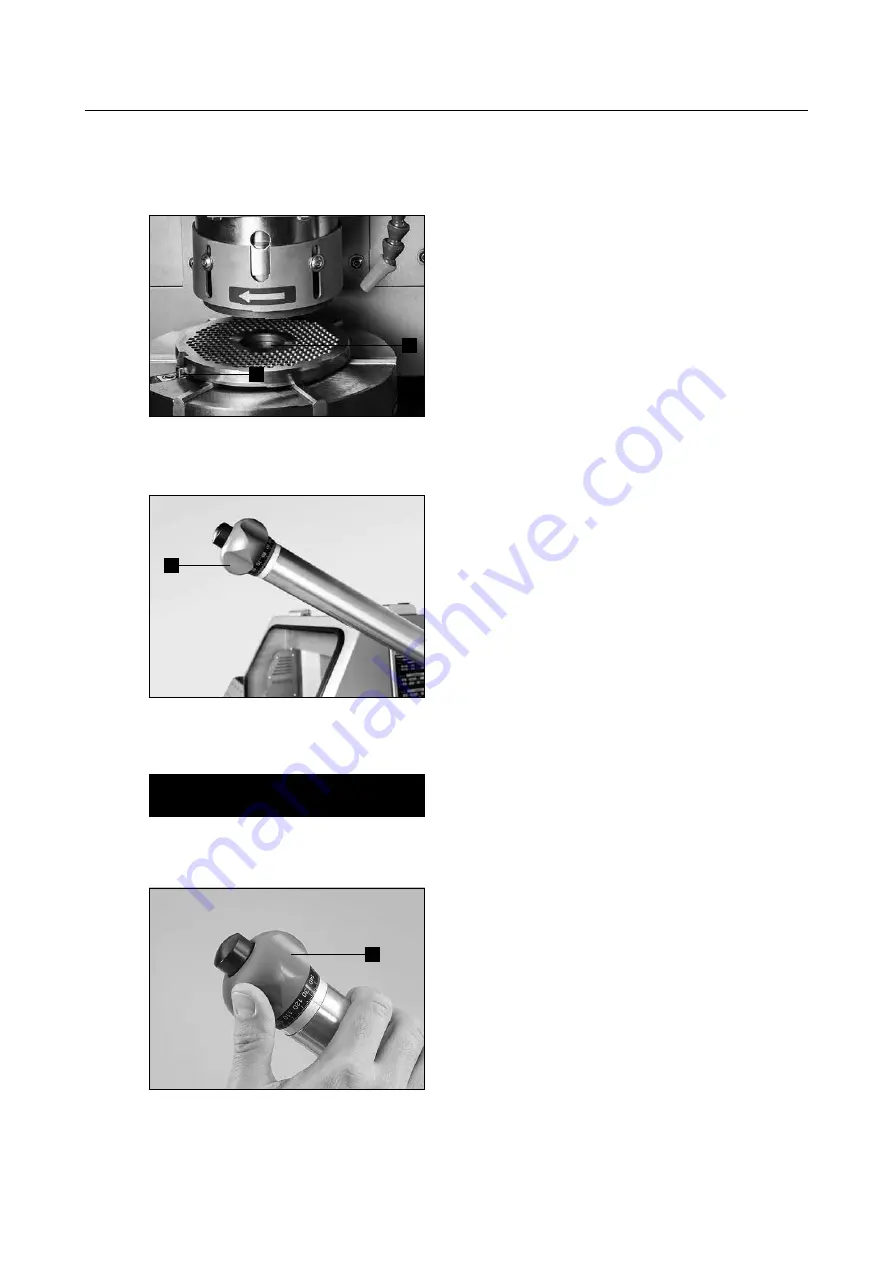
Place the mincing plate onto the rotary table and
center it. Use the centering piece (7-9/1) and fol-
lower (7-9/2).
Put the grinding unit in its working position as
described in Chapter 7.4.
Use the control lever (7-10/1) to bring down the
grinding unit until it is just above the mincing
plate. The grinding wheel may only touch the
mincing plate when the drive is activated.
Start the rotary table, coolant pump and suction
unit by pressing the “Drive On / Off” button (3-
5/5).
ATTENTION
The machine is electrically secured. All units
apart from the coolant pump can only be
switched on when the protective door is
closed.
To grind, feed the grinding unit using the fine feed
(7-11/1) at the tip of the control level until sparks
are clearly visible.
Allow the machine to operate without further
feed until the sparks die away. Feed again until the
mincing plate is evenly surface-ground.
In order to achieve good surface quality, apply
slightly less pressure for approx. 10 seconds after
the last feed (using the fine feed).
After grinding, run the grinding unit upwards
using the control lever until the drive stops auto-
matically.
Figure 7-9
Mincing plate on rotary table
Figure 7-10
“Grinding unit” control lever
1
2
Figure 7-11
“Grinding unit” fine feed
1


