34
Replacing the leak sensor
AZURA® CT 2.1 Service Instructions VSM-020
8.2 Installing the new leak sensor
The old leak sensor has been removed.
Torx screwdriver T10
Process
Figure
1.
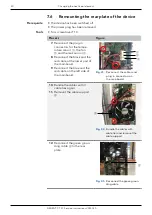
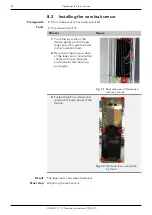
From the rear side of the
device gently push the new
leak sensor through the hole
in the insulation foam.
2.
Reconnect the plug-in cable
of the leak sensor, secure the
cables with new cable ties
and remount the cable sup-
port again.
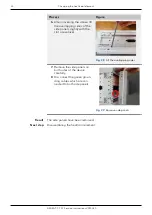
Fig. 51
Rear side view of the device
with leak sensor
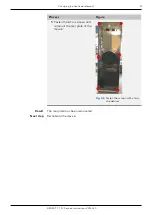
3.
Fasten the 6 Torx screws and
remount the rear panel of the
device.
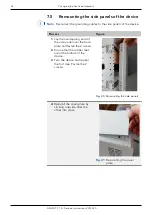
Fig. 52:
Remove the cover plate
by hand
The leak sensor has been replaced.
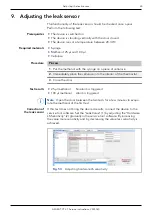
Adjusting the leak sensor.
Prerequisite
Tools
Result
Next step


