62
Copyright © 2000 - 2005 KEMP Technologies, Inc. All Rights Reserved.
The next step is to enable content switching for a virtual service. If you wish to create a new rule with content
switching, follow the steps outlined in the previous section for creating a virtual service, specifying its VIP,
port and protocol. If you wish to add content switching to an existing virtual service, click that service's
“Modify” button. On the properties page, you will notice the text “Content switching: disabled” in the “Content
Switching and Persistence Options” section.
Add a real server, in the way described in the previous section, and you should notice that there is now a
button entitled “Enable” in the “Content Switching and Persistence Options” section. Click this button, and an
extra column, “Rules”, will appear in the “Real Servers” table containing a button that displays the number of
rules assigned to that real server. In this case, the button will display “None”. Click the button to add rules to
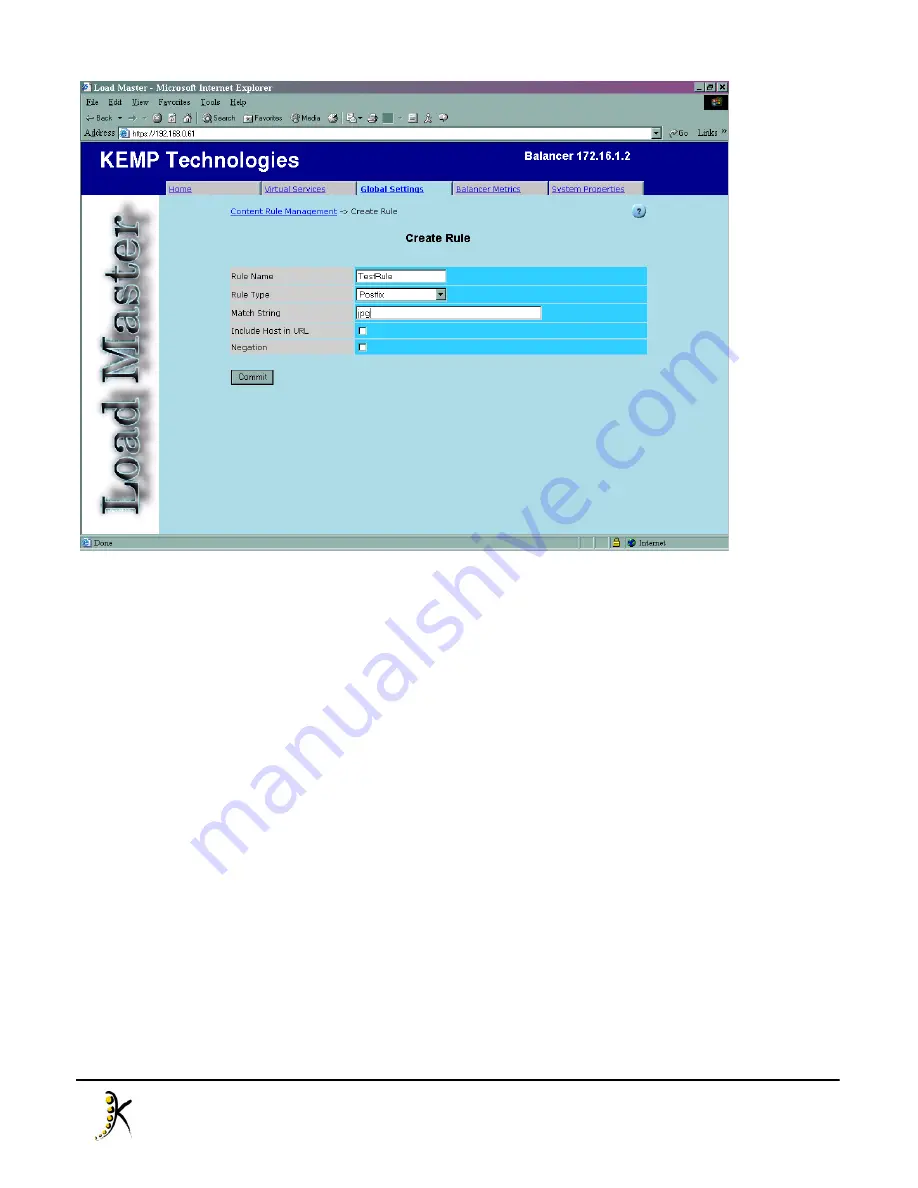
the real server. For example, if real server 10.1.1.13 contained all JPEG files we would wish to add the
“TestRule” to this real server.
The rule assignment page shows a summary list of rules that are assigned to the real server in question and a
pull-down list of rules that have already been defined, and have not been assigned to this real server yet.
There is also a rule that is always present, entitled “default” and this rule basically governs all requests that
do not match any other selected rules. Select the rule defined earlier (in our case “TestRule” and click “Add”.
It should now appear in the summary list. Click the arrow button in the top left of the page to return to the
virtual service properties page. Repeat the rule assignment process for all real servers - those that do not
require a specific rule must be assigned the “default” rule otherwise they will effectively be useless, and
depicted as “Down”.


