66
Premium
EPG
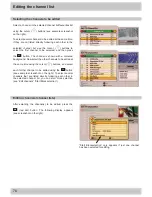
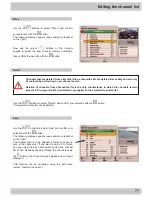
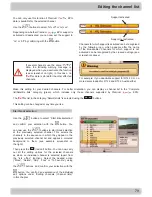
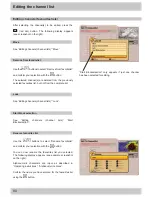
Recording settings (programming the timer)
The
(red dot) button allows you to set a programme
for recording at any time. The programme to be recorded
can be selected in any of the EPG views, provided
the
(red dot) button appears at the bottom of the
screen display.
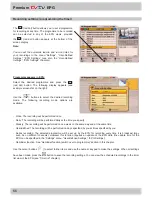
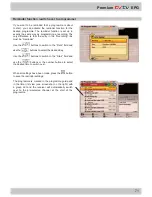
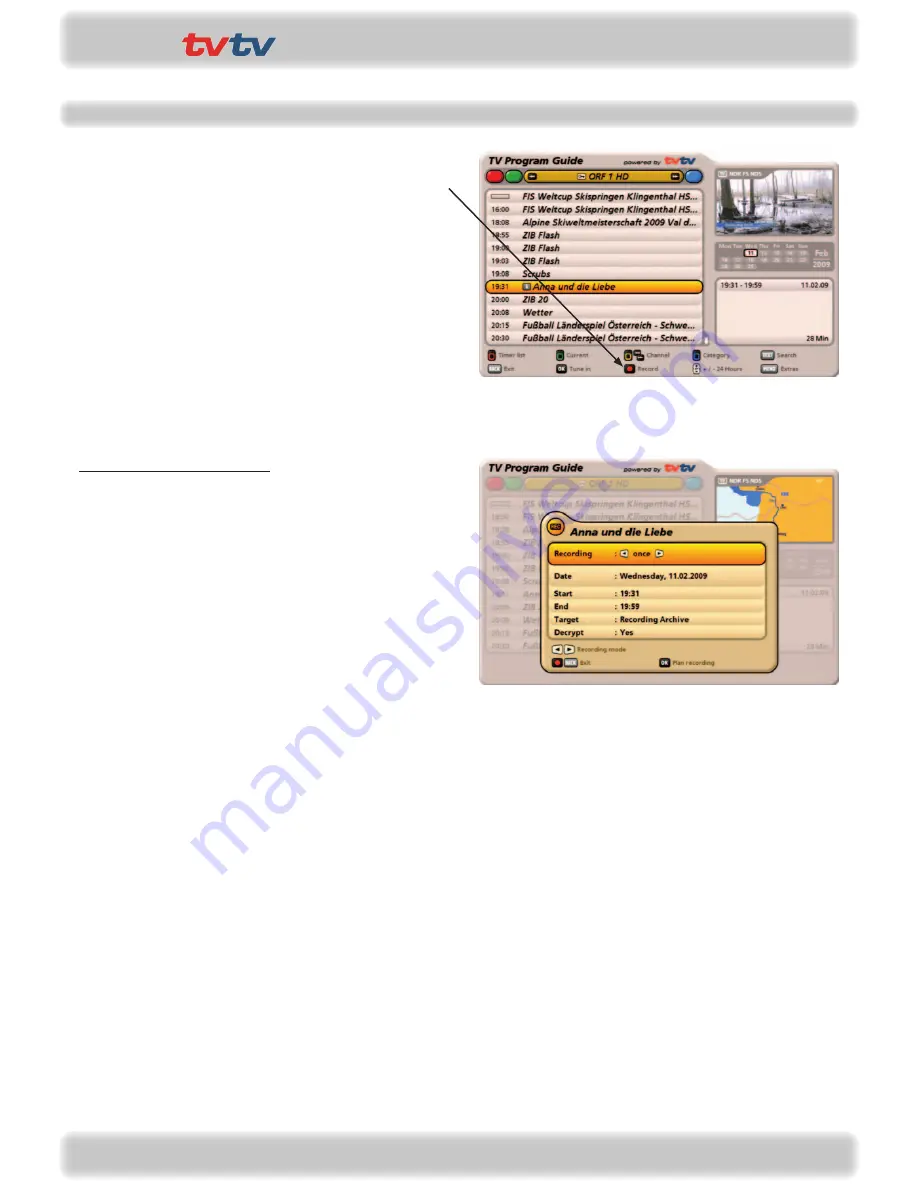
Programme appears in EPG:
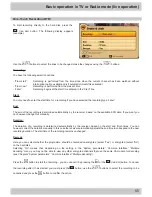
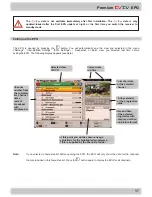
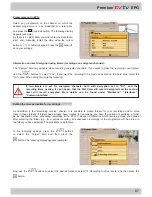
Select the desired programme and press the
(red dot) button. The following display appears (see
example screenshot on the right):
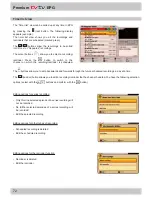
Use the
buttons to select the desired recording
mode. The following recording mode options are
available:
Note:
You can set the automatic lead-in and run-on times for
your recordings in the menu
“Settings”, “User-Defined
Settings”, “EPG Settings”
(see also the “User-Defined
Settings”, “EPG Settings” chapters)
- Once: The recording will be performed once
- Daily: The recording will be performed daily at the time you specify
- Weekly: The recording will be performed once a week on the same day and at the same time
- User-defined: The recording will be performed on days specified by you at times specified by you
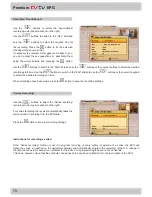
- Series recording: The selected programme will be set up by the EPG for recording every time it is broadcast (may
even be on different channels). However this function requires an update of the EPG data (the update time for the
EPG can be specified in the “Settings” menu, “User-Defined Settings”, “EPG Settings”).
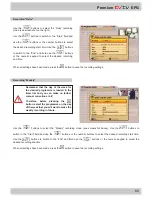
- Reminder function: See “Reminder function (switch over to programme)” section in this chapter.
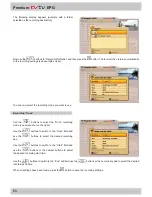
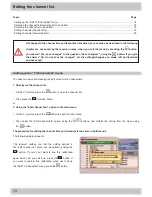
Use the cursor buttons (
) to select further items and use the numeric keypad to make the settings. When all settings
have been made, press the
button to save the recording settings. You can view the scheduled recordings in the timer
list view of the EPG (see “Timer list” chapter).

