2
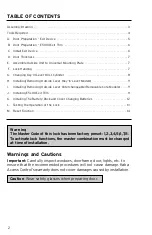
TABLE OF CONTENTS
Assembly Drawing . . . . . . . . . . . . . . . . . . . . . . . . . . . . . . . . . . . . . . . . . . . . . . . . . . . . . . . . . . . . . .3
Tools Required . . . . . . . . . . . . . . . . . . . . . . . . . . . . . . . . . . . . . . . . . . . . . . . . . . . . . . . . . . . . . . . . .4
A.
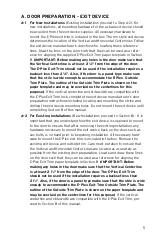
Door Preparation – Exit Device . . . . . . . . . . . . . . . . . . . . . . . . . . . . . . . . . . . . . . . . . . . . . . .5
B.
Door Preparation – E5000 Exit Trim . . . . . . . . . . . . . . . . . . . . . . . . . . . . . . . . . . . . . . . . . .6
C.
Install Exit Device . . . . . . . . . . . . . . . . . . . . . . . . . . . . . . . . . . . . . . . . . . . . . . . . . . . . . . . . . . .6
D.
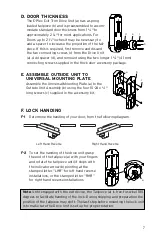
Door Thickness . . . . . . . . . . . . . . . . . . . . . . . . . . . . . . . . . . . . . . . . . . . . . . . . . . . . . . . . . . . . .7
E.
Assemble Outside Unit to Universal Mounting Plate . . . . . . . . . . . . . . . . . . . . . . . . . . . . .7
F.
Lock Handing . . . . . . . . . . . . . . . . . . . . . . . . . . . . . . . . . . . . . . . . . . . . . . . . . . . . . . . . . . . . . .7
G.
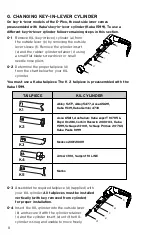
Changing Key-In-Lever (KIL) Cylinder . . . . . . . . . . . . . . . . . . . . . . . . . . . . . . . . . . . . . . . . .8
H.
Installing/Removing Outside Lever (Key-In-Lever Models) . . . . . . . . . . . . . . . . . . . . . . .9
I.
Installing/Removing Outside Lever (Interchangeable/Removable Core Models) . . . . .9
J.
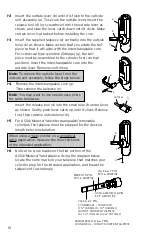
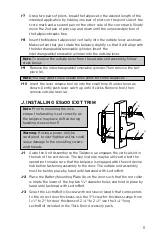
Installing E5x00 Exit Trim . . . . . . . . . . . . . . . . . . . . . . . . . . . . . . . . . . . . . . . . . . . . . . . . . . .11
K.
Installing The Battery Pack and Cover Changing Batteries . . . . . . . . . . . . . . . . . . . . . .12
L.
Testing the Operation of the Lock . . . . . . . . . . . . . . . . . . . . . . . . . . . . . . . . . . . . . . . . . . . .13
M.
Reset Function . . . . . . . . . . . . . . . . . . . . . . . . . . . . . . . . . . . . . . . . . . . . . . . . . . . . . . . . . . . . .14
Warning
The Master Code of this lock has been factory preset: 1,2,3,4,5,6,7,8.
To activate lock functions, the master combination must be changed
at time of installation.
Warnings and Cautions
Important
: Carefully inspect windows, doorframe, door, lights, etc. to
ensure that the recommended procedures will not cause damage. Kaba
Access Control’s warranty does not cover damages caused by installation.
Caution
: Wear safety glasses when preparing door.
Summary of Contents for E-Plex 5X10
Page 1: ...5X10 EXIT TRIM MODELS INSTALLATION INSTRUCTIONS...
Page 11: ...Notes...
Page 19: ...15 Notes...


