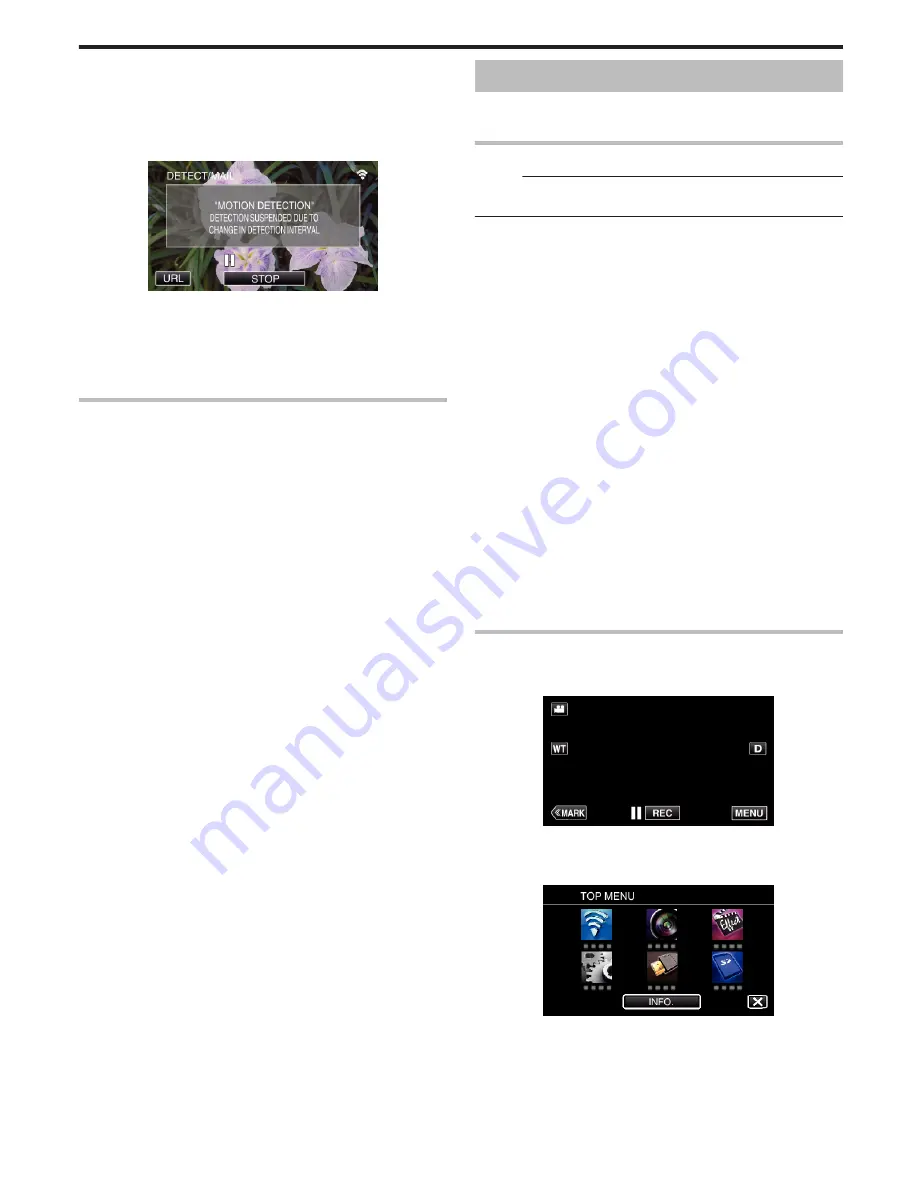
0
Images are captured automatically when moving subjects or human
faces appear on the camera’s screen. (The PHOTO icon appears on
the screen upon detection.)
0
The captured still images will be sent via e-mail to the selected
recipients.
10
Detection suspended
.
0
Until the next detection is made, detection is suspended for the pre-
set length of time.
0
“DETECTION INTERVAL” can be selected from 15 seconds, 1
minute, 3 minutes, 10 minutes, 30 minutes and 60 minutes.
“Setting the Detection Interval of this Camera (DETECT/MAIL
SETTING)” (
A
p. 114)
Check the incoming e-mail.
VIDEO MAIL
o
Setting (Once setting is done, start from the “Regular
Operation” below)
Create a QR code.
Memo :
0
Perform operations in step 2 and 3 after creating a QR code, and read the
QR code one by one by the camera.
o
Enter values in the required items for setting the recipient’s
e-mail address.
0
E-mail address: set the recipient’s e-mail address.
0
E-mail function: set the function of the e-mail that is transmitted to the
recipient’s e-mail address.
0
Up to 8 e-mail addresses can be set.
0
Start reading from (1) if multiple e-mail addresses are set. Click the number
or “<”, “>”.
o
Enter values in the required items for setting the sender’s
e-mail address.
0
E-mail address: set the sender’s e-mail address.
o
Enter values in the required items for setting the e-mail
server (SMTP server).
0
SMTP server: set the name of the e-mail server (SMTP server) from which
an e-mail account is obtained.
0
SMTP port number: set according to the condition when the e-mail
account is obtained. Normally set to “25”.
0
SMTP authentication method: set according to the condition when the e-
mail account is obtained.
0
User name: set if the SMTP authentication method is set to other than
“None”. (same as the registered user name (account name) when the e-
mail account is obtained)
0
Password: set if the SMTP authentication method is set to other than
“None”. (same as the registered password when the e-mail account is
obtained)
Display the screen for reading the QR code.
1
Tap “MENU”.
(Operation on this camera)
.
0
The top menu appears.
2
Tap the “Wi-Fi” (
Q
) icon.
(Operation on this camera)
.
3
Tap “COMMON Wi-Fi SETTING”.
(Operation on this camera)
Using Wi-Fi by Creating a QR Code
165
Summary of Contents for Procision GC-PX100
Page 21: ...CAMCORDER LYT2615 002A Detailed User Guide GC PX100 ...
Page 223: ... 2013 JVC KI NWOOD corporalion ...
Page 225: ......


