


32
4VetJ Ultrasound Scanner User’s Manual
The button [Clear data] clears fields which are filled with
data copied from the previous exam.
The [Save] button saves your information and [Cancel]
deletes it.
You can enter data into the patient record before an
examination starts. See
Patient Data Function
later in this
chapter.
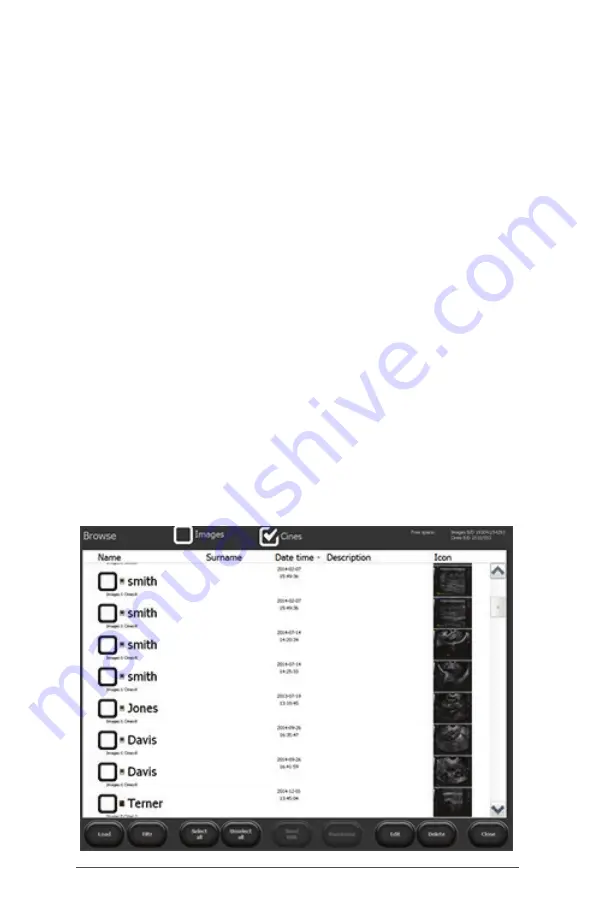
Uploading an Image or Cine Loop
To upload an image or cine loop saved in the scanner’s
memory to the basic panel or external data storage media,
press the [Open Image] or [Open Cine] button on the basic
panel. Press the box for Images and/or Cines at the top
of the screen until a check mark appears. A screen with
a list of the saved images and/or cine loops is shown with
functions along the bottom. Select the desired image or
cine loop by pressing the box next to it until a check mark
appears, then press the[Load] button in the bottom left
corner.
Note: This process can be used to transfer images and
records from the 4VetJ to a Mesa 2 running EmberEquine
software via Wi-Fi. Cine Loops cannot be sent via Wi-Fi.
Summary of Contents for 4VETJ
Page 1: ...U S E R S M A N U A L ...
Page 5: ...C H A P T E R GettingStarted 1 ...
Page 17: ...2 C H A P T E R 4VetJSettingsand Functions ...
Page 53: ...Clean Store Transport and Recycle A A P P E N D I X ...
Page 57: ...B A P P E N D I X WarrantyandRepair Information ...
Page 63: ...Warnings Regulatory Information and Licensing C A P P E N D I X ...
Page 67: ...A P P E N D I X Specifications D ...
Page 71: ...Index ...