DP550 User's Manual
- 7 -
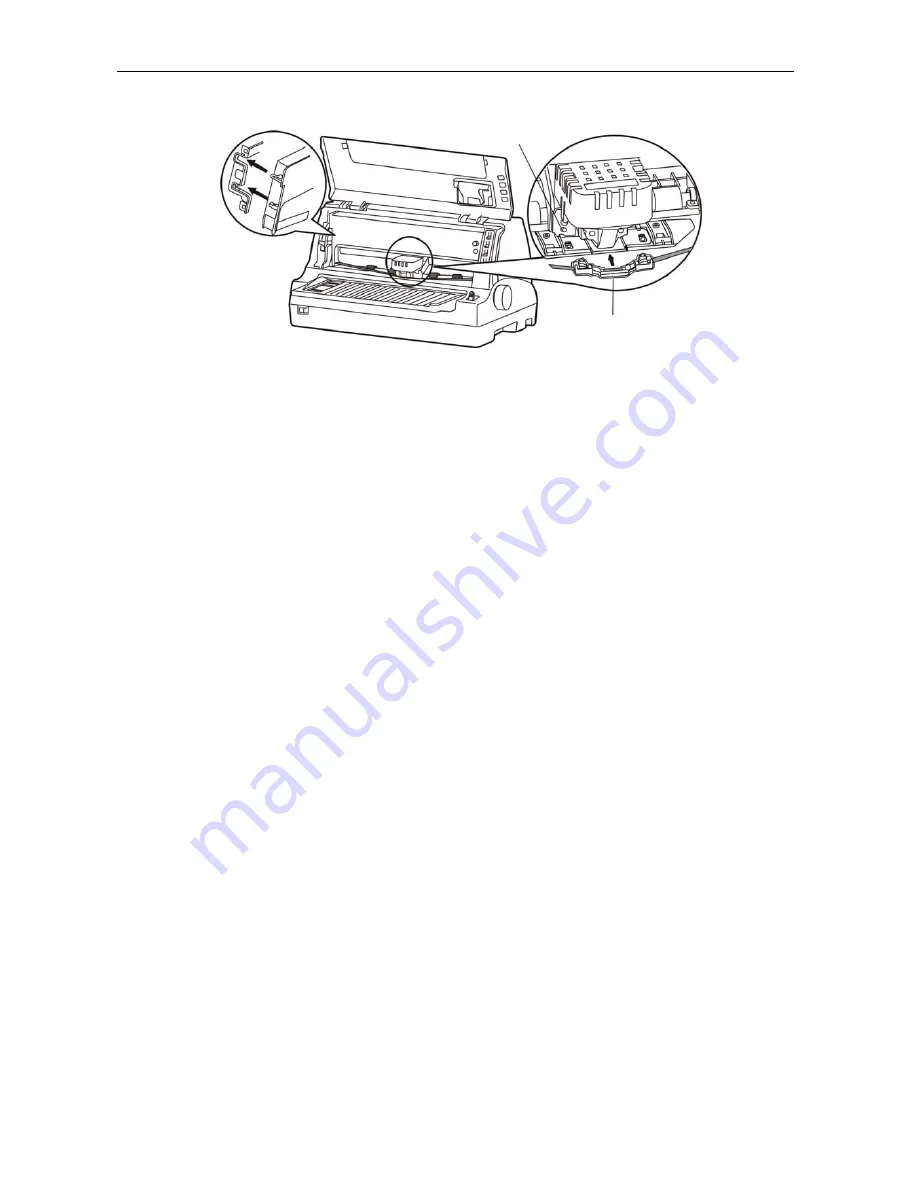
two guide poles of the carriage frame.
7. Turn the ribbon knob in the direction of the arrow to remove any slack from the ribbon again, ensure
the there is no crease in the ribbon core.
8. Slide the print head from side to side to make sure it moves smoothly.
9. Pull the gap adjust lever back to the original position and close the top cover.
Note: 1. When your print becomes faint, you need to replace the ribbon cartridge. Otherwise, the
print quality will be affected and the print head may be damage.
2. To remove the old ribbon cartridge, first make sure the power is turned off, move the
print head to the center of the printer. Then hold the ribbon cartridge handle on both
sides and lift it out of the printer forwards. Install a new one as the above steps.
3. Please use the Jolimark
JMR118 ribbon cartridge, our company will not guarantee to
keep the printer in good repair, when it is damaged by unauthorized ribbon cartridge.
2.8 Connecting the Interface Cable
Your printer contains a parallel interface, a USB interface, a serial interface or Ethernet interface.
(According to specific interface standards) Connect your computer to the printer with
corresponding interface cable. (As figure2-11, 2-12, 2-13, 2-14shown)
Note: Before connecting the parallel interface or the serial interface, please make sure the
power of the printer is shut down. Must after tighten the cable you may turn on the
power, or it will damage the printer.
2.8.1 Connecting to the Parallel Interface
1. Turn off both the computer and the printer. Plug the parallel cable connector securely into the
printer's parallel interface. Squeeze the wire clips together until they lock in place on both sides
of the connector.
2. Plug the other end of the cable into the computer's parallel interface; then tighten the screws on
both sides of the connector.
Figure 2-10 Installing the ribbon cassette
Ribbon nip
Carriage guide pole
Summary of Contents for DP550
Page 1: ...User s Manual DP550 Dot Matrix Printer ...
Page 25: ...DP550 User s Manual 21 ...
Page 64: ......


