Entering Temperature Setpoints
When the T600HCN-1 is in the occupied state, the first
prompt appearing in the Main User Menu is to set the
temperature setpoints. This prompt is where the
heating and cooling setpoints for the occupied and
unoccupied (see * in Table 3) states are entered. It is
also where any temporary setpoints are entered.
To enter the heating and cooling setpoints for the
occupied and unoccupied (see * in Table 3) modes
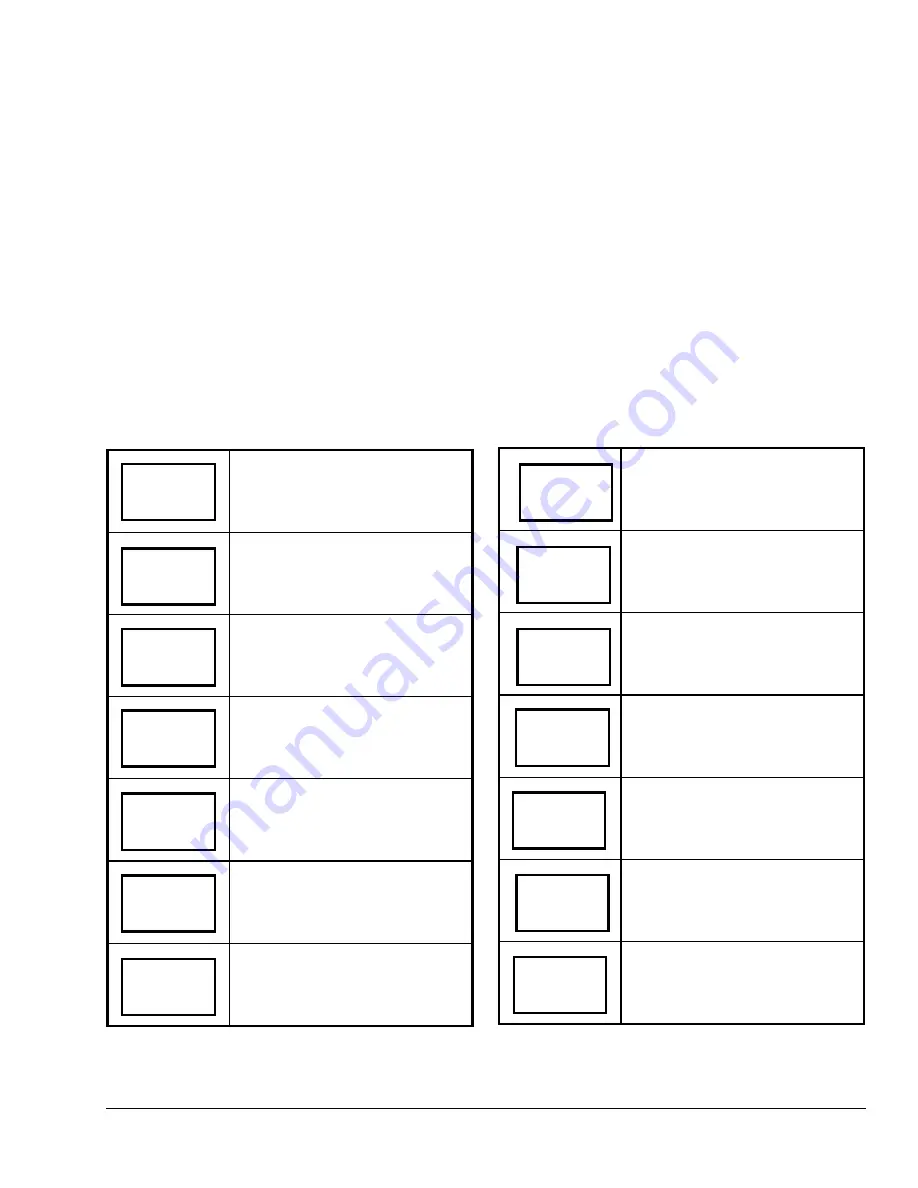
(permanent or temporary), follow the steps in Table 4.
When changing the temperatures, pressing the keys
once changes the temperature 0.5 F/C
°
and holding
down the keys changes the temperature by 5 F/C
°
increments.
Setpoint Type
Permanent Setpoints
are permanently stored in the
schedule. This is the default setpoint type.
Temporary Setpoints
are changed, but are in effect
only for the time specified in the
Establishing the
Temporary Occupancy Time (ToccTime)
parameter
(see the
Configuring the T600HCN-1
section).
Note:
There is no indication that a temporary
setpoint is enabled or active.
After the specified time, the temporary setpoint reverts
to the permanent setpoint.
The temporary setpoint can be cancelled at any time
by using the Permanent Setpoint option in this menu.
When permanent modifications of the setpoints are
required, this parameter needs to be set to permanent.
Table 4: Entering Temperature Setpoints
Press MENU from the Status Display
Menu to enter the Main User Menu.
Answer NO to all prompts until the
temperature set prompt appears in
the display (it may be the first
prompt). Press YES to enter
temperature setting menu.
Press YES to change occupied
cooling setpoint. Press NO to
advance to occupied heating setpoint
menu.
Use the UP/DOWN arrow keys to set
temperature. Press YES to store
value and advance to next menu.
Press YES to change the occupied
heating setpoint. Press NO to
advance to unoccupied cooling
setpoint menu.
Use the UP/DOWN arrow keys to set
temperature. Press YES to store
value and advance to next menu.
*
Press YES to change the
unoccupied cooling setpoint. Press
NO to advance to the unoccupied
heating setpoint.
*
Use the UP/DOWN arrow keys to
set temperature. Press YES to store
value and advance to next menu.
*
Press YES to change the
unoccupied heating setpoint. Press
NO to advance to temperature
display units.
*
Use the UP/DOWN arrow keys to
set temperature. Press YES to store
value and advance to next menu.
Press YES to set the display units to
°
F or
°
C. Press NO to advance to
temperature setpoint type menu.
Press YES to select the setpoint type
(permanent or temporary).
Using the UP/DOWN arrow keys,
select the setpoint type (see
Setpoint
Type
section for a description of
choices). Press YES to enter the
choice.
Press YES to return to the Status
Display Menu or NO to re-enter the
temperature setting menu.
* Displayed only if Digital Input DI1 or DI2 is configured
for remote NSB.
RoomTemp
75.0
°
F
Unocc CL
80.0
°
F
Unocc HT
set? Y/N
Temperat
set? Y/N
Unocc HT
62.0
°
F
Cooling
set? Y/N
°
F/
°
C
set? Y/N
Cooling
75.0
°
F
Setpoint
type Y/N
Heating
set? Y/N
Setpoint
permnent
Heating
68.0
°
F
Exit?
Y/N
Unocc CL
set? Y/N
T600HCN-1 Non-Programmable Thermostat Installation Instructions
11


