JETSTOR SAS 760J/JD Hardware Installation Guide
Page 54 of 71
1.
Install the Carrier Release Rail to the 2.5” tray assembly as shown with two of the
tray installation screws. Ensure alignment of the tray is such that the drive
connector opening is at the bottom as shown.
2.
Align the Carrier Pivot Rail with the release rail so that Tab ‘A’ of the interposer
spacer aligns and mates with Slot ‘B’ of the pivot rail as shown. Also align the
tray tab with the Carrier Pivot Rail slot as shown. Install the third tray installation
screw to mate the Carrier Pivot Rail with the 2.5” tray.
3.
Torque the tray installation screws to 4-6 in-lbs. Do not over-torque as damage to
the carrier or drive may result.
4.
Install the disk drive as shown below using the 4 drive installation screws. Torque
the drive installation screws to 4-6 in-lbs. Do not over-torque. Assembly is
complete.
NOTE:
There are two sets of mounting holes in the 2.5” tray (one set of holes off-sets
the drive for installation of the interposer card.). Use the mounting holes as shown to
ensure the connector of the disk drive (or SSD) is at its lowest point in the carrier.
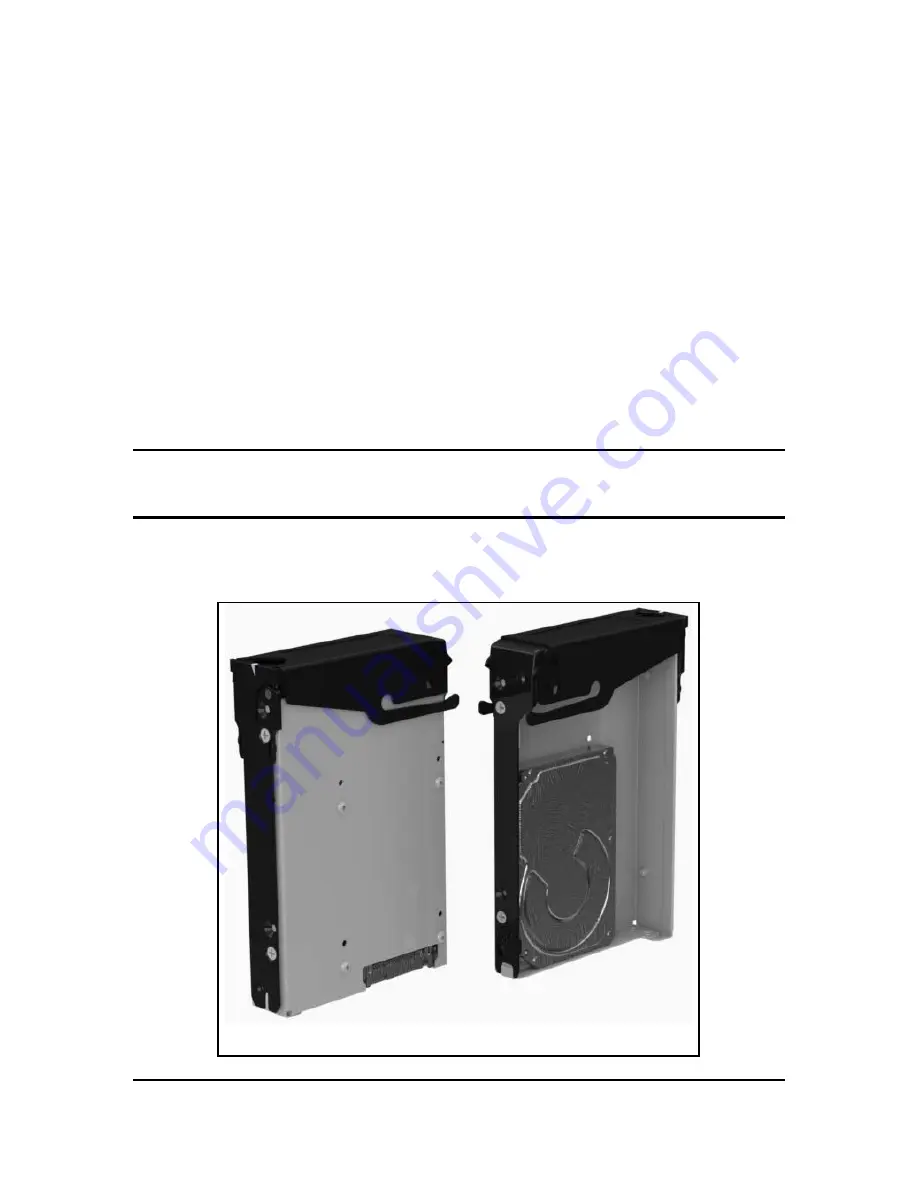
The following illustration shows the completed drive carrier assembly with a 2.5” disk
drive properly installed (without the interposer card)
JETSTOR SAS 760J/JD Drive Carrier Assembly (2.5” Drive without interposer)


