- ►/■ (Power ON/OFF; Play/Stop) button: Turns the unit power ON/OFF; Play/Stop
button; Setting enter/confirm button
- Mode button: Select working mode or Setup Menu.
- ●/■ (Recording/STOP) button: Start/Stop recording.
- (Next button): Fast forward / skip to next track; Selection of menu setting.
- ‘+’ (Volume Up button): Turns the Volume up; Select the previous setup Menu.
- (Previous button): Fast backward / skip to previous tack; Selection of menu setting.
- ‘-‘ (Volume Down button): Turns the Volume down; Select the next setup Menu.
- FILE/REPEAT button: Select folder; Active repeat play function.
- PAUSE/ERASE button: Pause Recording/Playback; Erase recorded files.
- (Hold Switch): Slide to lock/unlock control buttons.
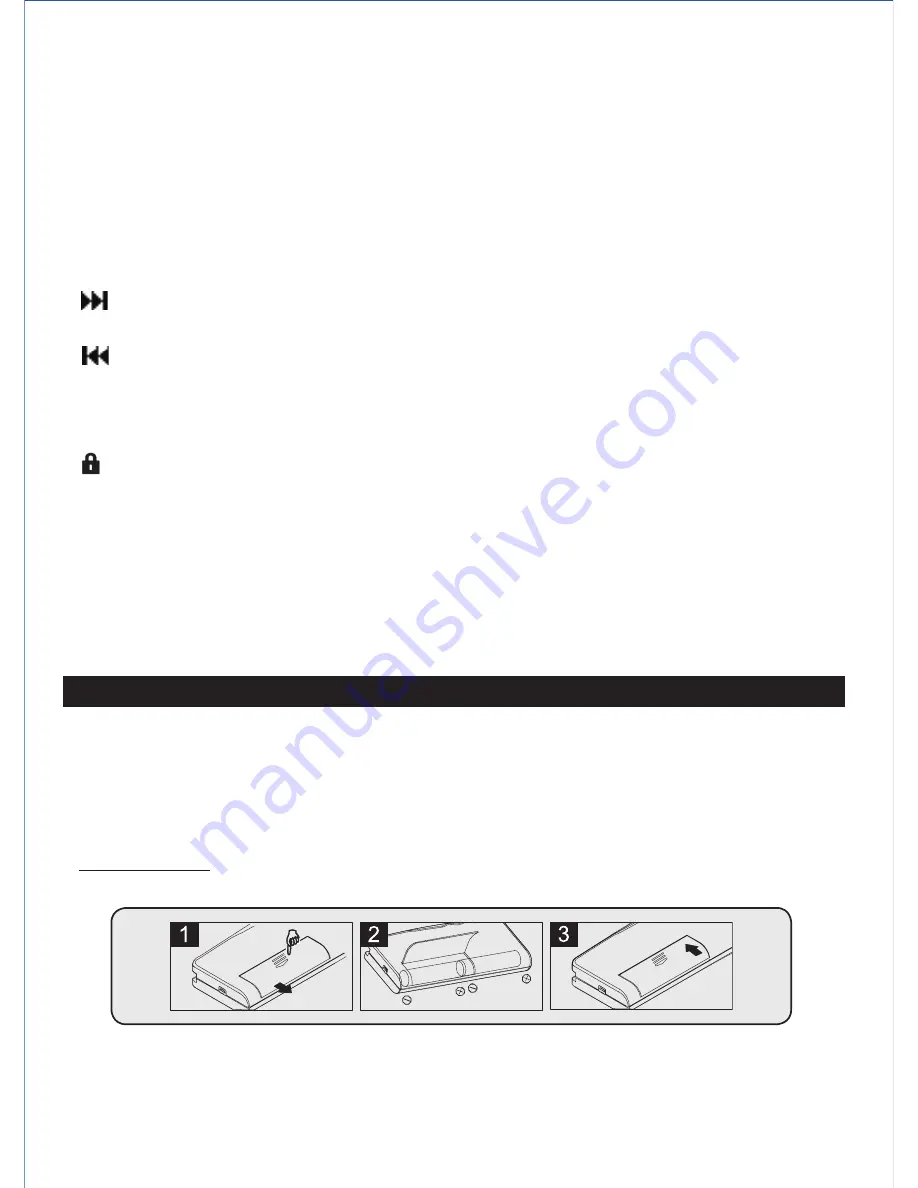
1. Open the battery compartment.
2. Following the polarity diagram (+ and -) shown in the battery compartment, and insert
2 'AAA' (UM-4) batteries (not included).
3. Close the battery compartment.
IMPORTANT:
Be sure that the batteries are installed correctly. Wrong polarity may
damage the unit.
Note:
For best performance and longer operating time, we recommend the use of
alkaline-type batteries
Note:
To enter different operation or setting modes you either “Tap” a button or “Press or
Hold” a button to make the change.
Tapping a button is when you quickly press a button and release it in less than a second.
Pressing and Holding a button is when you press a button a little longer ( about 2
seconds), and then release it.
11. Remaining recording time mode
12. Folder Indicator
13. Battery Power indicator
Buttons and Switch Description
BATTERY INSTALLATION
E5
Summary of Contents for DR-115
Page 2: ......


