26
AVR
Listening to an iPod/iPhone/iPad Device
When an iPod, iPhone or iPad device is connected to the AVR’s front-panel USB port, you
may play audio files through your high-quality audio system, operate the iPod, iPhone or
iPad using the AVR remote or the AVR’s front-panel controls and charge the iPod, iPhone or
iPad. For the latest compatibility information, please see our Web site: www.jbl.com.
Press the USB source selector button on the remote until the front-panel displays “iPod”
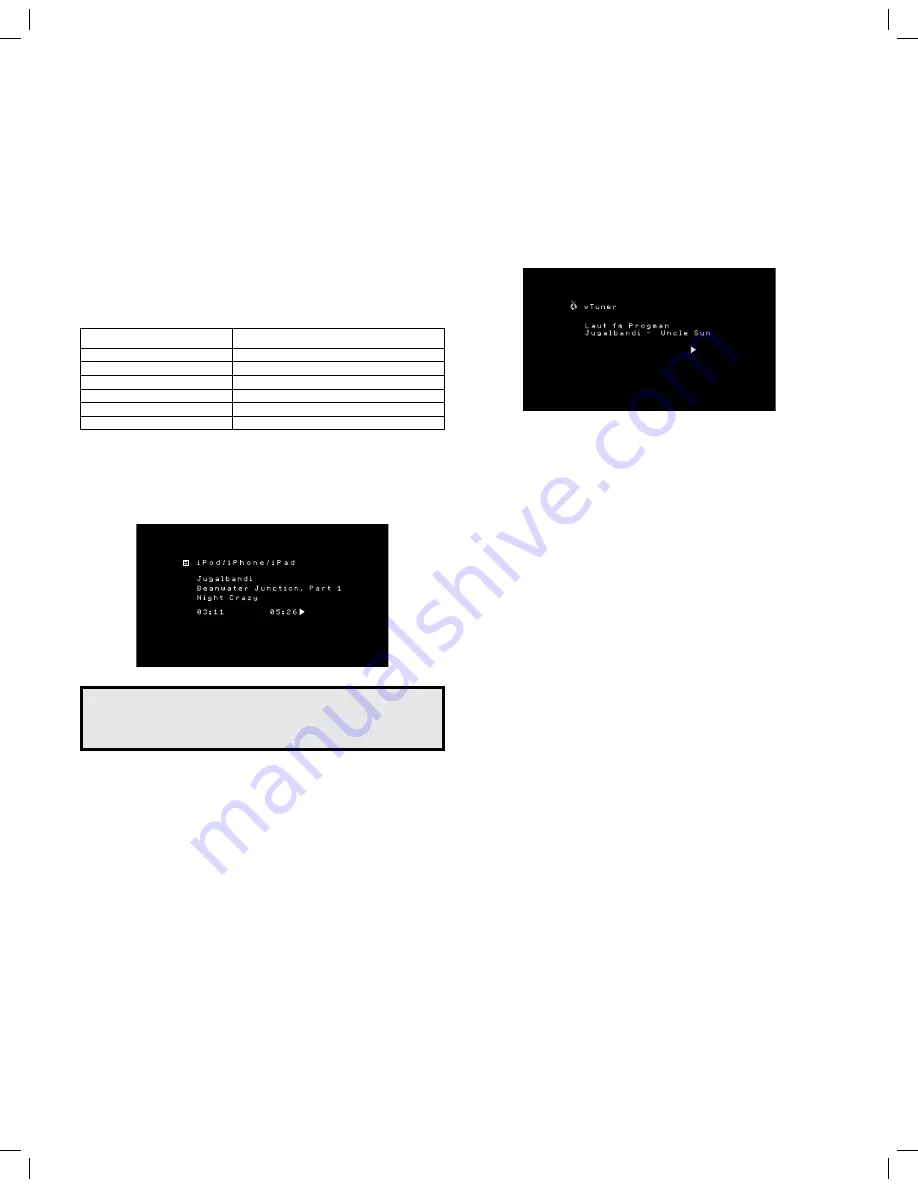
as the source. The iPod playback screen will appear.
The table below summarizes the controls available during normal playback via the USB
port.
iPod, iPhone or iPad Function Remote Control Button
Play
Play
Pause
Pause
Forward Search
Forward Search
Reverse Search
Reverse Search
Next Track
Skip Forward or Right Arrow
Previous Track
Skip Backward or Left Arrow
While a selection is playing, the song title, and play mode icon will appear on the front-
panel display.
The iPod playback screen displays the play mode icon, song title, artist and album. If
random or repeat play has been programmed, an icon will appear.
CAUTION: We strongly recommend that you use the screen saver built into
your video display to avoid possible damage from “burn-in” that may occur
with plasma and CRT displays when a still image, such as a menu screen,
remains on the display for an extended period of time.
Press the Option/Info button to view the iPod options menu:
Repeat:
Select this setting to repeat a track or all tracks in the current album or playlist.
Each press of the Left/Right buttons switches the setting: Repeat Off, Repeat One or
Repeat All.
Shuffle:
Select this setting to play all the available songs in random order. Each press of
the Left/Right buttons switches the setting: Shuffle Off or Shuffle On.
NOTE:
The iTunes application allows you to exempt some tracks from Shuffle mode. The
AVR cannot override this setting.
Listening to vTuner (Internet Radio)
Your AVR’s Network connection brings you a world of MP3- and WMA-format streams via
the Internet. After you have successfully connected to your home network as described in
Connect to Your Home Network
, on page 17, and set up the network as described in
Set
Up the Network
, on page 23, press the Network Source Selector button on the remote.
Each press toggles between the Network and vTuner screens.
With the vTuner screen (above) displayed, the AVR will automatically connect to the
Internet via the www.wifiradio-frontier.com portal. To select a stream use the Up/Down
buttons to search by category.
NOTE:
The categories displayed vary by region.
Navigation is similar to other menus. Scroll to the desired item and press the OK button to
select it. To return to the previous menu level (or to clear the top-level menu from view),
press the Back/Exit button or the Left button.
The AVR is not able to connect to streams that require site registration or other interaction
prior to playing the stream. If the AVR cannot connect to the stream, a “Not Connected”
message will appear briefly, and the Internet Radio screen will remain essentially blank.
Preset Streams
You can store a total of 30 streams as presets. When you want to save the currently tuned
stream as a preset, press the remote’s Memory button. Use the Number buttons to enter
the desired preset number. These streams are accessible from the Presets menu item.
To create a Favourites list, log onto www.wifiradio-frontier.com from your computer.
Enter your AVR’s vTuner ID # (the vTuner ID # is on the Help screen in the vTuner source
main menu) and create an account. Favourites that you select on the Web site will be
available on the AVR.
Listening to Media via Your Home Network
Your AVR is DLNA-compatible and can access MP3 and WMA audio media that is stored
on other DLNA-compatible devices that are connected to the same network as your
AVR.
DLNA is a file sharing protocol that creates a bridge between the AVR and other devices
on the same network that contain audio media. DLNA is supported by PCs that have
Windows Media Player, Windows Media Center or Intel Media Server file sharing. Apple
computers can also share files via DLNA using HARMAN Music Manager software, which
you can download without charge from www.jbl.com. (Third-party software that enables
DLNA file-sharing also is available.)
MP3 compatibility:
Mono or stereo, contstant bit rates (CBR) from 8kbps to 320kbps,
variable bit rates (VBR) from lowest to highest quality, with sample rates from 8kHz –
48kHz.
WMA compatibility:
Ver. 9.2, stereo CBR with 32kHz – 48kHz sampling rate and 40kbps
– 192kbps bit rate, mono CBR with 8kHz – 16kHz sampling rate and 5kbps – 16kbps
bit rate, VBR Pass Encoding and Quality Encoding 10 – 98, 44kHz and 48kHz sampling
rate.
Operating Your AVR
Summary of Contents for AVR 101IN
Page 1: ...Audio video receiver Owner s Manual AVR 101IN...
Page 48: ...R cepteur audio vid o AVR 101IN Moded emploi...
Page 95: ...Receptor de audio video AVR 101IN Manual del propietario...
Page 142: ...Audio Video Receiver AVR 101IN Bedienungsanleitung...
Page 189: ...Ricevitore audio video AVR 101IN Manuale dell utente...
Page 236: ...Audio video receiver AVR 101IN Gebruikershandleiding...
Page 283: ...A V viritinvahvistin AVR 101IN K ytt opas...
Page 330: ...Ljud videomottagare AVR 101IN Bruksanvisning...


