


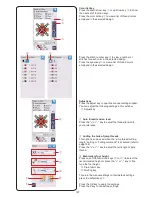


130
c
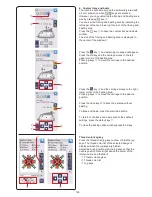
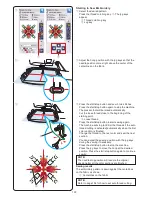
Press the start/stop button and sew 5 to 6 stitches.
Press the start/stop button again to stop the machine.
The presser foot will be raised automatically.
Cut the loose thread close to the beginning of the
starting point.
e
Loose thread
Press the start/stop button to start sewing again.
The machine will stop (and trim the threads if the auto
thread cutting is activated) automatically when the first
color section is finished.
Change the thread to the next color and sew the next
section.
You can adjust the sewing position with the jog keys
during the sewing if necessary.
Press the start/stop button to stop the machine.
Press the jog keys to move the hoop at the desired
position. Press the start/stop button again to continue
sewing.
NOTE:
The needle drop position will resume the original
position after all the color sections are finished.
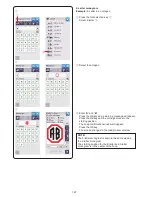
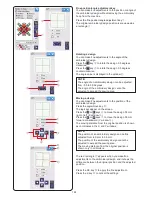
Sewing results
The embroidery pattern is sewn against the centerlines
on the fabric as shown.
r
Centerlines on the fabric
NOTE:
Refer to page 154 for how to set auto thread cutting.
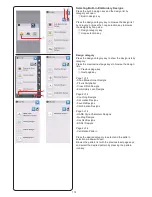
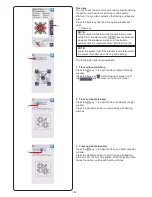
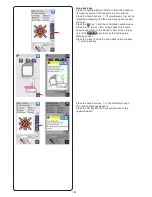
Starting to Sew Embroidery
z
Select the desired pattern.
Press the thread color/Jog key
q
. The jog keys
appear.
q
Thread color/Jog key
w
Jog key
e
r
w
x
Adjust the hoop position with the jog keys so that the
needle position comes right above the center of the
centerlines on the fabric.
z
x
c
q
Summary of Contents for Skyline S9
Page 1: ...Instruction Book ...
Page 2: ......
Page 168: ...166 STITCH CHART Ordinary Sewing Block Script Broadway Block 9 mm ...
Page 169: ...167 STITCH CHART Ordinary Sewing Cyrillic Mincho 9mm Symbol Marumoji 9mm ...
Page 176: ...174 DESIGN CHART Embroidery Gothic Script Cheltenham Bauhaus Galant Typist ...
Page 177: ...175 DESIGN CHART Embroidery Brush First Grade Hollowblock Jupiter Micro Gothic ...
Page 178: ...176 DESIGN CHART Embroidery Cyrillic 1 Cyrillic 2 Cyrillic 3 Mincho Marumoji ...
Page 179: ...177 DESIGN CHART Embroidery 2 letters 3 letters Border Normal Sew ...
Page 180: ......
Page 181: ......
Page 182: ...862 460 008 EN ...


