― 6 ―
b. Connect the other end of the cable to power (Black/Red) (24VDC)
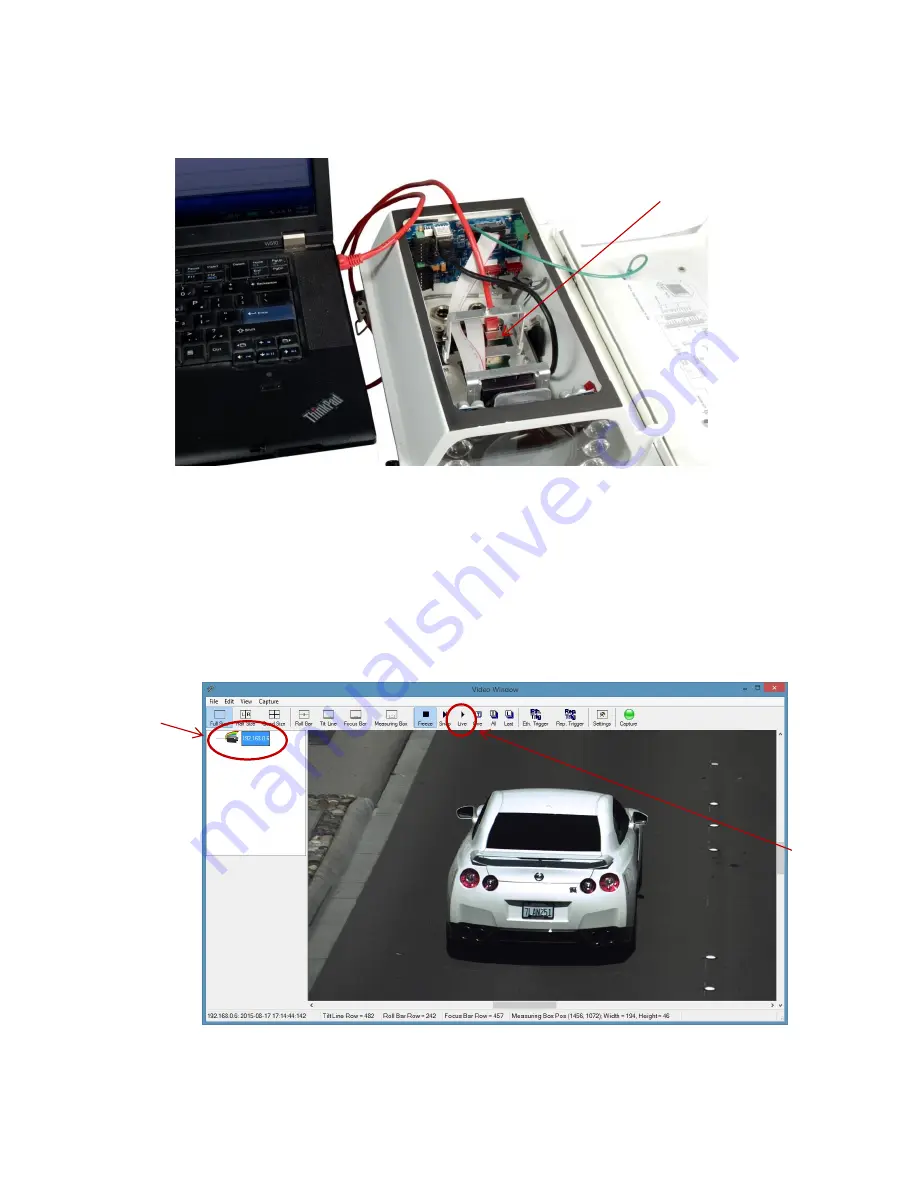
c. Remove the internal cable from the camera
’s RJ45 connector and connect the laptop
Ethernet adapter directly to the camera
’s RJ45 connector.
Figure 2.
Connect laptop to camera’s RJ45 connector
d. Apply power (24V DC). The I/O Board has 4 LEDs to indicate status. See Appendix A for the
locations of these LEDs and see Appendix B for troubleshooting information.
e. Configure your network adapter for a static IP of 10.0.0.xx, with xx being anything but 65.
This will put the computer on the same subnet as the camera (as configured at the factory,
the camera is set to 10.0.0.65). See Figure 16 for an example.
f.
Start EN Setup on laptop. Wait approximately 1 minute for the camera to boot up.
g. Click on the Video button, then on the camera in the left pane.
Figure 3.
EN Setup Video Window
h.
Click on the “Live” button to start image acquisition.
Disconnect internal Drive5
cable and connect laptop
to here as shown
Click on camera
“Live” button


