NOTICE:
Equal amounts of shims must be added to or removed from each driver foot. Otherwise the
vertical angular alignment will be affected.
4.
Repeat steps 1 through 3 until indicator P reads within .05 mm (.002 in.) or less when hot, or per
Table 2: Cold Setting of Parallel Vertical Alignment on page 15
Horizontal Correction (Side-to-Side)
1.
Zero indicator P on the left side of coupling half Y, 90° from top dead center (9 o’clock).
2.
Rotate indicators through top dead center to the right side, 180° from the start (3 o’clock). Ob-
serve needle and record reading.
3.
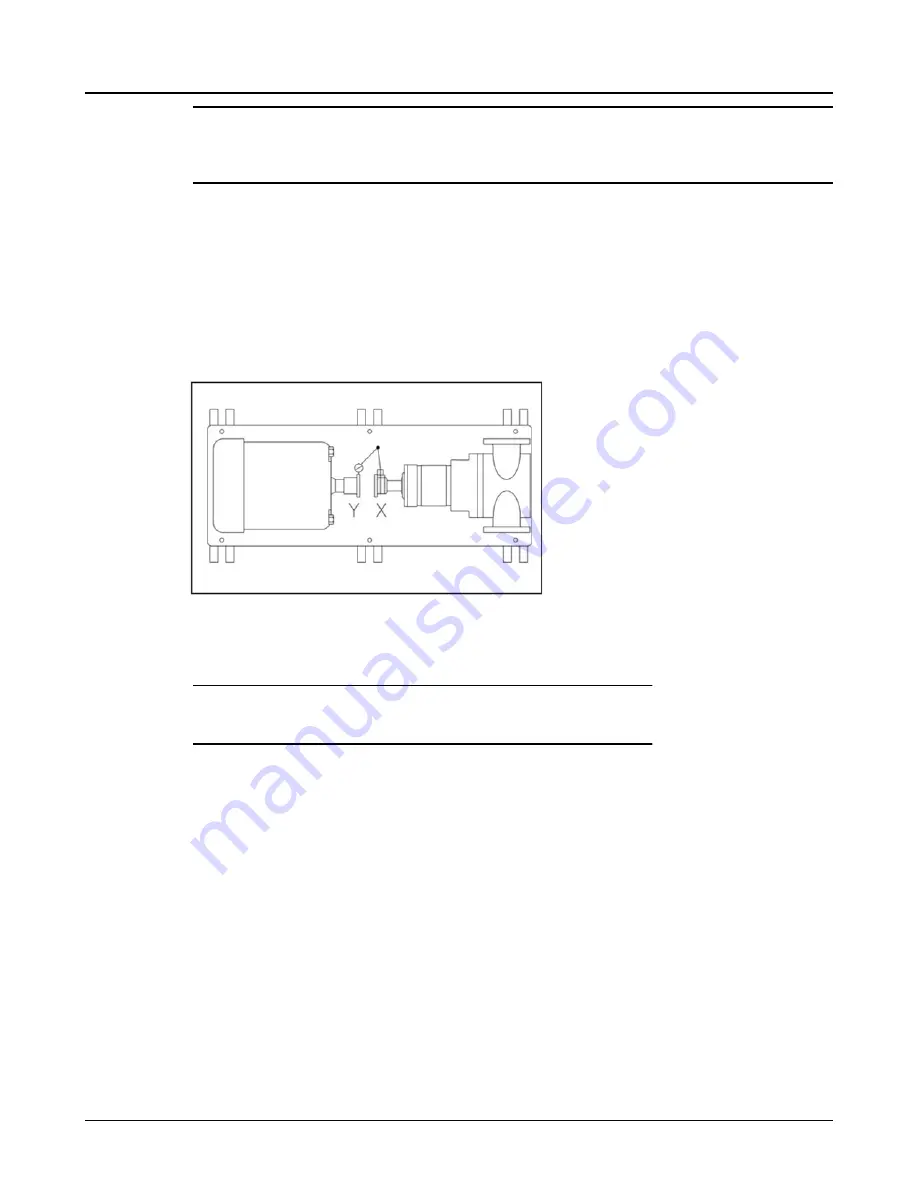
Negative Reading - Coupling half Y is to the left of coupling half X. Correct by sliding driver even-
ly in the appropriate direction.
Figure 15:
Positive Reading - Coupling half Y is to the right of coupling half X. Correct by sliding driver even-
ly in the appropriate direction.
NOTICE:
Failure to slide motor evenly will affect horizontal angular correction.
4.
Repeat steps 1 through 3 until indicator P reads .05 mm (.002 in.) or less.
5.
Re-check both horizontal and vertical readings to ensure adjustment of one did not disturb the
other. Correct as necessary.
3.5.3 Complete alignment
A unit is in complete alignment when both indicators A (angular) and P (parallel) do not vary by more
than .05 mm (.002 in.) as measured at four points 90° apart.
Vertical Correction (Top-to-Bottom)
1.
Zero indicators A and P at top dead center (12 o'clock) of coupling half Y.
2.
Rotate indicator to bottom dead center (6 o'clock). Observe the needles and record the readings.
3.
Make corrections as outlined previously.
Horizontal Correction (Side-to-Side)
1.
Zero indicators A and P on the left side of coupling half Y, 90° from top dead center (9 o'clock).
2.
Rotate indicators through top dead center to the right side, 180° from the start (3 o'clock). Ob-
serve the needle, measure and record the reading.
3.5 Measurement
18
3501 Installation, Operation, and Maintenance Instructions


