Cold hue mode (C)
Image will be more contrast, more hierarchy, and more
obvious targets.
Warm hue mode(W)
Image will be softer, it can be reducing the visual fatigue of
the observer, and long time observation is not dazzling.
Defective Pixels Calibration
When using the device, defective (broken) pixels may
appear on the sensor: i.e., bright or dark points of constant
brightness that are visible on the image. Finder II Series
offers the possibility of removing any defective pixels on
the sensor, as well as to cancel any deletion.
l
Open the sub menu by pressing the Menu button (4).
l
Select the 'Defective Pixels Calibration' option
l
Enter the Defective Pixels Calibration interface with a
short press of the Menu button (4).
l
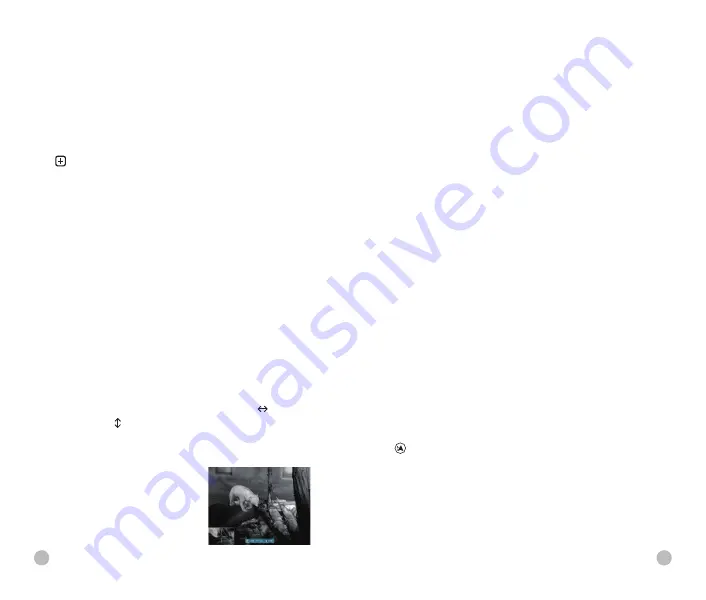
A white cross cursor will appear on the display.
l
A 2x magnified image of the cross cursor area (PIP) will
appear on the lower-left corner of the display that is
required to facilitate a search for the defective pixel and
to align the marker with it.
l
A tooltip will appear at the bottom of the display, which
displays the current number of defective pixels
calibrated, the moving direction (horizontal and
vertical directional arrows) and the position of the
cursor.
l
The horizontal and vertical arrows indicate to move the
cursor with the coordinates
along the X and Y axes.
l
A short press of the Menu
button (4) switches the
cursor direction from the
24
horizontal to the vertical and vice versa.
l
The icon and text will be changed from white to blue
when this direction is activated.
l
Use the Up (5)/Down (6) buttons to move the cursor to
align its centre with the defective pixel. With a short
press to move 1 pixel and long press to move 10 pixels
each time.
l
After the cursor aligns with the defective pixel, delete
the defective pixel with a short press of the Power
button (3).
l
Then, by moving the cursor across the display, you can
delete the next defective pixel.
l
Short press the Power button (3) again in the same
position to undo the calibration.
l
Each time you add or reduce a blind pixel, the number
of defective pixels calibrated in the tooltip will change
accordingly.
l
Long press the Power button (3) to cancel all
calibrations done this operation.
l
When the cursor is moved near the PIP and prompt box,
the PIP and prompt box are automatically moved to the
top of the display.
l
To exit and save the Defective Pixels Calibration
function, press and hold down the Menu button(4).
l
No operation within the 10s will exit the interface without
saving data.
Compass Calibration
- Calibrate the digital compass
l
Open the sub menu by pressing the Menu button (4).
l
Select the 'Compass Calibration' option with the Up (5) /
Down (6) button.
l
Enter the compass calibration interface with a short
press of the Menu button (4).
l
An icon like a triaxial coordinate appears on the screen.
25


