3
t
LED indicators:
Lights indicate various states pertaining to battery
power, attached USB devices, and Internet connection. For more
information, see Page 12.
t
Power button:
Press once to turn on iZiggi-HD. Another press will
power off the device.
t
USB ports:
Two USB ports for the iZiggi-HD camera and for a USB
storage drive, if desired.
Note: Connecting two USB drives is supported, but not two IPEVO USB
document cameras.
t
LAN port:
Plug in an ethernet cable (not included) to connect to your
existing Internet network.
Note: When connecting in this manner, please set iZiggi-HD's wireless
connection to “Off (Ethernet Cable)” in the “Internet Connection” setting.
See Page 9.
t
Reset button:
Press with a pin or paper clip to reset the device,
including SSID and password.
t
Micro USB port:
Connect the Micro-USB cable to power iZiggi-HD and
to charge the battery.
B. Wireless Base
Getting to know your iZiggi-HD (cont’d)
Whiteboard
www.ipevo.com/presenter
Download and install from
Presenter
Plug In
Plug In
Connect Adapter to iZiggi-HD
Power Button
LED Indicators
USB Port 2
USB Port 1
Micro USB Port
LAN Port
Reset
Focus button
Multi-Jointed Stand
to position the camera
USB Document Camera
Wireless Base
Autofocus switch
LED
Microphone
Exposure toggle
Positioning the iZiggi-HD
Focus button
Multi-Jointed Stand
to position the camera
USB Document Camera
Wireless Base
Autofocus switch
LED
Microphone
Exposure toggle
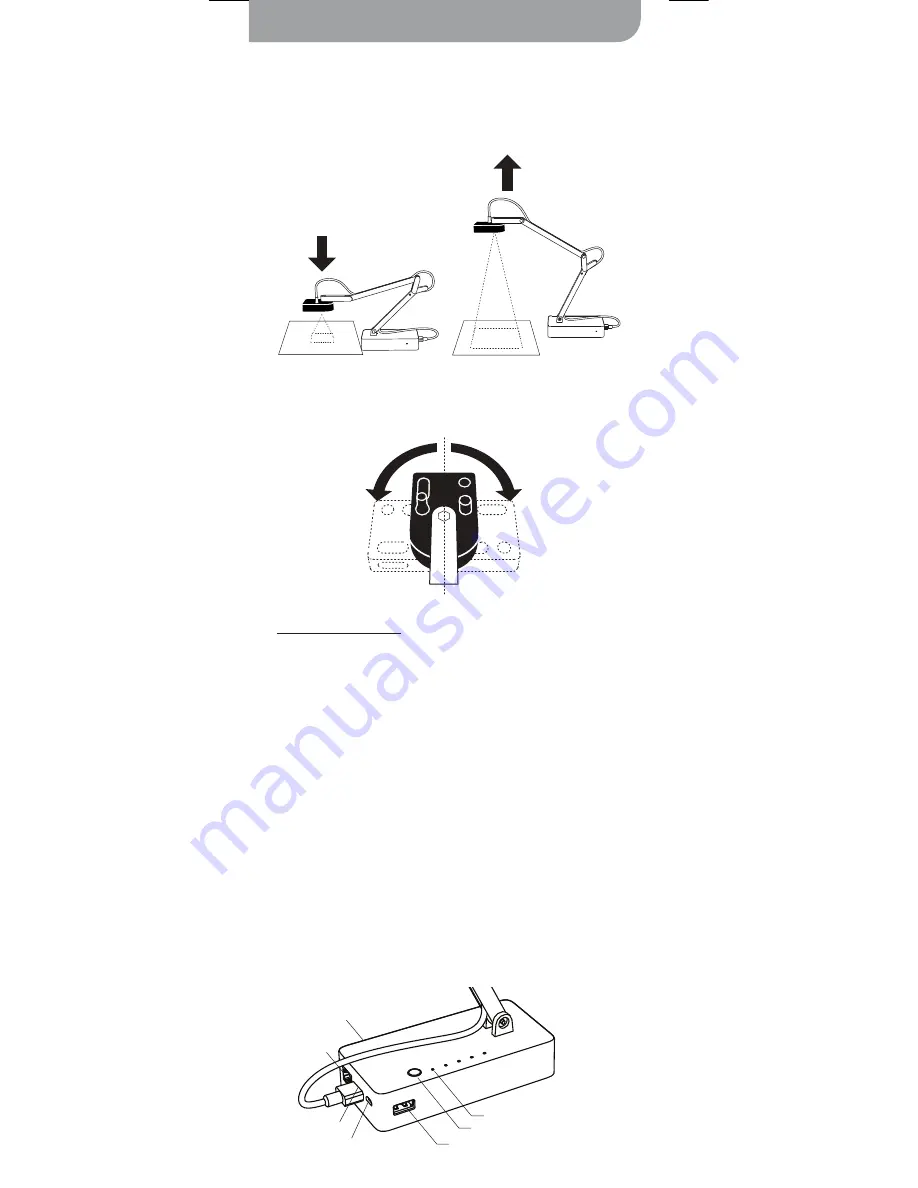
Additionally, the camera head can swivel with 270° of freedom to customize
your orientation.
The multi-jointed, weighted stand allows to quickly and easily change the
height and position of the camera to suit your subject.


