74
Ioline FJ Printer & StudioJet Service Manual
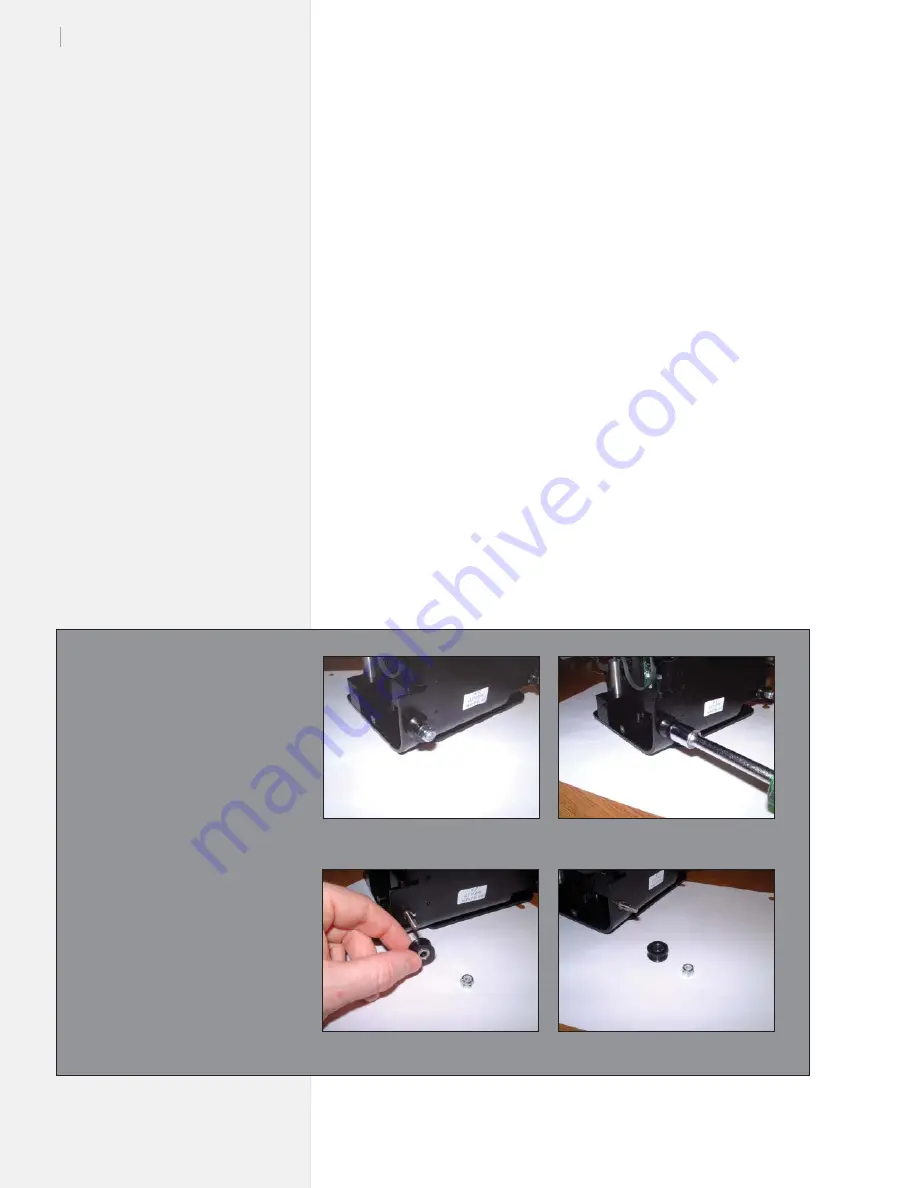
Photo 1
Carriage Wheel Replacement
1.
Follow carriage replacement procedure (
Steps 1
,
2
,
3
,
4
,
5
&
6
only).
2.
Locate the wheels (
Figure 43
, photo 1) and unscrew the wheel
stud nuts on back of carriage (
Figure 43
, photo 2).
3.
Remove the wheels (
Figure 43
, photo 3).
4.
Install new wheels on the studs (
Figure 43
, photo 3).
5.
Install the wheel stud nuts—not too tight, the wheels should
move freely (
Figure 43
, photo 1).
6.
Install the carriage by following the carriage replacement pro-
cedure (
Steps 9
–
15
) listed earlier in this chapter.
7.
Move the carriage back and forth by hand to test.
8.
If it works properly, re-install the left side cover.
9.
If problems arise, contact Ioline Tech Support.
Figure 43.
Carriage wheel replacement.
Photo 3
Photo 4
Photo 2
Summary of Contents for FJ Printer
Page 1: ...Service Manual Ioline FJ Printer StudioJet ...
Page 3: ...Service Manual Ioline FJ Printer StudioJet ...
Page 4: ......
Page 7: ......
Page 8: ......
Page 12: ......
Page 36: ...36 Ioline FJ Printer StudioJet Service Manual This page intentionally left blank ...
Page 61: ...61 Chapter 3 Troubleshooting Testing This page intentionally left blank ...
Page 66: ...66 Ioline FJ Printer StudioJet Service Manual This page intentionally left blank ...
Page 75: ...75 Chapter 4 Repair Procedures This page intentionally left blank ...
Page 87: ...87 Chapter 4 Repair Procedures Photo 4 Photo 5 Photo 6 ...
Page 92: ...92 Ioline FJ Printer StudioJet Service Manual This page intentionally left blank ...
Page 110: ...110 Ioline FJ Printer StudioJet Service Manual This page intentionally left blank ...


