Sender’s Address
: The email address of the sender.
SMTP Server
: The SMTP Server, IP address, or host name.
SMTP Port
: The SMTP port. The default is 25.
Email Encryption
:
Select
None
,
SSL
, or
TLS
. If the
Enable STARTTLS
check box
is not selected after selecting SSL or TLS, e-mails are sent after encryption via SSL
or TLS. The SMTP port should be set as 465 for this encryption method. After
selecting SSL or TLS and then selecting
Enable STARTTLS
, emails are sent after
encryption via STARTTLS, and the SMTP port should be set as 25.
Note:
When using STARTTLS, ensure that the protocol is supported by the email
server. If the
Enable STARTTLS
check box is selected when the protocol is not
supported by the e-mail server, e-mail will not be encrypted.
Attached Snapshot
: Select the
Attached Snapshot
check box to send emails with
attached alarm images.
Interval
: This is the time between two actions of sending attached snapshots.
Authentication
: If the email server requires authentication, select this check box to
use authentication to log in to this server. Enter the login user name and password.
User Name
: The user name to log in to the server where the images are uploaded.
Password
: Enter the password.
Confirm
: Confirm the password.
Receiver
: Click inside the Receiver table to type in receiver names and email
addresses. Row 1 shows the first user to be notified, Row 2 shows the second user
to be notified, and so on.
3. Click
Test
to test the email parameters for each receiver.
4. Click
Save
to save changes.
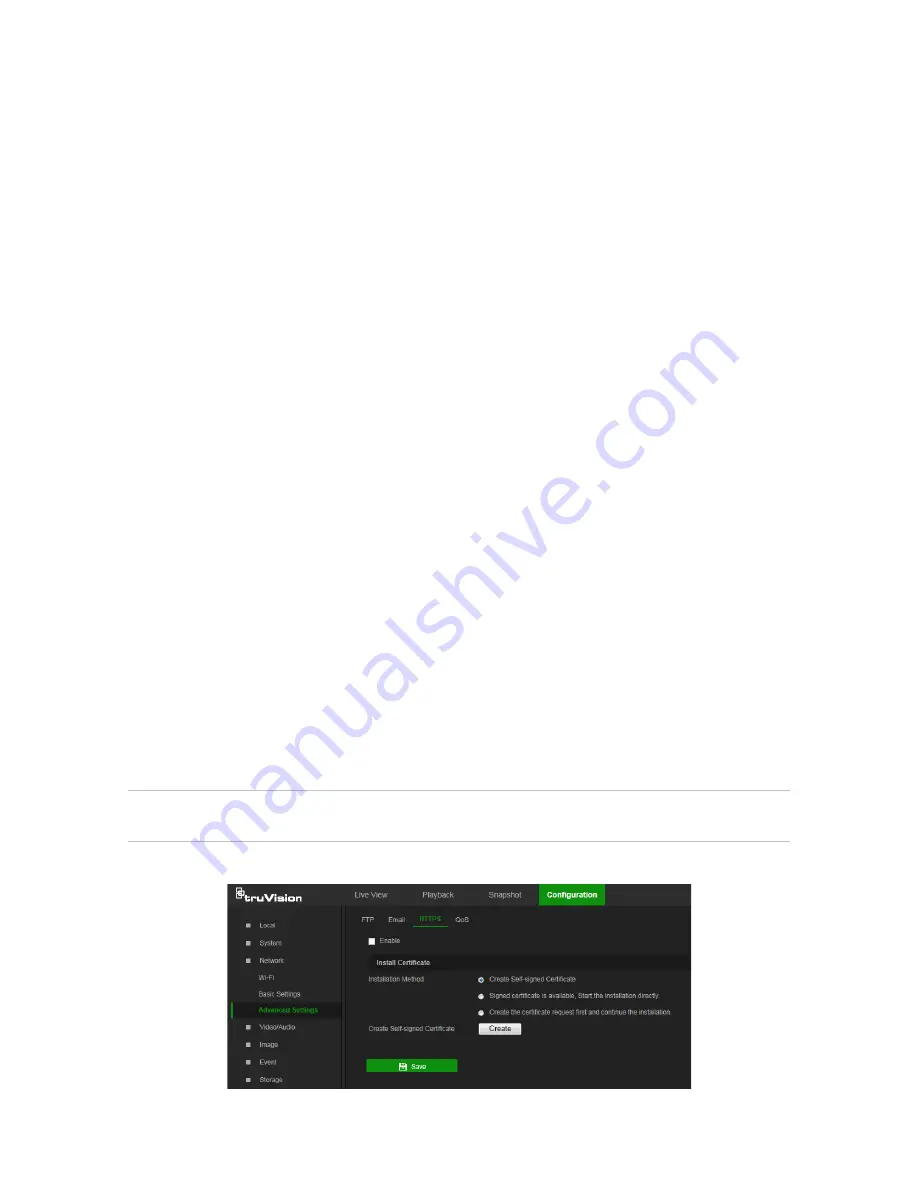
To set up the HTTPS parameters:
A valid certificate must be installed to use a secure HTTPS connection for accessing
the user interface.
Caution:
Removing and installing certificates is only recommended for advanced
users.
1. Click
Configuration
>
Network
>
Advanced Settings
>
HTTPS
.
20
TruVision 81 Series IP Camera Configuration Manual


