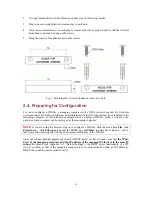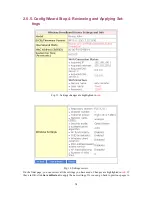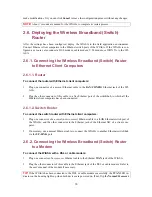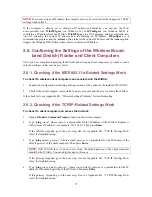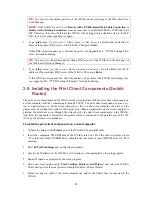
2. Use
a
φ
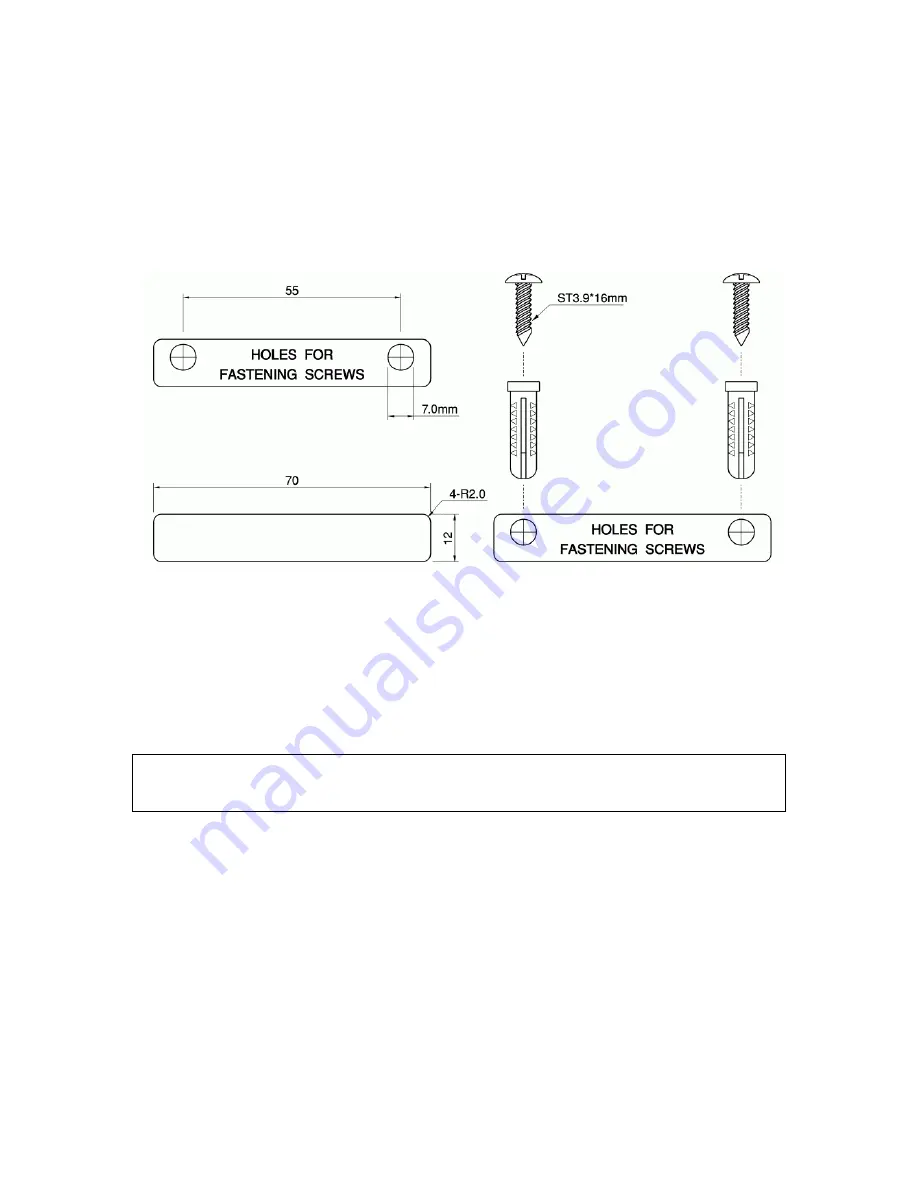
7.0mm driller to drill a 25mm-deep hole at each of the cross marks.
3.
Plug in an accessorial plastic conical anchor in each hole.
4.
Screw an accessorial screw in each plastic conical anchor for a proper depth so that the wireless
broadband router can be hung on the screws.
5.
Hang the wireless broadband router on the screws.
Fig. 1. Mounting the wireless broadband router on a wall.
2.4. Preparing for Configuration
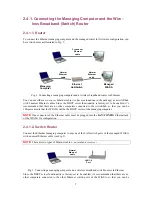
For you to configure a WIASA, a
managing computer
with a Web browser is needed. For first-time
configuration of a WIASA, an Ethernet network interface card (NIC) should have been installed in the
managing computer. For maintenance-configuration of a deployed WIASA, either a wireless com-
puter or a wired computer can be employed as the managing computer.
NOTE:
If you are using the browser,
Opera
, to configure a WIASA, click the menu item
File
, click
Preferences...
, click
File types
, and edit the MIME type,
text/html
, to add a file extension “.sht” so
that Opera can work properly with the Web management pages of the WIASA.
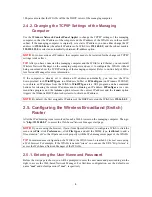
Since the configuration/management protocol is HTTP-based, we have to make sure that
the IP ad-
dress of the managing computer and the IP address of the
managed WIASA
are in the same IP
subnet
. By default (see Appendix A-1, “Default Settings”), the DHCP server functionality of a WI-
ASA is enabled, so that if the managing computer is set to automatically obtain an IP address by
DHCP, the condition can be satisfied easily.
6


