insize ISR-S300 Operation Manual Download Page 7

Presetting the tolerance thresholds:

1

Move


the


selection


on


to


the


item


Param


and


press     

The


display


shows                       

if


the


currently


enabled


standard


is


ISO


4287

,                     ,  

if


the


standard


is


ISO


12085

.

2)  Move


the


selection


on


one


of


the


listen


parameters


then


press    

,


the


following


submenu is


displayed:               .


This


submenu


lets


you


enable


or


disable


tolerances


for  that


parameter.


Move


the


selection


on


the


item


Tol then


press 

to


enable


tolerances  if


those


are


disabled


or


vice


versa

to


disable


tolerances


if


those


are


enabled

The


tolerances of


the


parameter


are


enabled


when


to


the


left


of


the


Tol  item


the


symbol       

,


is


displayed

,


whereas


they


are


disabled


when


to


the


left


of


the


Tol item


the


symbol      is


displayed

.

3)  After  you  have  made  your  choice,  press        to  return  to  the 
tolerances  submenu.  If  you  wish  to  go  back  to  the  main  menu, 
press       ; to move on to displaying the data, press       again.  
4) Press      to move the selection on the item of adjustment of the 
lower tolerance value. The screen will be the following:                 . 
Whenever  there  has  been  a  previous  presetting,  the  values  are 
displayed.  To  change  the  upper  tolerance  value,  move  with  the 
cursor through the first line with the key      up to the digit that has 
to  be  changed.  Press  the  key      until  you  come  to  the  desired 
value.  To  change  the  lower  tolerance  value,  move  the  selection 
with the key      to the second line, the display will show                  . 
Move  the  cursor,  still  using  the  key        ,  over  the  digit  to  be 
changed. Press the key      until you come to the desired value.
5) Press       to terminate the presettings.
The


tolerances,


on


the


display


of


the


parameter


that


they


are


associated


with,


produce


the display


of      if


the


measurement


is


inside


the


limits,


blinking


if


the


measurement


is


over


the 

limit


T+,


blinking


if


the


measurement


is


below


the


limit


T-

The


three


cases


are


illustrated in


the


examples


that


follow:

11

12

Note

if


you


need


to


check


the


value


of


a


disabled


parameter


and


you


have


just


finished


measuring

,


simply  enable  the 

parameter  concerned.  It  is  not  necessary  to  complete  the 
measurement.  The  parameter  Rmr%  represents  the  bearing 
ratio and it is also graphically printed as curve of Abbott.

8

Setting the calculating standard:

1

In


the


main


menu


make


your


selection


on


the


item


Standard and


press     

 . 

The


display will


show                  

.

2

Move


the


selection


on


the


desired


item


then


press   


to


enable


the


item


if


it


was


previously disabled


or


vice


versa


to


disable


the


item


if


it


was


previously


enabled

The


item  is


enabled


when


to


its


left


the


symbol


is


displayed

whereas


it


is


disabled


when


to its


left


the


symbol     


is


displayed

.

Press


to


go


back


to


the


main


menu

.

9

Setting the measurement unit:

1

In


the


main


menu


make


your


selection


on


the


item


Standard and


press      

The


display will


show                  

.


2

Move


the


selection


on


the


desired


item


then


press


to


enable


the


item


if


it


was


previously  disabled


or


vice


versa


to


disable


the


item


if


it


was


previously


enabled

The


item  is


enabled


when


to


its


left


the


symbol


is


displayed

whereas


it


is


disabled


when


to its


left


the


symbol     


is


displayed

.

Press


to


go


back


to


the


main


menu

.

Note:  The  choice  for  the  measurement  unit  is  active  only 
when  the  calculation  standard  4287  is  selected,  vice  versa 
the option mm(millimeters) is always used.

10

Setting the start measurement delay:

1

In


the


main


menu


make


your


selection


on


the


item


Delay  and


press      

The


display will


show                  

.


2

Move


the


selection


on


the


desired


item


then


press


to


enable


the


item


if


it


was


previously  disabled


or


vice


versa


to


disable


the


item


if


it


was


previously


enabled

The


item  is


enabled


when


to


its


left


the


symbol


is


displayed

whereas


it


is


disabled


when


to its


left


the


symbol     


is


displayed

.

Press


to


go


back


to


the


main


menu

.

11

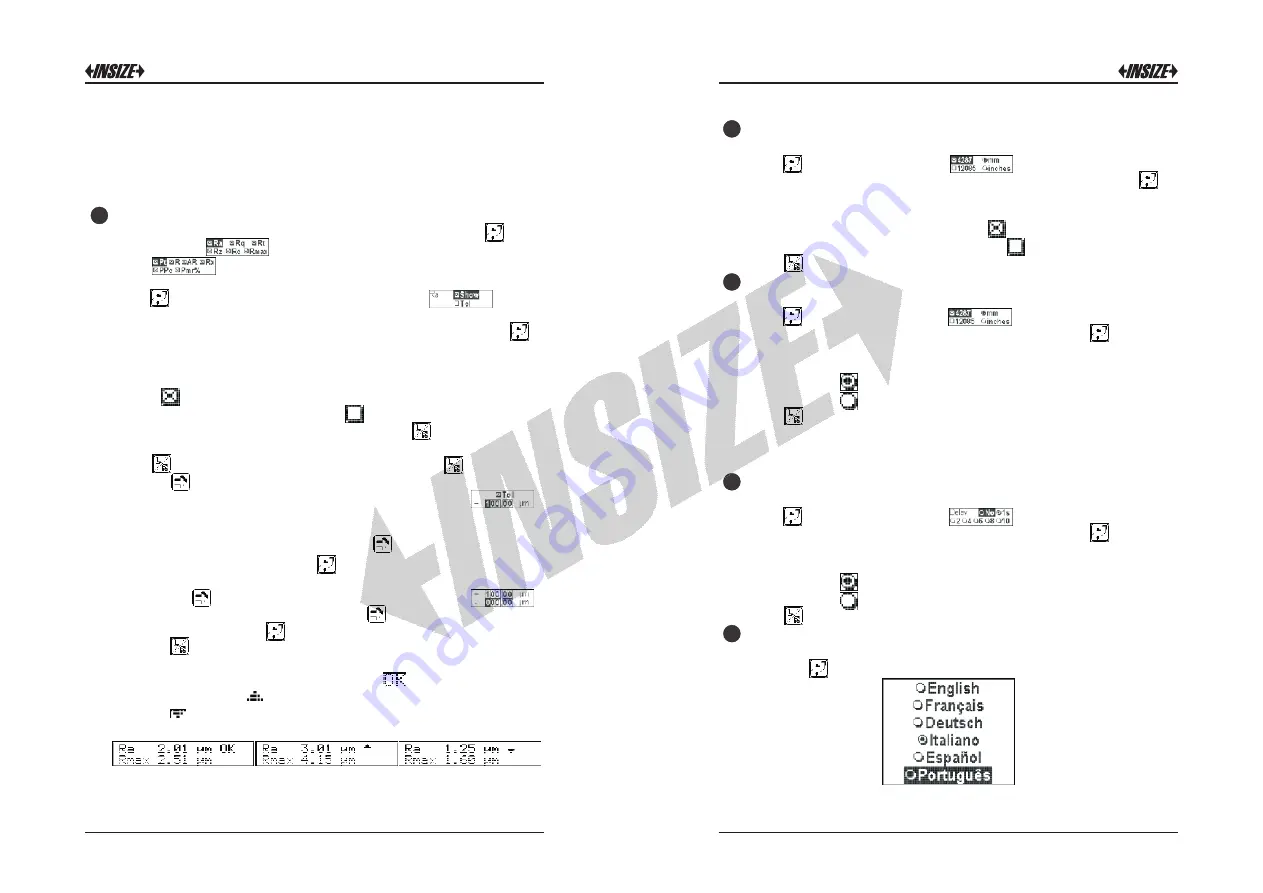
Setting the language:

1

In


the


main


menu


make


your


selection


on


the


item


Language 

and


press      

The


display will


show:


12

Summary of Contents for ISR-S300

Page 1: ...MN ISR 300 S E www insize com ROUGHNESS TESTER OPERATION MANUAL ISR S300 V0 ...

Page 2: ... a microprocessor it uses an alphanumeric liquid crystal display LCD and the accumulator adopted permits considerable operating autonomy All the messages and menus can be displayed in one of the following five selectable languages Italian English French German Spanish and Portuguese The instrument consists of the electronic unit the miniaturised traverse unit incorporated and where applicable a pr...

Page 3: ...n of the items on the top part is as follows 1 2 On off START start measurement STOP stop measurement key 3 Key for displaying the result of the measurement displaying and presetting the cut off and cut off number If pressed when in Liquid crystal display LCD the main menu causes the higher level menu to return on display 4 Scroll key If pressed when the result of a measurement is on display bring...

Page 4: ... shows 1 The results of a measurement 2 The cut off 3 The cut off number 4 An error message To exit from the main menu and the submenus press the and the first one immediately starts the measure the second in the submenus makes to climb a level in the main menu it makes to visualize the parameters The structure of the menu can be seen in the figure that follows The selections made on the submenus ...

Page 5: ...ayed because the assessment of the parameters is strictly related to λc and to the number of λc used When the cut off or cut off number is changed on an instrument already preset for measurement setting of the cut off may be terminated with the key which immediately starts the measuring cycle 4 How to preset the traverse length with ISO 12085 When the ISO 12085 standard is used the measurement ran...

Page 6: ...selection on the item Position and press The following indication will be obtained where the vertical arrow indicates current position of the stylus while the horizontal line below it represents the total excursion of the stylus during the positioning session In order to obtain correct measurements the arrow must be in the centre of the field defined on the display coinciding with the zero point o...

Page 7: ...rated in the examples that follow 11 12 Note if you need to check the value of a disabled parameter and you have just finished measuring simply enable the parameter concerned It is not necessary to complete the measurement The parameter Rmr represents the bearing ratio and it is also graphically printed as curve of Abbott 8 Setting the calculating standard 1 In the main menu make your selection on...

Page 8: ...menu Files Eliminating all the measurements stored 1 In the main menu make your selection on the item Files and press to bring up the submenu 2 Make your selection on the item Reset and press Press to go back to the main menu 16 Operations When performing measurements to get a correct result there are a number of hints that should be observed 1 Where possible place the instrument and the part bein...

Page 9: ... is left connected for more than this time because it is provided with an automatic charge control means It is possible to use the instrument even while the accumulator battery is recharging Note do not store the instrument for long periods with the accumulator battery discharged as it will become damaged If left idle for long periods check the charge level at least once every 30 days If the accum...

Page 10: ... receiver is not programmed correctly c The connection cable is damaged Signalled when the diagnostic checks reveal a memory defect Remedies call the technical service department Signalled at the end of a measurement when with the ISO 12085 standard selected the instrument s calculating capacity is exceeded Probable cause The profile examined cannot be gauged Resetting The Storage Memory If there ...

Reviews: