Insignia NS-DPF10 User Manual Download Page 6

4

Insignia NS-DPF8/NS-DPF10 Digital Picture Frame

www.insignia-products.com

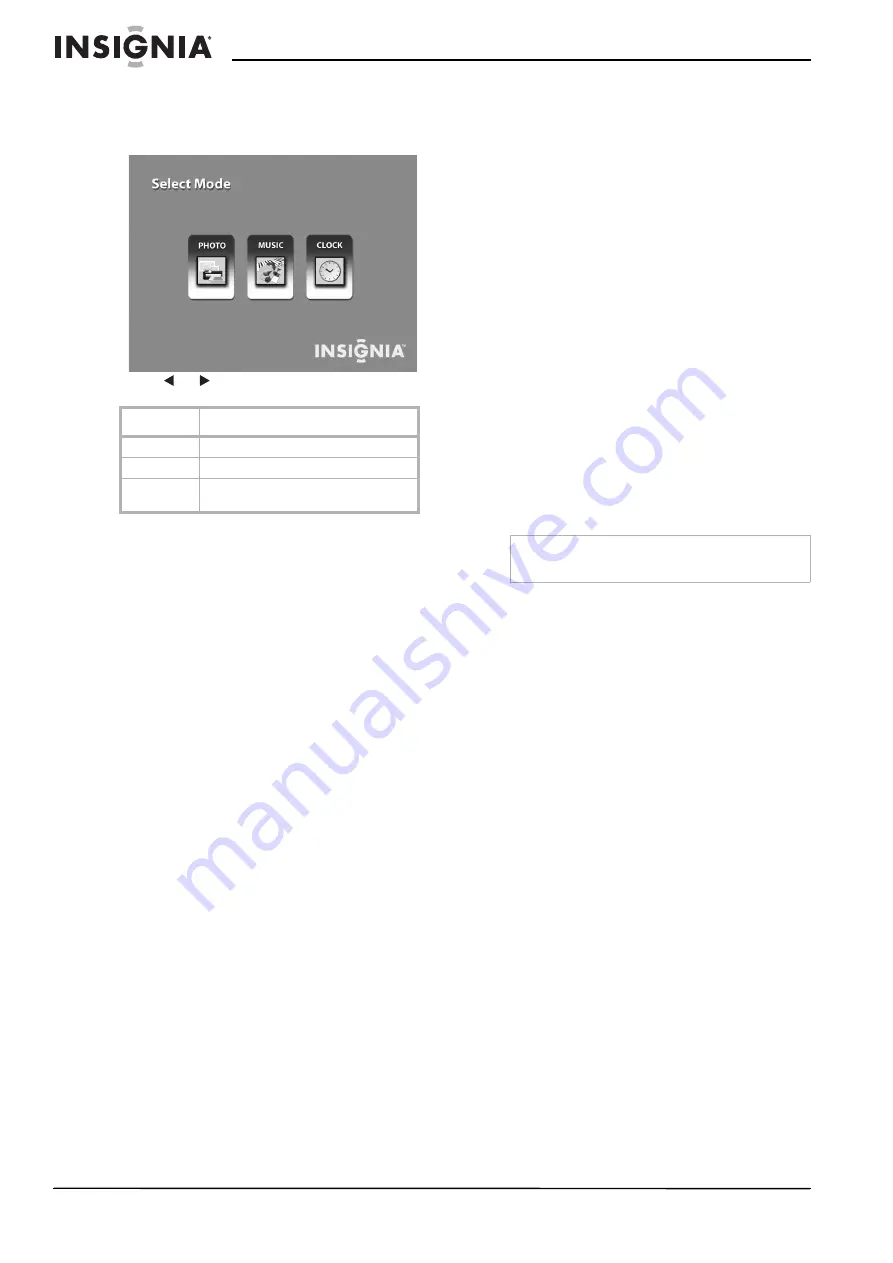
To select the type of file or function to 
operate:

1

Press 

ENTER

 to make the selection. The 

Select


Mode 

menu opens.

2

Press 

 or 

 to select the file type.

3

Press 

ENTER

 to make the selection. If you 

selected:

PHOTO, the 

Thumbnail

 screen opens.

MUSIC, a listing of MP3 files opens.

CLOCK, the 

Clock and Calendar

 screen 

opens.

4

Press 

EXIT

 to return to the 

Select Mode


menu.

Starting a slide show

To view a slide show from a memory card:

1

Make sure the digital picture frame is turned 
off.

2

Insert a memory card into one of the open 
slots.

3

Turn on the digital picture frame. The slide 
show automatically starts from the memory 
card.

To view a slide show from built-in memory:

1

Make sure the digital picture frame is turned 
off.

2

Remove all memory cards from the digital 
picture frame.

3

Turn on the digital picture frame. The slide 
show automatically starts from the built-in 
memory.

Rotating a single photo on the full screen

You can rotate a displayed photo on the full 
screen.

To rotate a single photo:

Press 

ROTATE

 on remote control. The full 

screen photo is rotated by 90° 
counterclockwise with each press of the 

ROTATE

 button.

Enlarging a single photo on the full screen

You can magnify a displayed photo on the full 
screen.

To enlarge a single photo:

Press 

ZOOM

 on remote control. The photo is 

magnified in size each time you press the 

ZOOM


button until it returns to the normal size. While 
the photo is in enlarged, use the arrow buttons to 
move the photo so you can see portions that 
aren't currently visible.

Setting up the slide show

The digital picture frame lets you set up a slide 
show using either all of the photos or selected 
photos in the selected memory source. You can 
also add music to your slide show.

Setting up a slide show of all photos in the memory

To set up a slide show of all photos:

With  the 

Thumbnails 

screen displayed, press 

SLIDESHOW

 on the remote control or the 

ENTER

 button twice on the frame. A slide 

show of all photos in the selected memory is 
played.

Setting up a slide show of selected photos in the 
memory

To set up a slide show of selected photos:

1

With the 

Thumbnails 

screen displayed, use 

arrow buttons to locate the photo you want, 
then press 

+

 to select the photo or 

-

 to 

de-select the photo. A check mark appears at 
the upper-right corner of the selected 
thumbnail photo.

2

After completing the photo selection, press 

SETUP

 on the remote control or on the frame 

to bring up a setup menu.

3

Choose the 

Start Slideshow

 menu item, 

then press 

ENTER

.

A submenu appears offering three options:

One

Selected

All

4

Choose 

Selected

 to start a slide show of only 

the selected photos.

Adding music to a slide show

To play background music with a slideshow:

Copy MP3 files onto the same memory card 
as your photos. The music plays as the slide 
show runs. 
See “Connecting to a computer” on page 8 
for details on copying files.

File Type

Description

PHOTO

Display JPEG still photo slide shows.

MUSIC

Play MP3 audio files.

CLOCK

Display current date, time, and alarm 
settings.

Note

A slide show of selected photos can only be 
operated by using the remote control.

Summary of Contents for NS-DPF10

Page 1: ...Digital Picture Frame NS DPF8 NS DPF10 User Guide ...

Page 2: ......

Page 3: ... with the digital picture frame Using any other power adapter will void your warranty Unplug the power cord from the outlet when the digital picture frame is not in use Features The digital picture frame includes these key features Displays digital photos JPEG without a computer Insert a compatible memory card into the digital frame to show photos or play MP3 music memory card not included Compati...

Page 4: ... picture frame to the ON position The digital picture frame automatically starts a slide show of the photos on the card To display photos individually 1 Press EXIT to open the Thumbnails screen 2 Press or to choose a photo 3 Press ENTER on the top of the digital picture frame or ENTER on the remote control To restart the slide show Press ENTER on the digital picture frame or press SLIDE SHOW on th...

Page 5: ...emory card The Mode Selection screen opens after you choose a memory source Note You can open the Setup menu at any time by pressing and holding EXIT Button Action Move the selection up or left Display the previous photo Select the previous file ENTER Select the highlighted option Start a slide show Pause Play Move the selection down or right Display the next photo Select the next file EXIT Exit t...

Page 6: ...is in enlarged use the arrow buttons to move the photo so you can see portions that aren t currently visible Setting up the slide show The digital picture frame lets you set up a slide show using either all of the photos or selected photos in the selected memory source You can also add music to your slide show Setting up a slide show of all photos in the memory To set up a slide show of all photos...

Page 7: ...u opens 7 Press or to select Copy File 8 Press ENTER A submenu appears offering three options One Selected All 9 Select One then press ENTER to copy the highlighted photo from memory card to built in memory 10 Press EXIT to return to the Thumbnails screen Copying multiple photos Use the remote control to copy more than one photo from a memory card to the built in memory To copy multiple photos 1 P...

Page 8: ...2 Press ENTER to select the option A second menu opens listing the available settings A blue highlight shows the current setting 3 Use or to choose a setting 4 Press ENTER to select the setting The second menu closes 5 You can make as many changes as you wish in the same manner When you are finished press the EXIT button to close the Setup menu and return to the previous screen The following table...

Page 9: ...alarm 1 With the Clock Calendar View screen displayed press ENTER to open the Setup menu 2 Choose Set Alarm then press Enter to open a submenu 3 Choose Set Alarm Time option to open another submenu for changing alarm time 4 When the alarm time settings are completed press ENTER to set the alarm and return to the normal Clock Calendar View screen Rotate Rotate the displayed photo 90 counterclockwis...

Page 10: ...ess EXIT to save them and return to the Calendar Clock page Turning scheduled slide shows on or off After you create slide show schedules you need to turn slide show scheduling on to use the schedules To turn scheduled slide shows on or off 1 With the Calendar Clock displayed press SETUP 2 Choose Start Scheduled ON OFF to turn the scheduling on or off Changing the decorative frame The digital pict...

Page 11: ... screen gently The screen is made of glass and can be scratched or broken To clean fingerprints or dust from the LCD screen we recommend using the cloth provided or a soft non abrasive cloth such as a camera lens cloth If you use a commercial LCD cleaning kit do not apply the cleaning liquid directly to the LCD screen Clean the LCD screen with the cleaning cloth moistened with the liquid Cleaning ...

Page 12: ...uct names are trademarks or registered trademarks of their respective holders Specifications and features are subject to change without notice or obligation For service and support call 877 467 4289 Image Use Restrictions Use of the images pre loaded on the digital picture frame is limited to personal non commercial use Consumer may not modify duplicate distribute retransmit republish reproduce or...

Page 13: ...t of protection as the original packaging To obtain in home warranty service for a television with a screen 25 inches or larger call 1 888 BESTBUY Call agents will diagnose and correct the issue over the phone or will have an Insignia approved repair person dispatched to your home Where is the warranty valid This warranty is valid only to the original purchaser of the product in the United States ...

Page 14: ... South Richfield MN USA 55423 3645 2007 Best Buy Enterprise Services Inc Tous droits réservés INSIGNIA est une marque déposée de Best Buy Enterprise Services Inc Tous les autres produits ou noms de marques sont des marques de commerce qui appartiennent à leurs propriétaires respectifs Distribuido por Best Buy Purchasing LLC 7601 Penn Avenue South Richfield MN USA 55423 3645 2007 Best Buy Enterpris...

Reviews: