


8
Insignia NS-DPF8/NS-DPF10 Digital Picture Frame
www.insignia-products.com
Displaying the calendar with a clock or a
picture
You can use your digital picture frame as a desk
calendar with either a large clock or a digital
photo with a small digital clock.
To display the calendar:
1
To display the calendar and clock, press the
EXIT
button until the
Mode Selection
screen
opens.
2
Use the arrow buttons to highlight
Clock
.
3
Press
ENTER
. The
Calendar and Clock
page
is displayed.
4
Press the
Setup
button.
5
Choose
Display Style
, then press
ENTER
.
6
Choose
Photo Display
or
Clock Display
,
then press
ENTER
.
7
The calendar now displays your chosen style.
Creating a schedule for playing slide
shows
You can set your digital picture frame to display
slide shows at predetermined times.
To create a slide show schedule:
1
With the
Calendar and Clock
displayed,
press
SETUP
.
2
Use
or
to
select
Set On/Off Schedule
,
then press
ENTER
. The
Set Schedule
page
opens with the
Hours
field for the Weekdays
Turn on at highlighted.
3
Use
or
to set the hour you want
scheduled slide shows to start, then use
to
move to the minutes field, set the minutes in
the same manner as the hours, and then
move the highlight to the
AM/PM
field.
4
Use
or
to choose AM or PM.
5
Set the time you want the slide show to end
in the same manner.
6
Press
ENTER
when
Always OFF
is
highlighted if you don't want to play
scheduled slide shows on weekdays. The
field now reads
Set Turn-On Time
. Press
ENTER
to schedule weekday slide shows.
You can set different times for scheduled
slide shows on the weekends in the same
manner.
7
Press
EXIT
to save them and return to the
Calendar/Clock
page.
Turning scheduled slide shows on or off
After you create slide show schedules, you need
to turn slide show scheduling on to use the
schedules.
To turn scheduled slide shows on or off:
1
With the
Calendar/Clock
displayed, press
SETUP
.
2
Choose
Start Scheduled ON/OFF
, to turn
the scheduling on or off.
Changing the decorative frame
The digital picture frame has interchangeable
decorative frames.
To change the frame:
1
Remove one of the screws on the back of the
frame.
2
Lift the unit from the frame.
3
Slide the unit into the new frame, replace the
screw, then finger-tighten.
Connecting to a computer
In addition to the basic functions described
previously, you can connect the digital picture
frame to your computer to copy files to the
built-in memory.
Connect to a Windows computer
You can copy files from your Windows computer
to your digital picture frame.
To connect to a Windows computer:
1
Plug in and turn on the digital picture frame.
2
Connect the small end of the USB cable to
the USB port on the back of the digital picture
frame.
3
Connect the larger end of the USB cable to a
USB port on your computer.
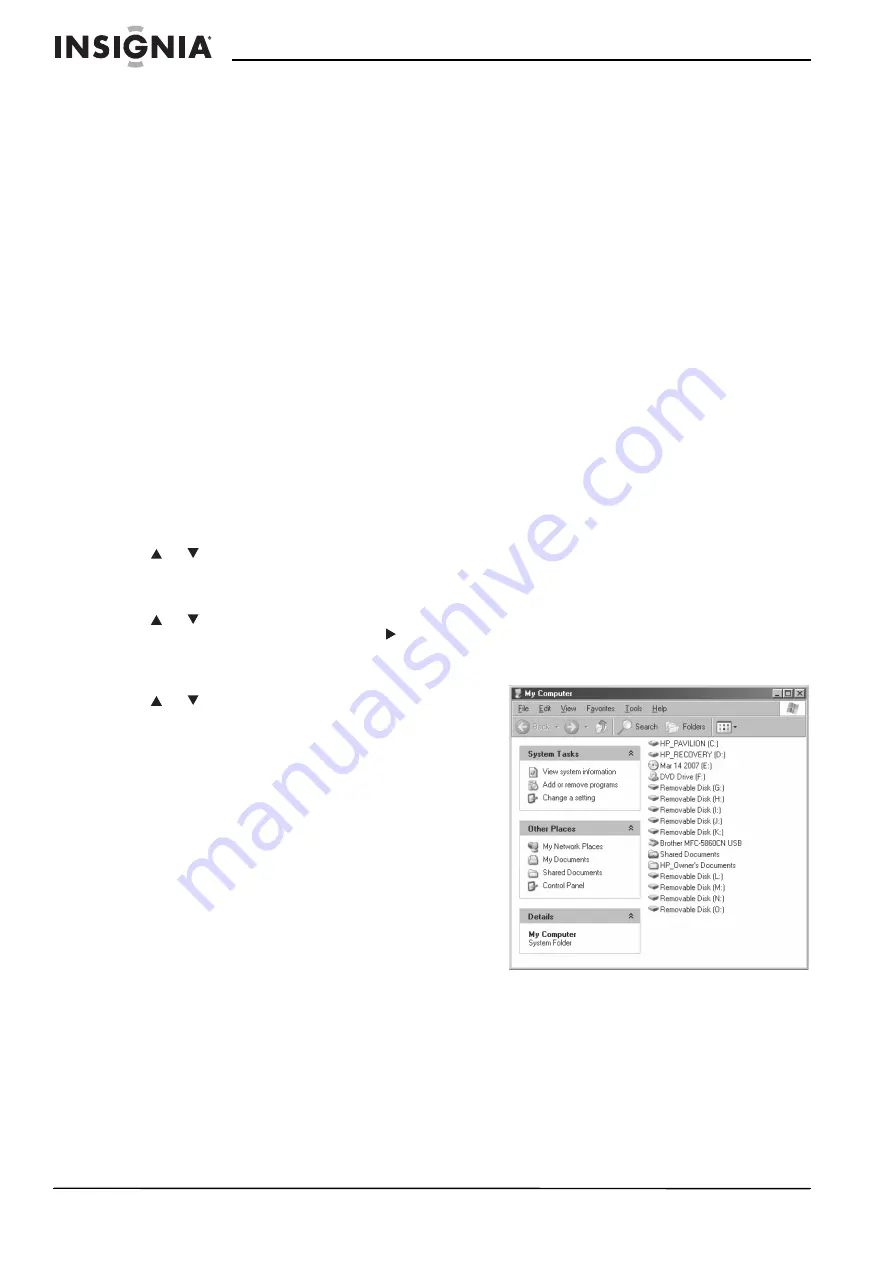
4
Open
My Computer
on your computer. A
window showing all drives connect to your
computer opens. Each memory card in the
digital picture frame and the built-in memory
are listed.
5
Double-click the drive to display the files on
the card. The example below shows a card
with several JPG images on it.
To copy files from the card:
•
Select the files and drag them to the location
on your computer.
To copy photos from your computer to the
card:
1
Locate the files on your computer.
Most cameras and graphic programs store
photos in the Windows
My Pictures
folder. If
you didn't move them somewhere else, they
are probably there.
Summary of Contents for NS-DPF10
Page 1: ...Digital Picture Frame NS DPF8 NS DPF10 User Guide ...
Page 2: ......


