DVB-T Operation
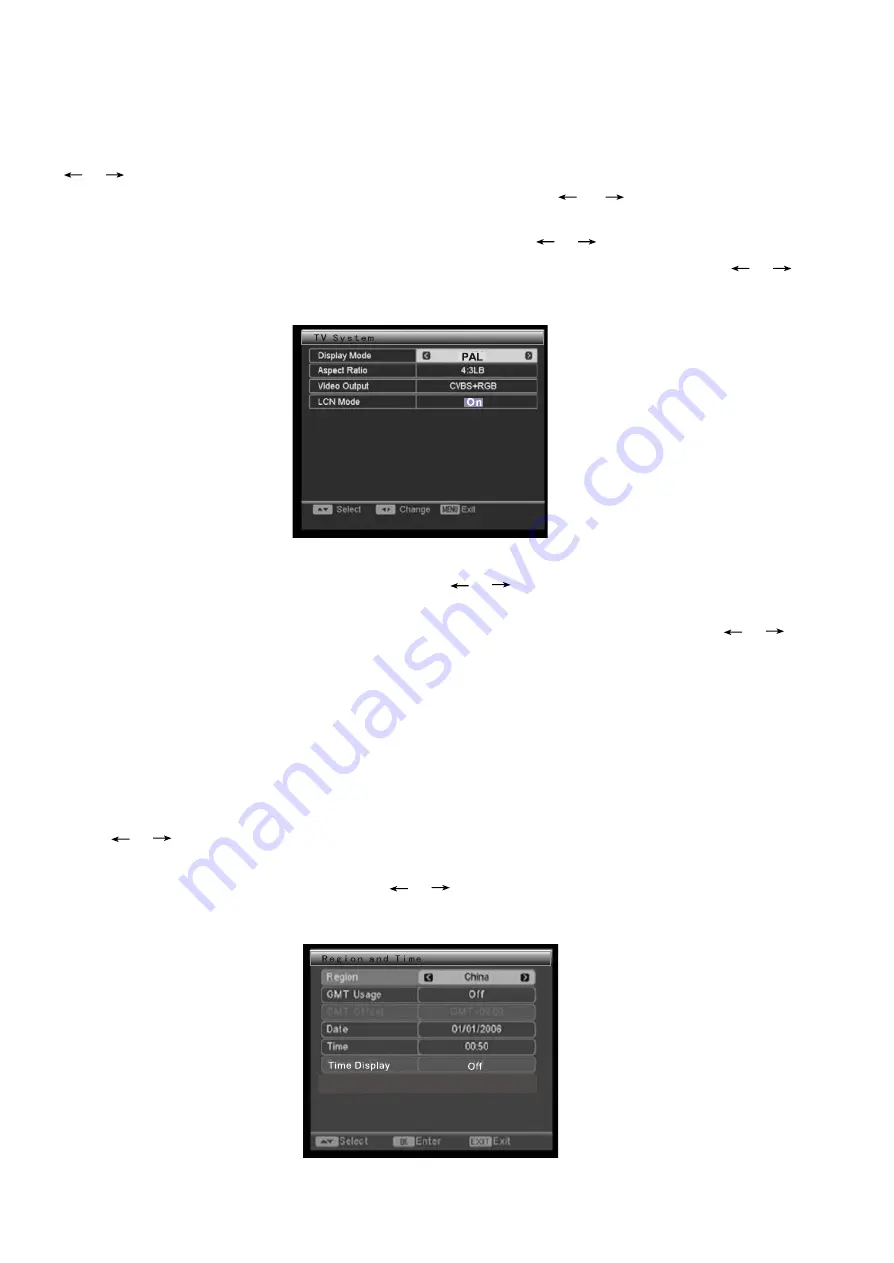
3.2 TV System
Select a Display Mode
This product supports both NTSC (National Television SystemCommittee) and PAL (Phase
Alternating Line) television broadcasting standards.When Display Mode is highlighted, press
[ ]/[ ] to select a display mode, Auto, PAL or NTSC.
Select an Aspect ModeWhen Aspect Mode is highlighted, press [ ]/[ ] to select an aspect ratio,
4:3LB, 4:3PS or 16:9.
Select a Video OutputWhen Video Output is highlighted, press [ ]/[ ] to select a video output mode.
Set the LCN (Logical Channel Number) ModeWhen LCN Mode is highlighted, press [ ]/[ ] to
switch on the LCN Mode or switch it off . Set LCN Mode to ON, the channels will be identified by
the logical channel number while set it to OFF to disable this function.
Press [Exit]/[Menu] to exit.
3.3 Region and Time
Select a regionWhen Region is highlighted,press [ ]/[ ] to select thecountry you are in.
NOTE: If a wrong selection is made in this item, the unit m y not be able to receive channels.
Set the GMT(Greenwich Mean Time) UsageWhen GMT Usage is highlighted, press [ ]/[ ]
to select Off, User Define or By Region.
Set the Date and Time
Date and Time are available when GMT Usage is set toOff. Highlight these two item respectively,
press [ENTER] to enter the editing mode. Use the digit keys and direction keys to input the current
date and time.
Set GMT Offset
GMT Offset is available only when GMT Usage is set toUser Define. To ensure that the TV guide
always shows the current programs at the right time, you must enter the difference between your
local time and GMT(Greenwich Mean Time at 0 longitude).When this item is highlighted,
press [ ]/[ ] to choose a GMT Offset value ranging from -12:00 to +12:00 by every 30 minutes.
Set Time Display
When Time Display is highlighted, press [ ]/[ ] to select On to display the time or selectOff to
cancel time display.
Press [Exit] key to exit the Region and Time menu.
30
Summary of Contents for CH02E-DVBT
Page 1: ......
Page 3: ...220 250V 3...
Page 5: ...5...
Page 6: ...Video format 6...
Page 7: ...7...
Page 10: ...Input 10...
Page 11: ...11...
Page 12: ...12...
Page 17: ...Display 17...
Page 18: ...Remote controller function 18...
Page 19: ...or memory carder or carder the 19 ECHO Press ECHO button to adjust the echo deepness...
Page 35: ...35...
Page 36: ...36...


