BATTERY AND SAFETY
Finder series is supplied with a rechargeable Li-ion Battery Pack,
which enabled the thermal imager to be used for up to 6 hours. The
battery should be charged before first use.
l
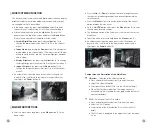
Attach the USB cable to the Type C connector (11) on the device;
l
Connect the other end of the USB cable to the power adapter or
a USB socket connected to another power source with a rated
output of 5V or less.
l
Connect the power adapter to the mains power supply.
l
The LED indicator (7) shows red when changing and turns green
when charging is finished.
l
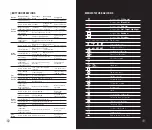
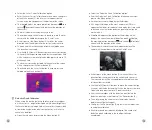
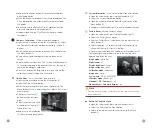
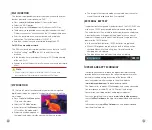
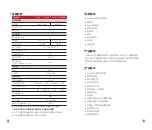
When the battery icon becomes during use, it means the
battery is low in power. Please charge in time to avoid the loss of
the life caused by over-discharged of the battery.
Safety Measures
l
After a long storage time, the device should be partially charged,
not fully charged or fully discharged.
l
Don't charge your device immediately after you bring it from the
cold to the warm. Wait 30-40 minutes for it to warm up.
l
Do not use the charger if it is modified or damaged.
l
The device should be charged at a temperature of 0°C to +40°C.
Otherwise, the battery life will be significantly reduced.
l
It is not recommended to connect third-party devices that
consume more energy than allowed.
l
The equipment is equipped with a short circuit protection system.
But situations that may lead to short circuits should be avoided.
l
The recommended operating temperature for the device is
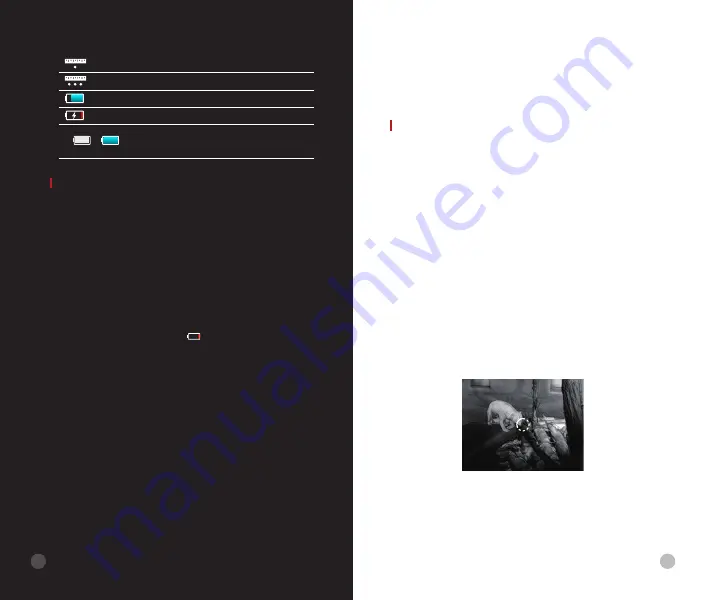
Single ranging
Continuous ranging
Battery indication (FL25R/FH25R)
Battery charging
Battery indication (FL25/FH25)
1: Built-in battery indication
2: External battery indication
2
1
between -10°C and +50°C. Do not use the product beyond this
temperature range -- this may shorten battery life.
l
When the device is used in sub-zero temperatures, the battery
capacity drops., this is normal and does not indicate a defect.
OPERATION
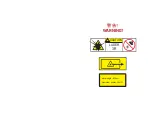
ATTENTION!
The lens of the device must not be pointed at any
sources of intense energy, such as laser-emitting devices or the
sun. This may damage the electronic components in the device.
Damage caused by failure to comply with the operating guidelines
is not covered under warranty.
Power on and image adjustment
l
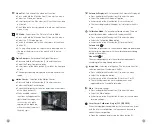
Remove the
lens cap (8)
.
l
Press and hold the
Power(6)
button to power on the device when
the boot screen appears. Enter the home screen after 3s.
l
Adjust the resolution of the icons on the display by rotating the
eyepiece diopter adjustment (12)
.
l
To focus on the object observed, rotate the
lens focus ring (9)
.
l
Adjustment of display brightness, image mode and sharpness, as
well as turning on the smooth digital zoom, are described in the
SHORTCUT MENU FUNCTIONS section.
l
Turn the device off after use with a long press of the
Power(6)
button.
l
During use, the standby mode can let the device into a sleep
state (turn off the display screen, the main chip is standby) by
pressing the
Power
button
(6)
briefly, which allows it to be quickly
turned off, if necessary. And press the
Power
button (6) again to
wake up the device.
3
9
8


