Troubleshooting
Please fill in your warranty card completely and submit it to your local
customer service center.
Infinuvo provides you, as the owner of this Infinuvo product, with the
following Limited Warranty Policy.
One year Product Warranty:
Infinuvo warrants to the original purchaser of this Infinuvo product that the
product is free from defects in original materials and workmanship for a
period of up to one year from the date of initial purchase. This warranty is
only valid if the product has been properly installed and is used in the way
for which it is intended, and has received only factory-authorized repairs,
servicing or alterations.
Under-warranty products that meet these conditions and that function
improperly will be repaired or replaced, at the discretion of Infinuvo.
Six months Battery Warranty:
Infinuvo warrants to the original purchaser of this Infinuvo product that
the original batteries contained within this product will function for a
period of six months. This warranty is only valid if the product has been
properly installed and is used in the way of which it is intended, and has
received only factory-authorized repairs, servicing, or alterations.
Under-warranty batteries that meet these conditions and that function
improperly will be repaired or replaced, at the discretion of Infinuvo.
These warranties contain the sole express warranty of Infunuvo, which
makes no other warranties, expressed or implied. These warranties are
made in lieu of any implied warranties of merchantability or fitness for a
particular purpose. These warranties give you specific legal rights. You
may also have other rights, which vary from state to state.
WHEN YOU RETURN A CLEANMATE PRODUCT OR BATTERY
UNDER THIS WARRANTY, you must first obtain an RMA number by
calling your local customer service center or www. infinuvo.com
Infinuvo reserves the right to request that you submit a letter describing
the circumstances under which the problem occurred and that you submit
invoice and any other supporting evidence and documentation.
QQ2 LT Series
QQ2 LT Series
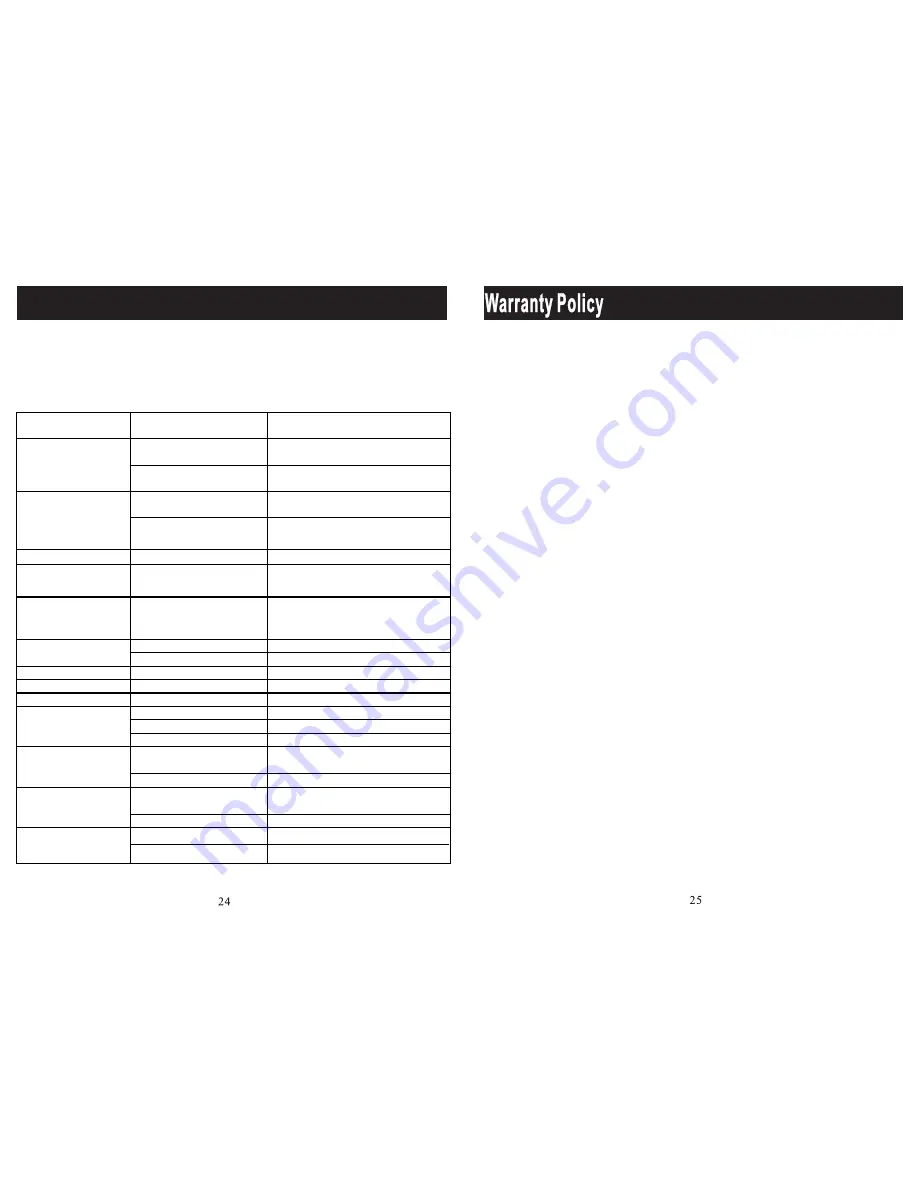
This trouble shooting guides cover some CleanMate problems that you might
have.
If problem persists, please contact your local warranty provider or
www.infinuvo.com for further assistance.
The repairs that marked * needs to be done by qualified service personal.
Problem Symptoms
Possible Cause
Things to do
Battery installation problem
Make sure battery has good contact with charging
stripes, and battery lifting band faces up.
Battery malfunction
Charge battery manually for 2 days (see Page 10)
or replace battery.
CleanMate is lifted off ground over 3
seconds while running
Put the CleanMate back on to the ground.
CleanMate is stuck
Remove deris & hairs from brushes and wheels
LOW BATT indicator on
Battery power is low
Recharge the CleanMate battery
Can not power on the home
charging base
Malfunction charging base
Replace the charging base
Home base LCD display
malfunction (scheduler version
only)
Malfunction LCD display on home base Replace the LCD on charging base. *
Malfunction charging base
Replace the charging base *
Malfunction sensor on CleanMate unit Repair the CleanMate main unit *
Fall down steps or stairs
Malfunction cliff sensors
Repair the CleanMate main unit *
Always turning in circles to left Left wheel stuck or malfunction
Clean or replace left wheel
Always turning in circles to right Right wheel stuck or malfunction
Clean or replace right wheel
Bumper protection pads not removed Remove bumper protection pads
Malfunction front bumper sensor
Clean or replace front bumper sensor *
Malfunction control board
Replace control board *
Too much debris & hairs on brush
Remove debris & hairs from roller brush. Replace
the roller brush if necessary
Malfunction brush motor
Replace brush motor *
Too much debris & hairs on brush
Remove debris & hairs from side brush. Replace
the side brush if necessary
Malfunction brush motor
Replace brush motor *
Remote control battery bad
Replace the button battery in the remote control .
Remote control defective
Replace the remote control
Both ERROR & LOW BATT
indicators are on. (Page 6)
ERROR indicator on
Always going backwards
Remote control does not work
Side brush stuck
Main roller brush stuck
Can not dock on the home
charging base


