Perform Setup
48
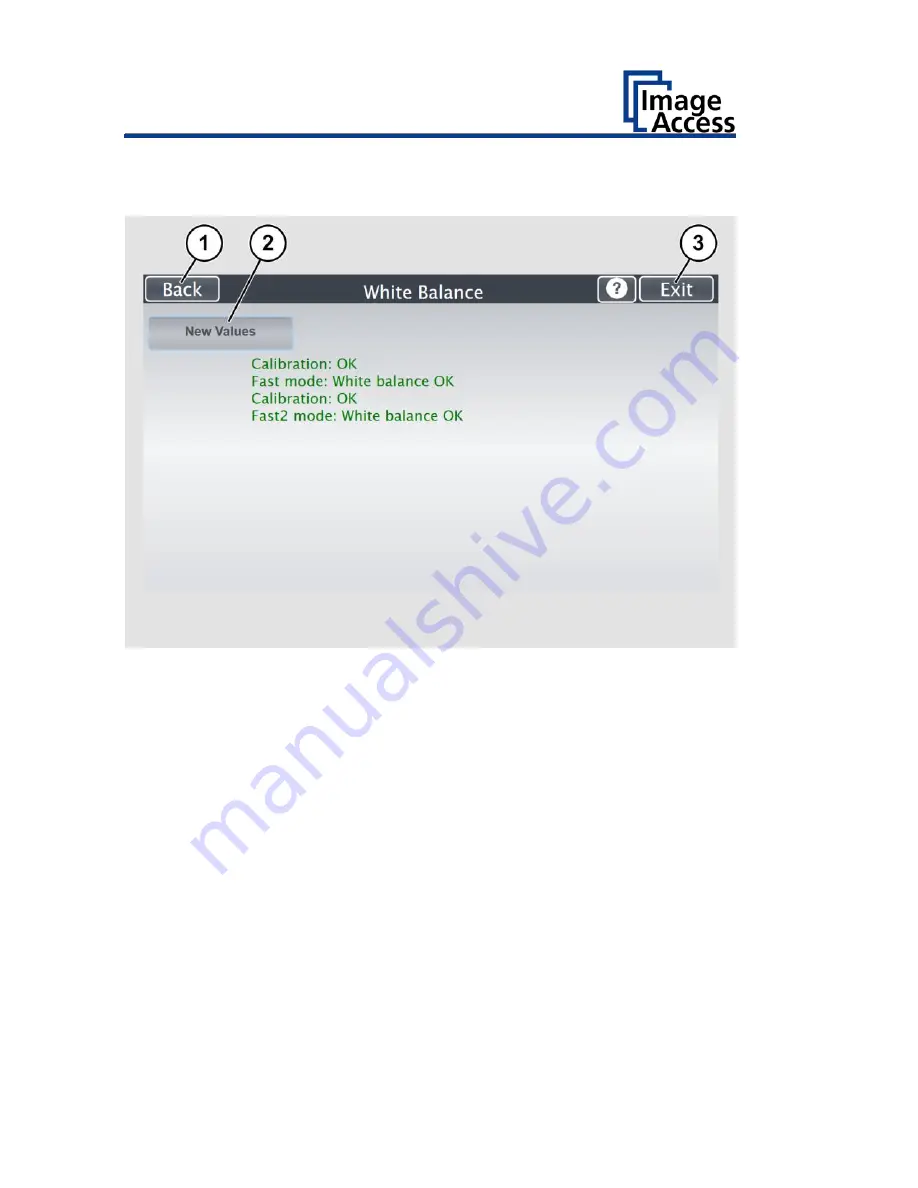
Then, the white balance result is displayed as shown on the example
below.
➢
To delete the stored data of the white balance calibration, tap DELETE
WHITE BALANCE DATA (Only if a white balance is not possible or if it
gives incorrect results).
➢
After deleting the stored data, it is mandatory to run the white balance
again, as described.
➢
If problems arise during the white balance calibration, contact Image
Access technical support, see section
Technical Support
starting at page
8.
After a successful white balance, proceed as follows:
➢
Remove the test target.
➢
Store the test target in a place which is protected from daylight.
➢
Ensure that the test target is not damaged, bent or soiled.
Summary of Contents for Bookeye 4 V1A Professional
Page 1: ...Bookeye 4 V1A V2 V3 Setup Instructions English 02 2019 ...
Page 23: ...Description 23 The following figure shows the Bookeye 4 V1A rating plate ...
Page 29: ...Prepare for Setup 29 After a short wait the Start screen is displayed in English ...
Page 36: ...Perform Setup 36 To complete the log in press OK 1 ...
Page 38: ...Perform Setup 38 Perform White Balance On the Setup Menu screen tap on WHITE BALANCE 1 ...
Page 41: ...Perform Setup 41 To perform the white balance proceed as follows Tap on CALIBRATE 1 ...
Page 46: ...Perform Setup 46 Perform White Balance Glass Plate Tap on GLASS PLATE 1 ...
Page 50: ...Perform Setup 50 The Focus and Scan Area screen page appears ...
Page 71: ...Perform Setup 71 Tap the IP Address 1 field ...
Page 72: ...Perform Setup 72 The IP Address window is displayed Enter the IP address 1 ...
Page 78: ...Perform Setup 78 Modify User Settings On the Setup Menu screen tap on USER SETTINGS 1 ...
Page 85: ...Perform Setup 85 Set the Time and Date On the Setup Menu screen tap on TIME and DATE 1 ...
Page 90: ...Perform Setup 90 Perform Test Suite On the Setup Menu screen tap on TESTSUITE 1 ...
Page 120: ......


