


www.ikegps.com/quickstart
Page 94
www.ikegps.com/support
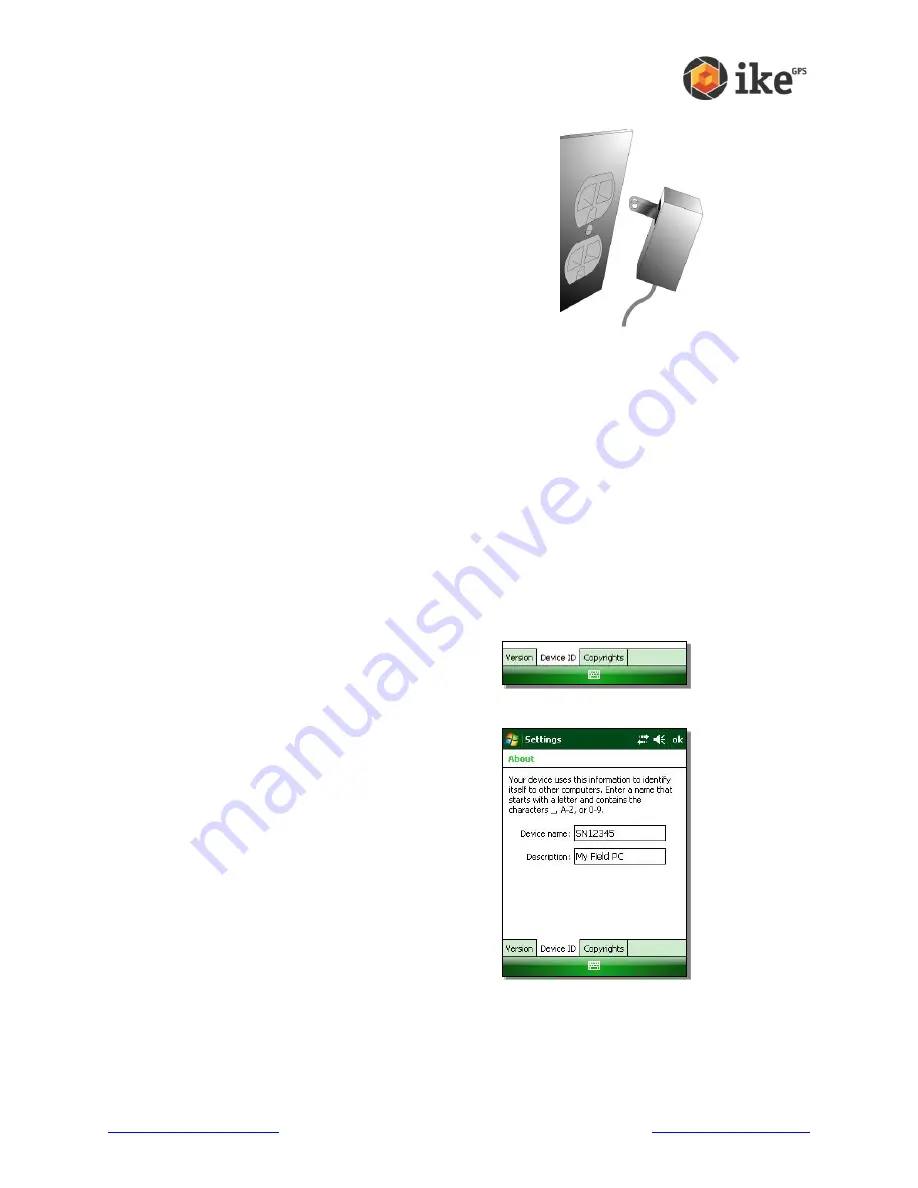
Step 2: Charge the battery
1. Ensure the appropriate country adaptor is fitted to
the power pack
2. Mount the plug onto the wall charger (if it is not
already assembled).
3. Plug the wall charger into an outlet.
4. Plug the other end of the wall charger into the DC
jack on your ike. The device turns on after a few
seconds, and a flashing red light signals the device
is charging.
5. Charging ike for 4 hours charges it to around 95%.
6.
Let the device charge for 6 hours to get a full charge
. Note: If your ike suspends and
the flashing red LED turns off, the device keeps charging.
Charging temperatures:
Only charge your battery pack in temperatures between
32°F and 104°F (0°C and 40°C). For best results, charge the battery pack at room
temperature (68°F or 20°C).
Step 3: Establish basic settings on the device
Using the stylus, follow the instructions on the screen to calibrate the device and establish
basic settings.
We recommend creating a name for your ike so external devices like desktop computers
or devices that use Bluetooth® technology can differentiate your ike from other devices
more easily.
To create a name, follow these steps:
1.
Tap
Start
>
Settings
.
2.
From the
System
tab, tap
About
3. Select the
Device ID
tab at the bottom of the
screen.
4. Type in a device name. We recommend
using
“
SN
”
(serial number) and the device
serial number, which can be found by tapping
Start
>
Settings
>
System
and choosing
System
Configuration.
An example of a device name
appears below.


