Print More Materials, All For Application
— 33 —
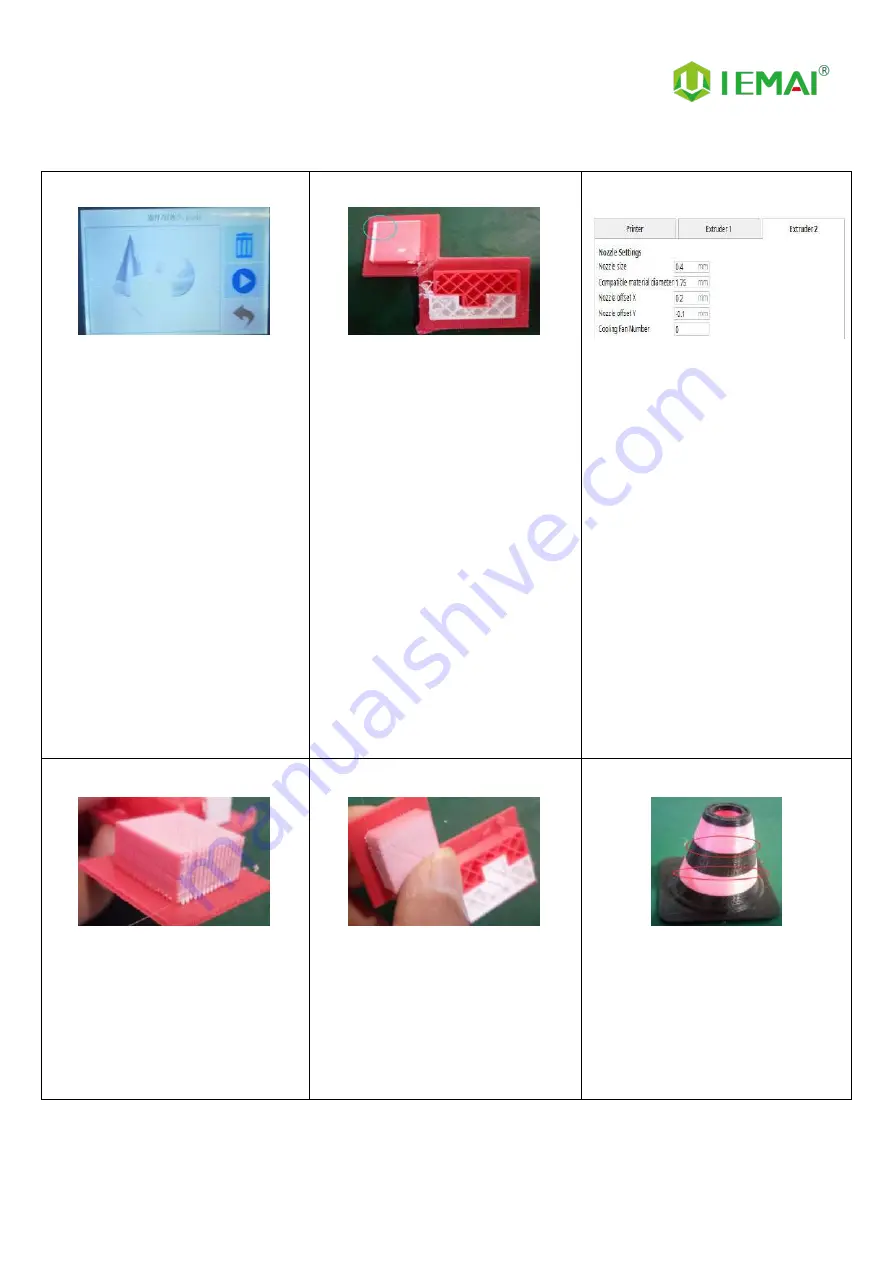
6.4 Dual Print Head Nozzle Spacing Adjustment Method
Step 1
1.
Print a two-color miniature
Adding the paint tower
White left nozzle
Red right nozzle
Step 2
1.
Get printed as shown in the
figure
2.
Take the left printhead as
standard
3.
X-axis direction red (right
printhead)
4.
need to move to the X-axis
negative direction to match
5.
then increase the X-axis spacing
(positive value)
6.
Y-axis direction red (right
printhead)
7.
Need to move to the positive
direction of the Y-axis
8.
Decrease the Y-axis spacing
(negative)
)
Step 3
1.
Open the slicing software
2.
Adjust the parameters in the
print head settings
3.
Make up the difference
according to the gap produced
by printing
4.
Difference between the right
printhead and the left printhead
Step 4
1.
Print the two-color miniature
again
2.
According to the printing effect
to the left nozzle as the standard
3.
With gap to increase the data
4.
With overlap to reduce the data
Step 5
1.
When you get a tight two-color
fit between models
2.
Stop changing data
Step 6
1.
Print another two-color large
model of a cylinder
2.
Check the effect of spacing
adjustment


