PCIE-G41A2 PICMG 1.3 CPU card
Page 116
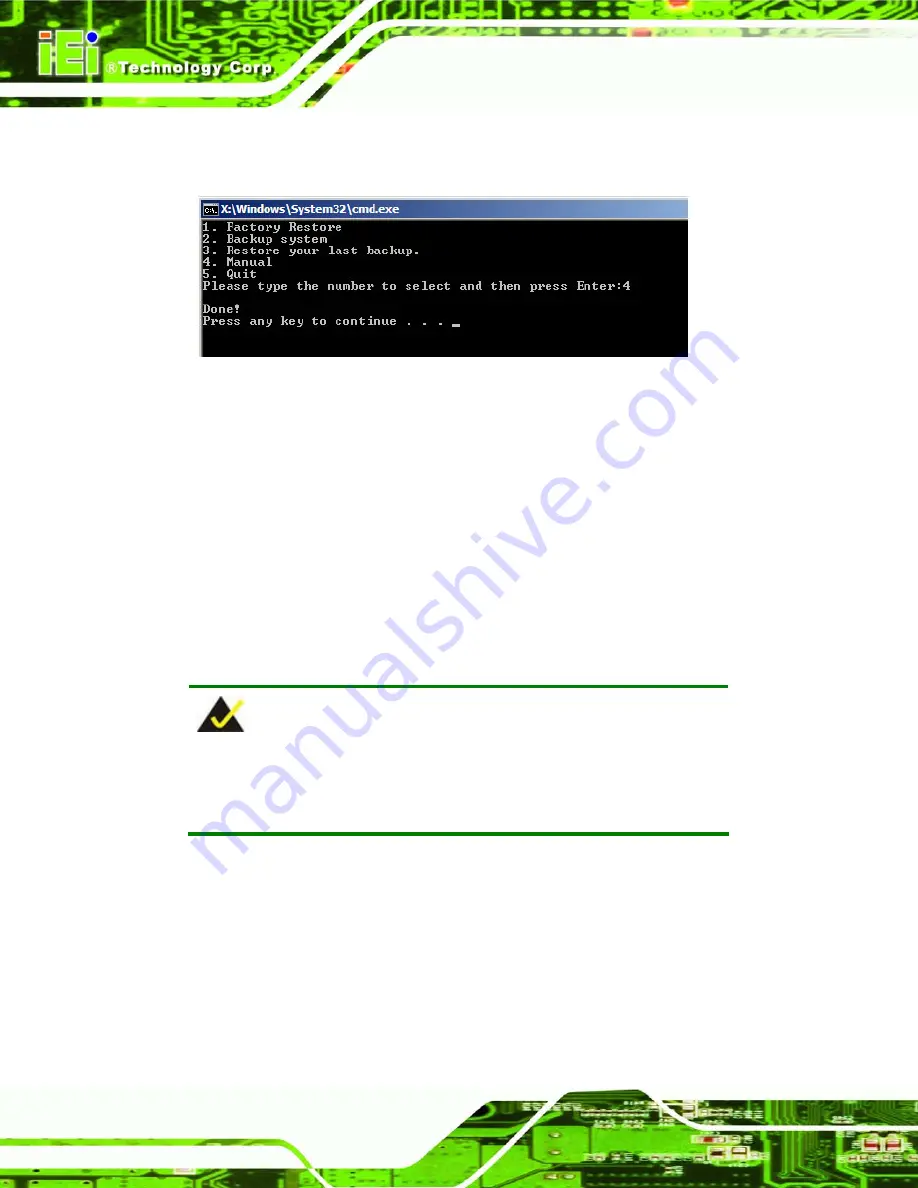
Step 12:
The recovery tool main menu window is shown as below. Press any key to
reboot the system.
S
te
p
0
:
Figure B-18: Press Any Key to Continue
B.3 Setup Procedure for Linux
The initial setup procedures for Linux system are mostly the same with the procedure for
Microsoft Windows. Please follow the steps below to setup recovery tool for Linux OS.
Step 1:
Hardware and BIOS setup
. Refer to
Section B.2.1
.
Step 2:
Install Linux operating system
. Make sure to install GRUB (v0.97 or earlier)
MBR type and Ext3 partition type. Leave enough space on the hard drive to
create the recover partition later.
NOTE:
If the Linux OS is not installed with GRUB (v0.97 or earlier) and Ext3,
the Symantec Ghost may not function properly.
While installing Linux OS, please create two partitions:
Partition
1:
/
Partition
2:
SWAP
Summary of Contents for PCIE-G41A2
Page 13: ...PCIE G41A2 PICMG 1 3 CPU card Page 1 Chapter 1 1 Introduction...
Page 20: ...PCIE G41A2 PICMG 1 3 CPU card Page 8 Chapter 2 2 Packing List...
Page 25: ...PCIE G41A2 PICMG 1 3 CPU card Page 13 Chapter 3 3 Connectors...
Page 46: ...PCIE G41A2 PICMG 1 3 CPU card Page 34 Chapter 4 4 Installation...
Page 65: ...PCIE G41A2 PICMG 1 3 CPU card Page 53 Chapter 5 5 BIOS...
Page 108: ...PCIE G41A2 PICMG 1 3 CPU card Page 96 Appendix A A BIOS Options...
Page 111: ...PCIE G41A2 PICMG 1 3 CPU card Page 99 Load Optimal Defaults 95 Load Failsafe Defaults 95...
Page 112: ...PCIE G41A2 PICMG 1 3 CPU card Page 100...
Page 113: ...PCIE G41A2 PICMG 1 3 CPU card Page 101 Appendix B B One Key Recovery...
Page 137: ...PCIE G41A2 PICMG 1 3 CPU card Page 125 Appendix C C Terminology...
Page 141: ...PCIE G41A2 PICMG 1 3 CPU card Page 129 Appendix D D Digital I O Interface...
Page 143: ...PCIE G41A2 PICMG 1 3 CPU card Page 131 Appendix E E Watchdog Timer...
Page 146: ...PCIE G41A2 PICMG 1 3 CPU card Page 134 Appendix F F Compatibility...
Page 148: ...PCIE G41A2 PICMG 1 3 CPU card Page 136 Appendix G G Hazardous Materials Disclosure...


