AFL3-W10A/12A/W15A-BT Panel PC
Page 38
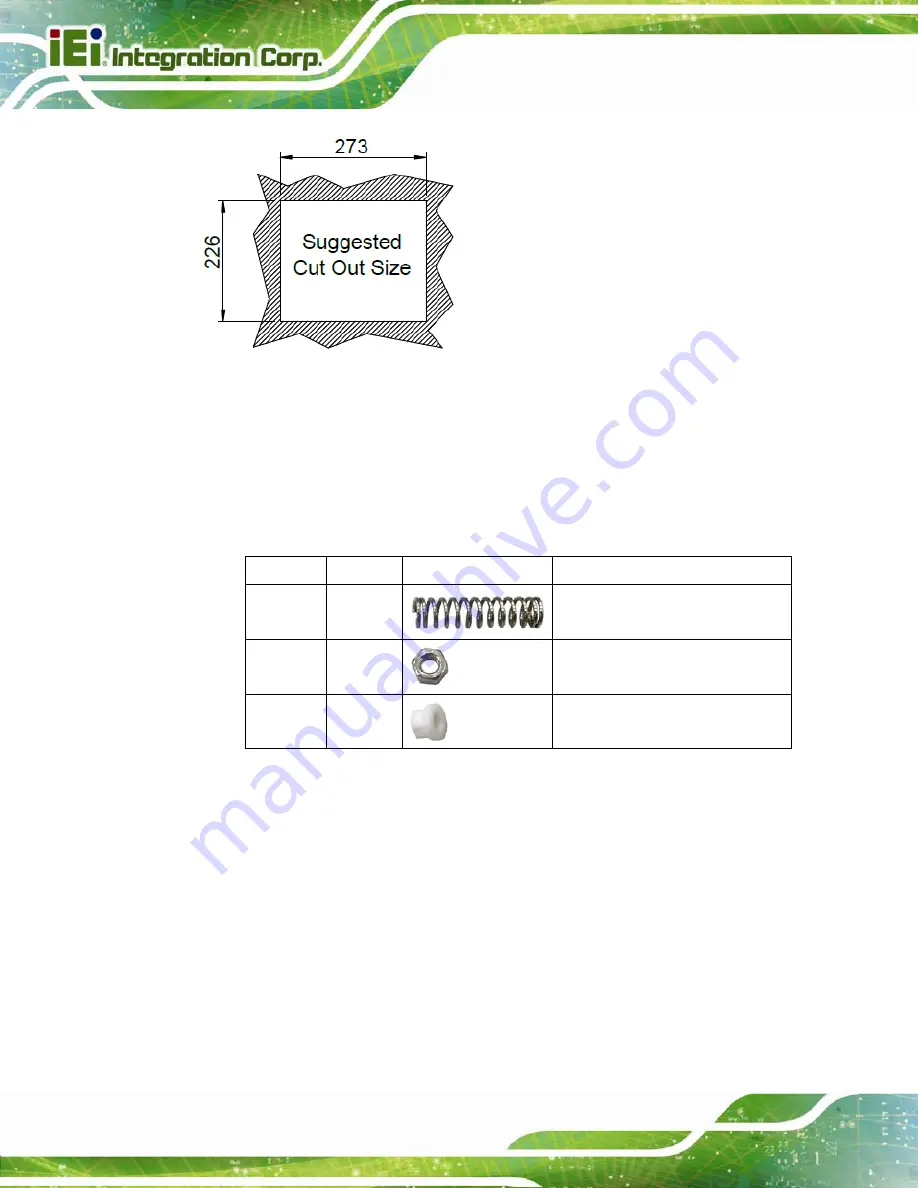
Figure 3-21: AFL-W15A-BT Cutout Dimensions
Step 3:
Slide the panel PC through the hole until the frame is flush against the panel.
Step 4:
Insert a M5*50 screw into the screw hole on the side of the panel mounting
bracket. Then, install the following components onto the screw in sequence.
See
Figure 3-22
.
Sequence Item
Photo
Instruction
1 Spring
Install a spring onto the screw.
2 Nut
Tighten a nut until the spring is
compressed enough for plastic cap.
3 Plastic
cap
Tighten a plastic cap onto the end of
screw thread.
Step 5:
Repeat
Step 4
to install the other three screws into the sides of the two panel
mounting brackets.


