Model 252
Label Printer/Applicator
Operators/Technical Manual
52
correct apply delay time is set, press the Enter
icon to save the value. Press the Back
icon
to return to the main menu.
Use the multiplier icon
to make changes in the “times” factor when
adjusting the dwells and delays timing - x1, x10, x100, or x1000ms. Refer to
the Multiplier section for further assistance.
5.12 Smart Delay
Smart Tamp
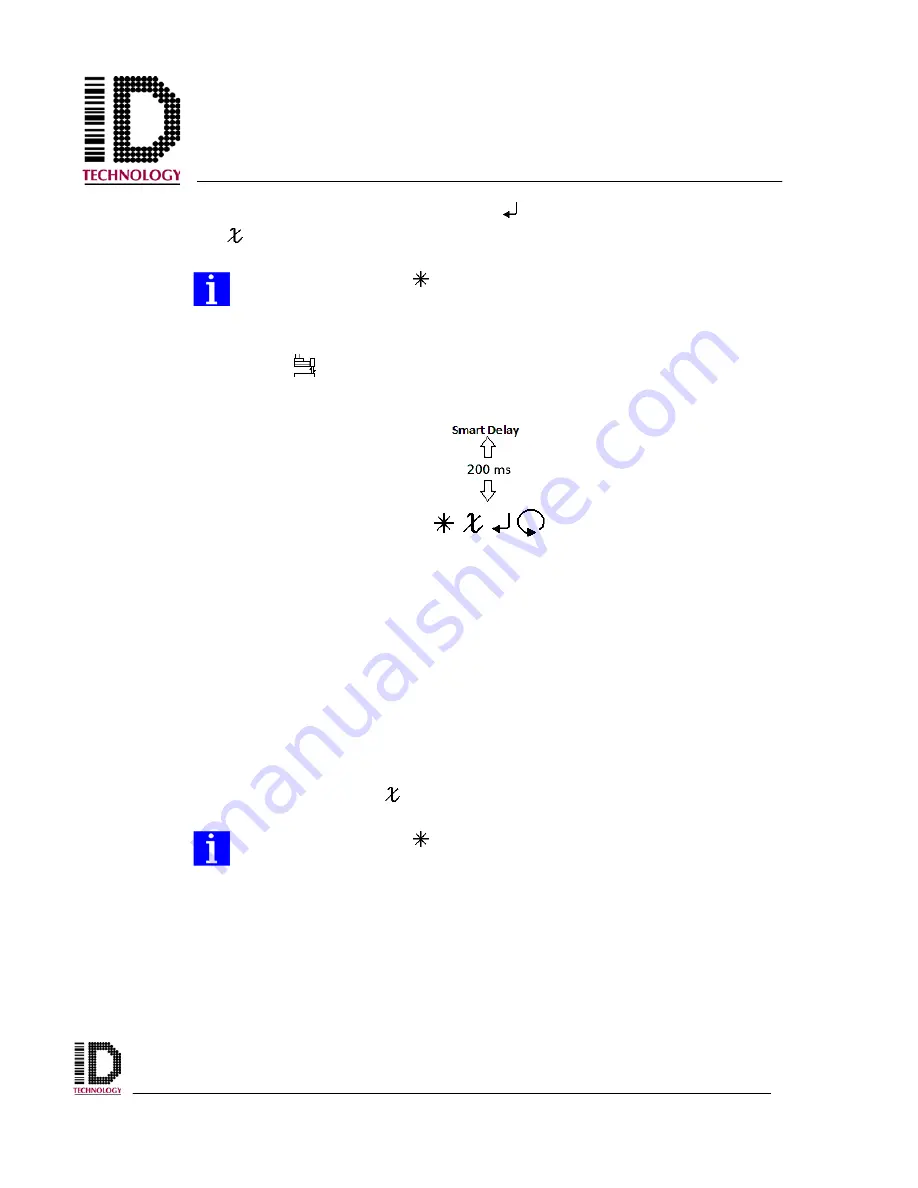
Pressing the Smart Delay icon opens the Smart Delay screen.
There are two adjustments available when using a Smart Tamp Sensor option. The first is
the sensitivity or gain adjustment located on the sensor itself. See the Component
Information section for more information. It is very useful when compensating for
variation in products. The second adjustment, the Smart Delay, is used to adjust the
timing of the smart tamp sensor output signal. As soon as the smart tamp sensor detects
the product, the tamp solenoid valve is deactivated, and the tamp pad returns to its home
position. If the sensor detects the product too soon, it is possible that the label will not be
properly applied. Inserting a delay into the sensor signal allows the tamp cylinder to be
activated for a greater period of time, or “over-travel”, increasing the stroke length (up to
the maximum stroke length) traveled. This allows the operator to adjust the stroke
distance for proper application of the label to the product. As with the product detector
photocell delay, pressing the up or down arrows will adjust the time value in
milliseconds. When the desired value has been reached, press the Enter icon to save the
setting. Press the Back icon
to return to the main menu.
Use the multiplier icon
to make changes in the “times” factor when
adjusting the dwells and delays timing - x1, x10, x100, or x1000ms. Refer to
the Multiplier section for further assistance.
5.13 Tamp Home Sensor Setup
Once installed, the only available adjustment for the tamp home sensor is the sensor
sensitivity. See the Component Information for further information about sensitivity
adjustment. The output signal from the tamp home sensor is available on any or all of the
system status outputs when supplied. See the drawings and diagrams section for
information on the outputs.
Summary of Contents for 252
Page 1: ...Model 252 Label Printer Applicator Operator Technical Manual...
Page 10: ...I GENERAL...
Page 19: ...II OPERATING FUNDAMENTALS...
Page 25: ...III INITIAL SETUP...
Page 28: ...Model 252 Label Printer Applicator Operators Technical Manual 3 1 12 Declaration of Conformity...
Page 116: ...Model 252 Label Printer Applicator Operators Technical Manual 0 V DRAWINGS AND DIAGRAMS...
Page 160: ...VI COMPONENT INFORMATION...
Page 161: ...Model 252 Label Printer Applicator Operators Technical Manual 1 MiniBeam Photocell...
Page 162: ...Model 252 Label Printer Applicator Operators Technical Manual 2...
Page 163: ...Model 252 Label Printer Applicator Operators Technical Manual 3...
Page 164: ...Model 252 Label Printer Applicator Operators Technical Manual 4...


