47
5
BASIC RECEIVE FUNCTIONS
5
■
Receiving
Make sure the hardware installation is finished (p. 1) and
Main unit is turned ON (p. 42).
q
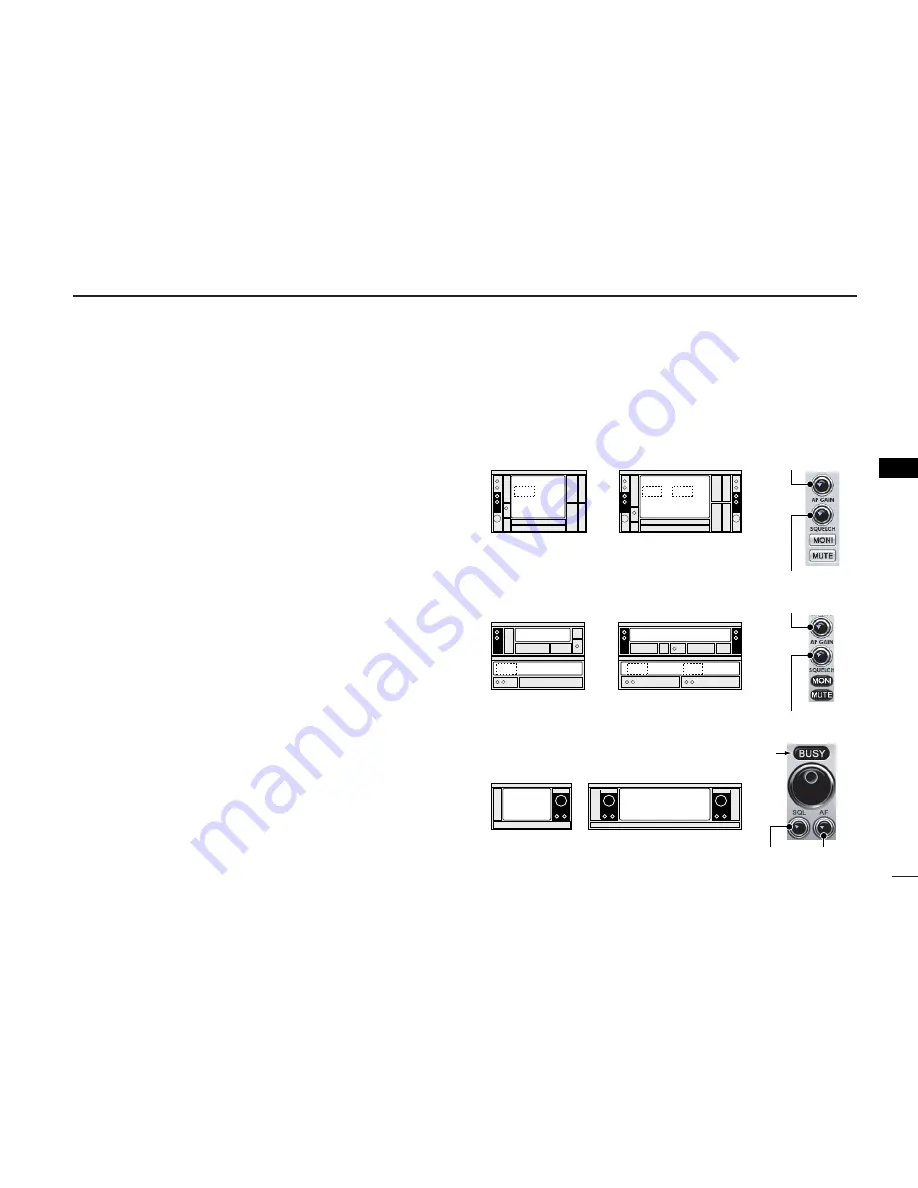
Click the
z
Power
x
icon on the tool bar to turn power ON.
w
Click the desired icon,
z
Receiver
x
,
z
Compo
x
or
z
Simple
x
on the tool bar to select the displayed receiver screen type
that you want to use.
e
Click
z
AF GAIN
x
(
z
AF
x
)* to set the audio level.
• Right-click to increase the audio level.
• Left-click to decrease the audio level.
• When clicking and holding
z
AF GAIN
x
(
z
AF
x
)*, the audio level
scrolls up or down.
• Push the PC’s [
↑
] (UP) or [
↓
] (DOWN) key also sets the audio
level.
r
Click
z
SQUELCH
x
(
z
SQL
x
)* to set the squelch level.
• Right-click to increase the squelch level (tight squelch).
• Left-click to decrease the squelch level (loose squelch).
• When clicking and holding
z
SQUELCH
x
(
z
SQL
x
)*, the squelch
level scrolls up or down.
t
Set the receive frequency and mode. (pgs. 48, 54)
y
When receiving a signal on the set frequency, squelch
opens and the receiver emits audio.
For [Receiver]/[Compo] screen
• “BUSY” appears and the S-meter indicator shows the relative
signal strength for the received signal.
For [Simple] screen
• “BUSY” indicator lights green.
*Available only when [Simple] screen is displayed.
MODE/VOL PANEL
MAIN
MAIN
SUB
SUB
MAIN
SUB
z
SQL
x
z
AF
x
z
SQUELCH
x
z
AF GAIN
x
z
AF GAIN
x
z
SQUELCH
x
• [Compo] screen
• [Receiver] screen
IC-PCR2500
IC-PCR1500
IC-PCR2500
IC-PCR1500
• [Simple] screen
IC-PCR2500
IC-PCR1500
Lights


