Connecting SAS cables to expansion enclosures
If you have installed expansion enclosures, you must connect them to a control
enclosure.
About this task
This task applies if you are installing one or more expansion enclosures. Each
control enclosure in the system can manage two sets of expansion enclosures; each
set can consist of a maximum of 10 expansion enclosures. Therefore, each control
enclosure can manage up to 20 expansion enclosures. A system that contains two
control enclosures can have up to 40 expansion enclosures.
Note:
When connecting SAS cables between enclosures, you must follow a list of
guidelines to ensure that your configuration is valid. Do not begin connecting the
cables until you have read “SAS cabling guidelines” on page 25.
Procedure
To install the cables, complete the following steps.
1.
Using the supplied SAS cables, connect the control enclosure to the expansion
enclosure at rack position 1, as shown in Figure 21 on page 24.
a.
Connect SAS port 1 of the left node canister in the control enclosure to SAS
port 1 of the left expansion canister in the first expansion enclosure.
b.
Connect SAS port 1 of the right node canister in the control enclosure to
SAS port 1 of the right expansion canister in the first expansion enclosure.
3
1
2
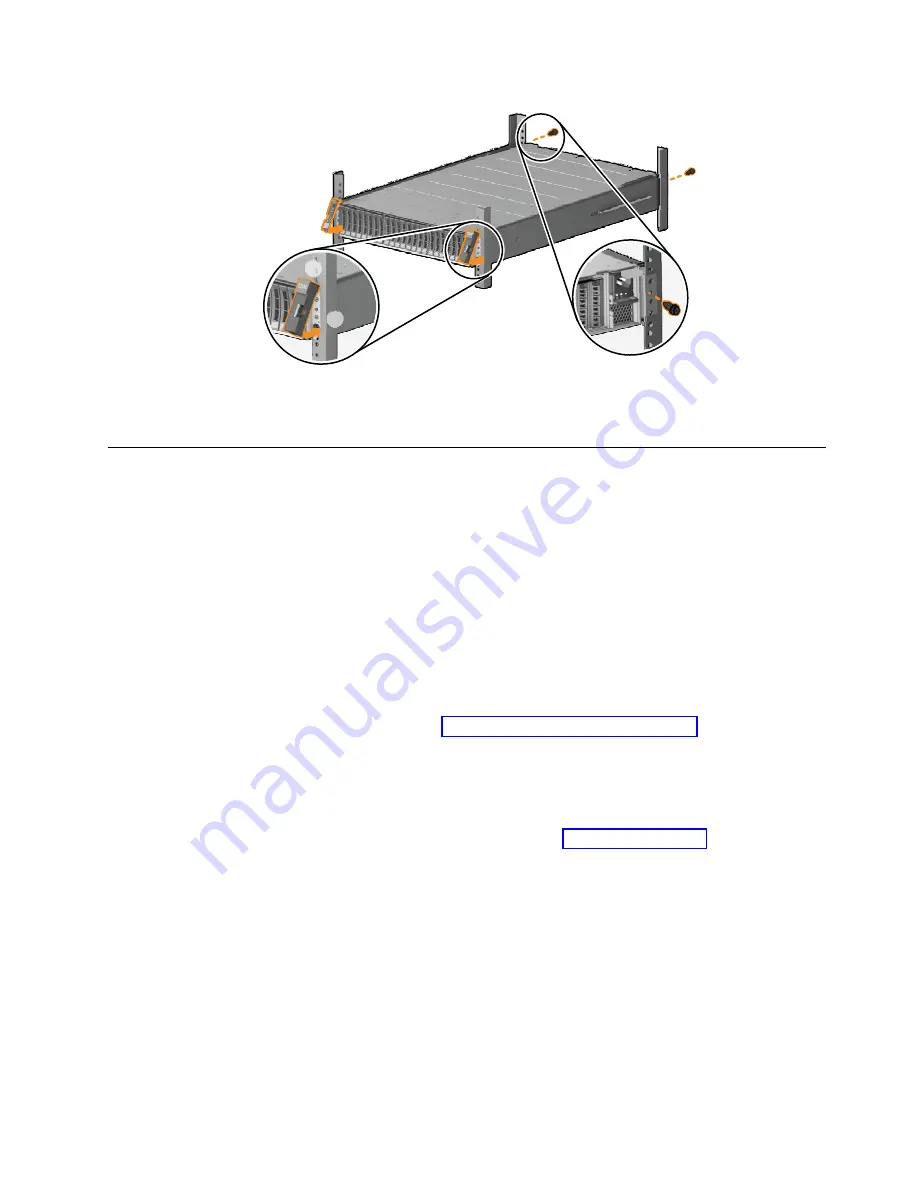
fab10022
Figure 20. Reinstalling enclosure end caps
Chapter 2. Installing the Storwize V7000 Gen2 and Storwize V7000 Gen2+ hardware
23
Summary of Contents for StorVize V7000 Gen2
Page 8: ...viii Storwize V7000 Gen2 and Gen2 Quick Installation Guide ...
Page 24: ...xxiv Storwize V7000 Gen2 and Gen2 Quick Installation Guide ...
Page 36: ...12 Storwize V7000 Gen2 and Gen2 Quick Installation Guide ...
Page 166: ...142 Storwize V7000 Gen2 and Gen2 Quick Installation Guide ...
Page 174: ...150 Storwize V7000 Gen2 and Gen2 Quick Installation Guide ...
Page 176: ...152 Storwize V7000 Gen2 and Gen2 Quick Installation Guide ...
Page 184: ...160 Storwize V7000 Gen2 and Gen2 Quick Installation Guide ...
Page 187: ......
Page 188: ...IBM Printed in USA GC27 6500 08 ...


