


68
Verify printer setup
2
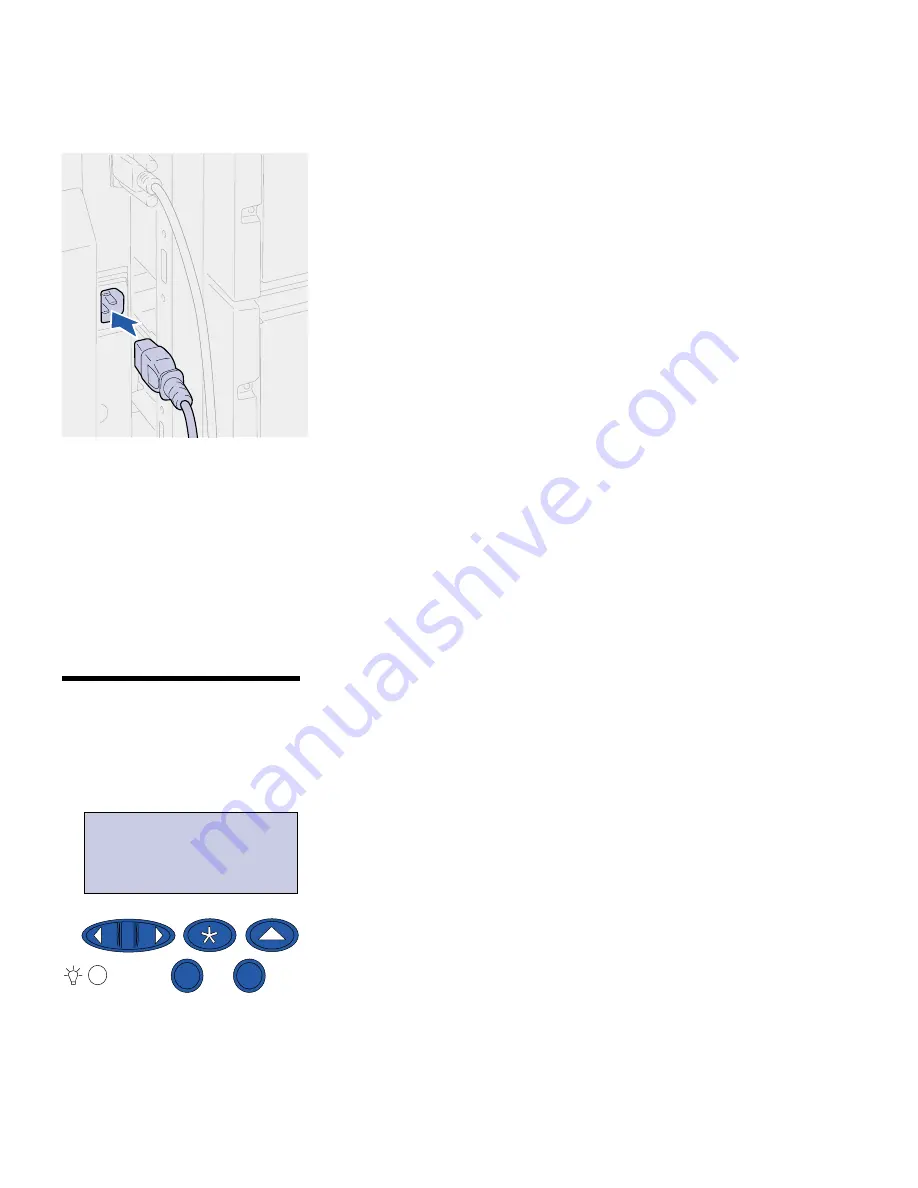
Plug one end of the high-capacity feeder power cord into the
socket on the side of the high-capacity feeder and the other
end into a properly grounded outlet.
3
Turn on the printer. If the printer is attached locally (directly to a
computer), leave the computer and any other attached devices
turned off. You will turn these on in a later step.
The message
Performing Self Test
appears on the display
while the printer warms up.
After the internal tests complete, the
Ready
message indicates
the printer is ready to receive jobs. If you see a message other
than
Ready
, refer to your quick reference booklet or the
publications CD for instructions on clearing the message. Click
Printing
, and then Understanding printer messages.
4
If you attached your printer to a network, continue with “Printing
a network setup page” on page 69.
Otherwise, go on to “Printing a menu settings page” on
page 68.
Printing a menu
settings page
Print the menu settings page to review the default printer settings and
to verify that printer options are installed correctly.
Note:
For more information
about using the operator panel
and changing menu settings,
refer to the publications CD.
1
Press Menu until you see
Utilities Menu
, and then press
Select.
2
Press Menu until you see
Print Menus
, and then press
Select to print the page.
The message
Printing Menus
is displayed.
3
Verify the options you installed are correctly listed under
“Installed Features.”
If an option you installed is not listed, turn the printer off, unplug
the power cord, and reinstall the option.
4
Verify the amount of memory installed is correctly listed under
“Printer Information.”
5
Verify the paper trays are configured for the sizes and types of
paper you loaded.
UTILITIES MENU
1
Menu
2
Select
3
Go
5
Return
4
Stop
6
Summary of Contents for S510-2222-00
Page 1: ...Infoprint Color 1228 Setup Guide S510 2222 00...
Page 2: ......
Page 3: ...Infoprint Color 1228 Setup Guide S510 2222 00...
Page 84: ......
Page 90: ......
Page 93: ......


