Installing an Adapter
Before you begin
If the adapter you are installing is Plug and Play compatible, continue with
the next step. If the adapter you are installing is not Plug and Play
compatible, use the Configuration/Setup Utility program to set resource
information. For more information, see “Legacy Adapters” on page 27.
Read “Electrical Safety” on page 3 and “Handling Static-Sensitive Devices”
on page 4.
Read the instructions that come with the new adapter; determine if it must
be installed in an ISA or PCI slot.
Turn off the computer and all other connected devices. Disconnect all cables
attached to the computer and remove the computer cover (see
“Disconnecting Cables and Removing the Cover” on page 5).
If you are installing an adapter in the 3-bay design, or if you are installing
an adapter in expansion slot 1, 2, or 3 in the 4-bay design, go to “Installing
an Adapter in Expansion Slot 1, 2, or 3.” If you are installing an adapter in
expansion slot 4 on the 4-bay design, go to “Installing an Adapter in
Expansion Slot 4” on page 30
Installing an Adapter in Expansion Slot 1, 2, or 3
Note:
The following instructions are for reference only. The instructions for
installing an adapter in expansion slot 1 or 2 works the same in both the
3-bay design and 4-bay design.
1
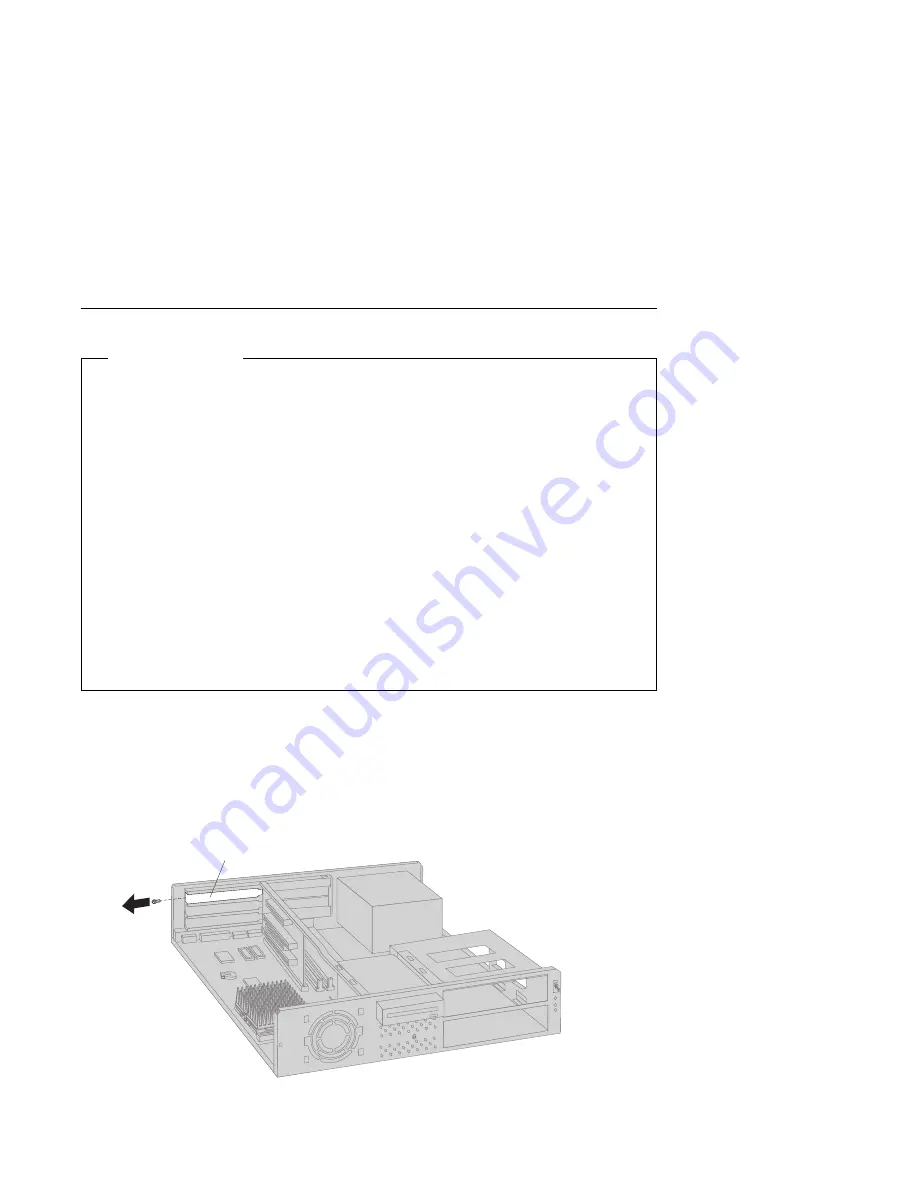
Remove the screw and cover for the appropriate expansion slot.
Expansion-Slot Cover
28
Installing Options in Your Personal Computer


